User Guide Ver:1.1 Page:
24
4. Click
OK
.
5. Type your password in appeared password window and click
OK
.
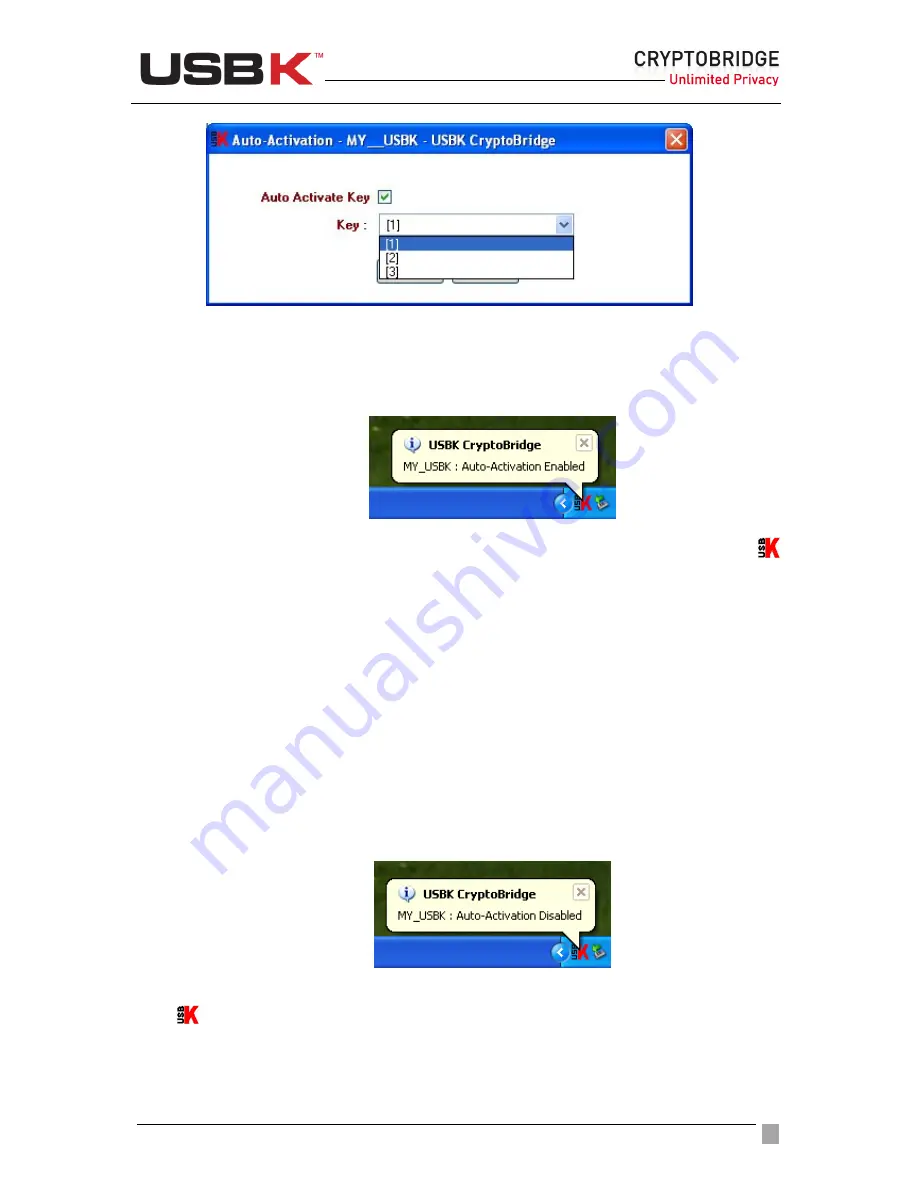
If the password is correct, auto-activation of your USBK is done successfully.
Bubble message on notification area indicates this as “ Auto-Activation Enabled”.
Tip:
You can also enable Auto-Activation of your USBK by right-clicking the USBK icon
on the notification area, then dragging your mouse on to
Settings
and clicking
Auto-
Activation
. Then, follow up the same instructions explained above starting from 2. Step.
!
CAUTION:
If you carry and lose your BackDisk plugged-on your USBK in “Auto-Activation
Enabled”, any user can access your data on your BackDisk when he plug in the computer as
no password is asked to verify user. Just carry only your USBK when “Auto-Activation
Enabled” for the security of data on your BackDisk.
To disable Auto-Activation
1. On the Control Panel of USBK, under
Settings
, click
Auto-Activation
.
2. Remove the sign in
Auto Activation Key
checkbox, click
OK
.
3. Type your password in appeared password window and click
OK
.
If the password is correct, disable of auto-activation property is done successfully.
Bubble message on notification area indicates this as “ Auto-Activation Disabled”.
Tip:
You can also disable Auto-Activation property of your USBK by right-clicking the USBK
icon
on the notification area, then dragging your mouse on to
Settings
and clicking
Auto-Activation
. Then, follow up the same instructions explained above starting from 2.
Step.


