13
1.
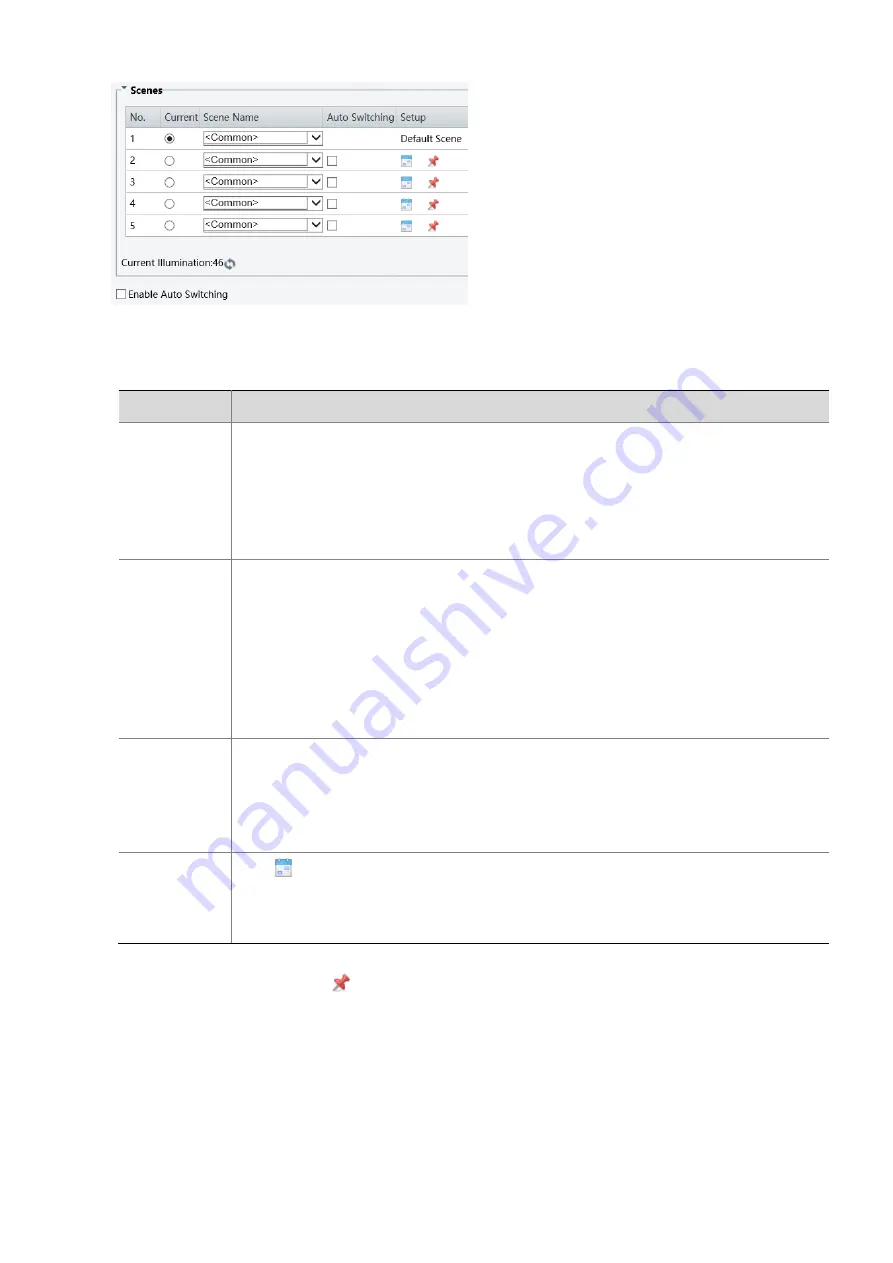
Click
Scenes
.
2.
Select a scene, and then set scene switching parameters. The following table describes some major
parameters.
Column
Description
Current
Indicates the scene that is being used.
Note
:
Select an option button to switch to the scene and display the corresponding image
parameters for the scene.
The camera switches the current scene automatically when
Enable Auto Switching
is
selected.
Scene Name
Name of the current scene. The device provides several preset scene modes. When you
select a scene, the corresponding image parameters are displayed. You can adjust image
settings according to actual needs.
Common: recommended for outdoor scenes.
Indoor: recommended for indoor scenes.
Road/Park Highlight Compensation (HLC): Can suppress glare and obtain clear images,
such as suitable for roads/parks to suppress lights to capture license plates.
Custom: set a scene name as needed.
Auto Switching
Indicates whether to add a scene to the auto-switching list.
Note
:
If
Auto Switching
is selected, the system switches to a scene automatically when the
condition for switching to the scene is met. By default the auto-switching list includes the
default scene.
Setup
Click
to set conditions for auto-switching, including schedule, illumination, and current
elevation. It means that auto-switching is triggered only when illumination and the current
elevation during the set time period meet the set conditions. A condition is invalid if both
the start and end values are set to 0.
3.
Select a scene and then click
to set it as the default scene.
4.
If auto-switching is enabled, the camera can switch to the scene automatically when the condition for
switching to a non-default scene is met. Otherwise, the camera remains in the default scene. When auto-
switching is not enabled, the camera remains in the current scene.


