BASIC OPERATION
-11-
4.3 Playback
Press the “
PLAY
” button on the DVR control panel, and the device will playback the latest recorded video.
Note:
There must be at least 8192 images of recorded data for playback to work properly. If not, the device
will stop playback. For example, if the IPS is set to 30, the recording time should be at least 273
seconds (8192 images / 30 IPS) for the playback to work properly.
1) Fast Forward (
►►
) / Fast Rewind (
◄◄
)
You can increase the speed for fast forward and rewind on this device. In the playback mode:
Press “
►►
“ once to get 4X speed forward and press twice to get 8X speed, etc. And the maximum speed is 32X.
Press “
◄◄
“ once to get 4X speed rewind and press twice to get 8X speed, etc. And the maximum speed is 32X.
Note:
During playback, the image size of the recording (Frame, Field or CIF) will be shown on the screen.
2) Pause ( ) / Image Jog
Press “PAUSE” or “ ” button to pause the playback.
In the Pause mode:
Press “
►►
” button once to get one frame forward.
Press “
◄◄
” button once to get one frame rewind.
3) Stop /
Press “STOP” or “
” button under playback mode, the screen of this device will return to live monitoring mode.
4) Slow Playback
Press “SLOW” button to get 1/4X speed playback and press twice to get 1/8X speed playback.
5) Audio Playback
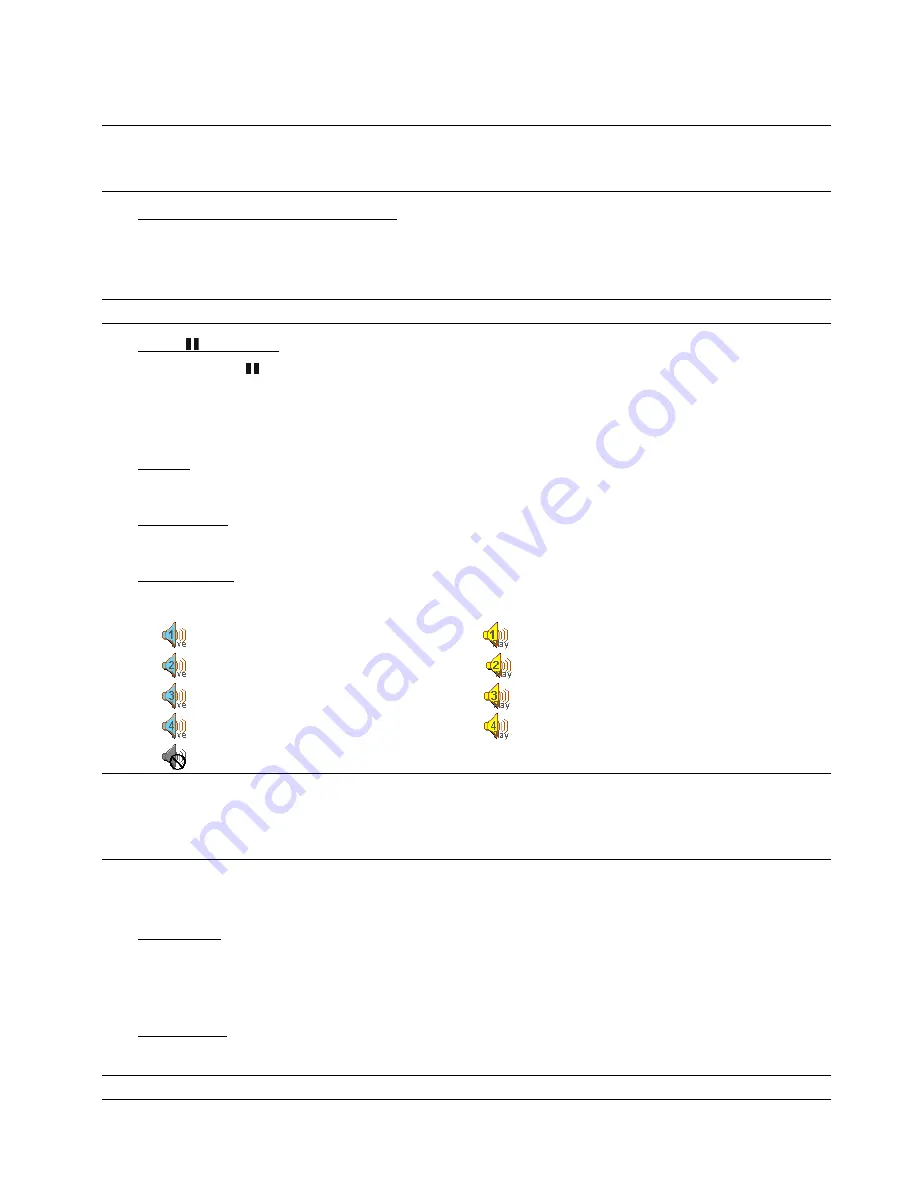
Press “SLOW + ZOOM” buttons or “SHIFT + AUDIO” buttons to select the live or playback sound of the audio
channels.
Icon “
” means: Live audio of the 1
st
audio channel / Icon “
” means: Playback audio of the 1
st
audio channel
Icon “
” means: Live audio of the 2
nd
audio channel / Icon “
” means: Playback audio of the 2
nd
audio channel
Icon “
” means: Live audio of the 3
rd
audio channel / Icon “
” means: Playback audio of the 3
rd
audio channel
Icon “
” means: Live audio of the 4
th
audio channel / Icon “
” means: Playback audio of the 4
th
audio channel
Icon “
” means: The audio channel is not selected.
Note:
If you want to make a video backup with audio, please connect audio cameras to the channels which
support the audio function
For 16CH & 8CH DVR, the audio channels are CH1, CH2, CH3 and CH4.
For 4CH DVR, the audio channel is CH1.
4.4 Key Lock and Unlock
1) Key Lock On:
Press “MENU + ENTER” buttons on the DVR control panel to lock keys.
Or set the time-out after which the key lock function is activated (Never / 10 SEC / 30 SEC / 60 SEC). Please refer to
section “7.2 System Info” at page 26.
2) Key Lock Off:
Enter the DVR password to exit “Key Lock” mode.
Note:
For the password setting, please refer to the section “at page 8.”
”


