3.
Display
Features
4.1
Comfort
Icon
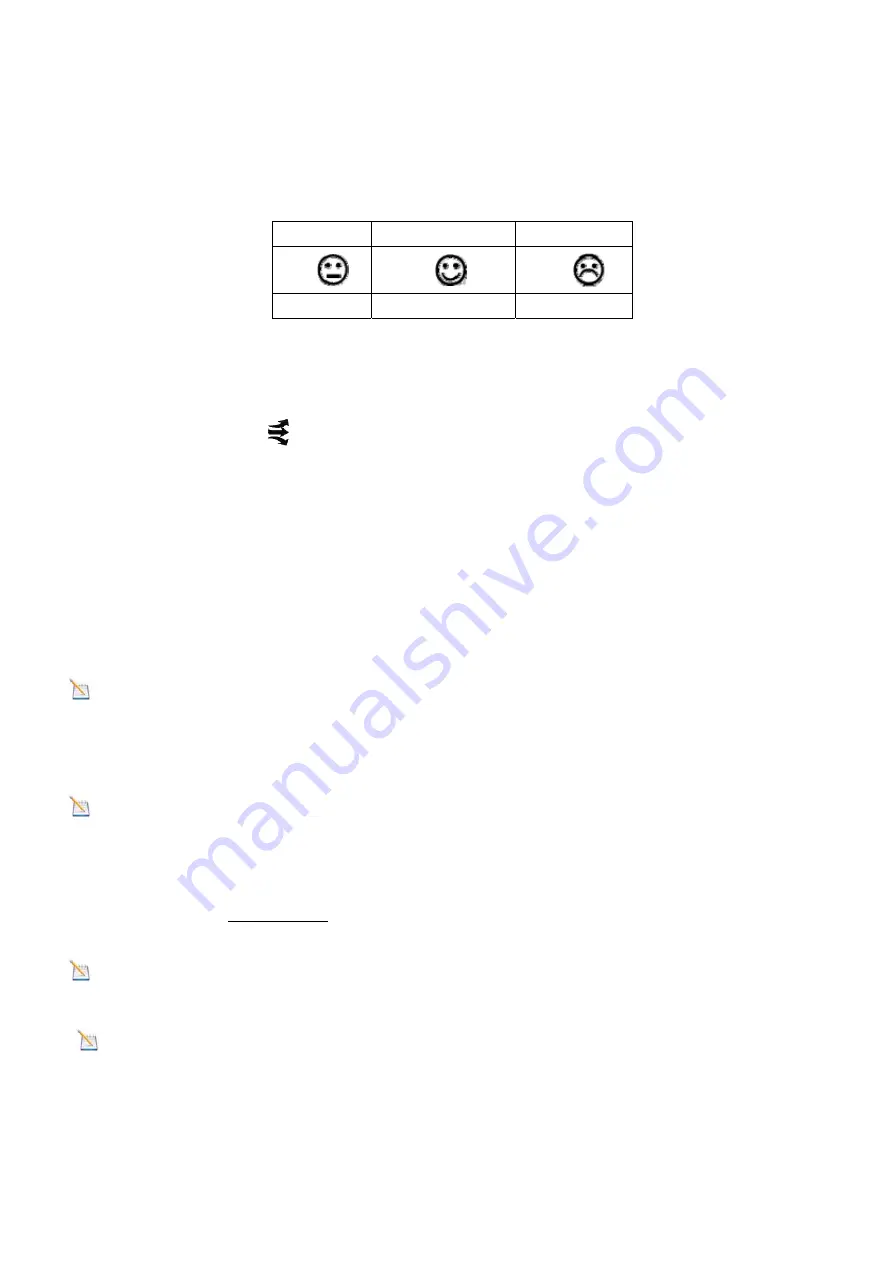
The comfort icon is based on humidity ranges specified in Figure 6. The icon is displayed for
indoor humidity, remote channel 1-3 humidity .
RH<45%
RH 45%~65%
RH >65%
Dry
Comfortable
Wet
Figure 6
4.2
Rate
of
Change
Icon
The rate of change icon
detects rapid changes in temperature and humidity.
If the arrow points upward, the temperature is increasing at a rate of +1°C per 30 minutes (or
greater). If the arrow points downward, the temperature is decreasing at a rate of -1°C per 30
minutes (or less).
If the arrow points upward, the humidity is increasing at a rate of +5% per 30 minutes (or greater).
If the arrow points downward, the humidity is decreasing at a rate of -5% per 30 minutes (or less).
5
Console
Operation
Note:
The console has six buttons for easy operation:
MIN/MAX/-
button,
SNOOZE/LIGHT
button,
C
button on the top ,and
SET
button,
ALARM
button and
C/F(WiFi)
button on
the right side.
Note:
WiFi Settings reference
10 STEP.
5.1
Set
(Program)
Mode
While in Normal Mode,
press and hold
the
SET
key for at least three seconds to enter the Set Mode. The first setting
will begin flashing. You can press the
SET
key again to skip any step, as defined below.
Note:
In the Set mode, press the [+] key or [
-
] key to change or scroll the value. Hold the [+] key or [
-
] key for three
seconds to increase/decrease rapidly.
Note:
To exit the Set mode at any time, press the
SNOOZE/LIGHT
button on the top of the display console.
1.
12/24 Hour Format (default: 24h):
. Press the
SET
key again to adjust the 12/24 hour format setting (FMT). Press
the [+] key or [
-
] key to change between 12 hour and 24 hour format.
2.
Change Hour.
Press the
SET
key again to set the hour. Press the [+] key or
[-]
key to adjust the hour up or down.
3.
Change Minute.
Press the
SET
key again to set the minute. Press the [+] key or [
-
] key to adjust the minute up or
down.


