BarcodeGuy.com® - UnionNet SP2100 User’s Guide
1D LASER ONLY
46
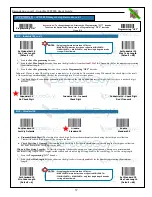
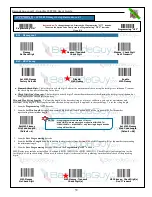
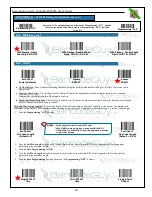
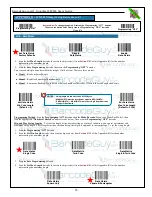
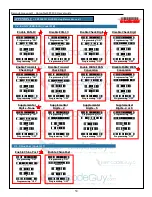
C.A - Method of programming the SP2100 1D Laser decoder with Setup Barcodes
Successfully Reading Setup Barcodes:
For the purposes of the User’s Guide, the setup barcodes may be packed densely enough
that your SP2100 may read a code adjacent to the one you intend. Just put a piece of white paper or an index card ver the nearby
barcode so the imager of the SP2100 can’t see the adjacent code.
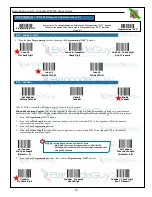
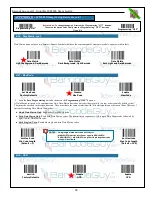
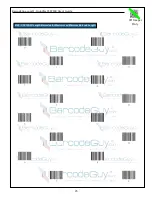
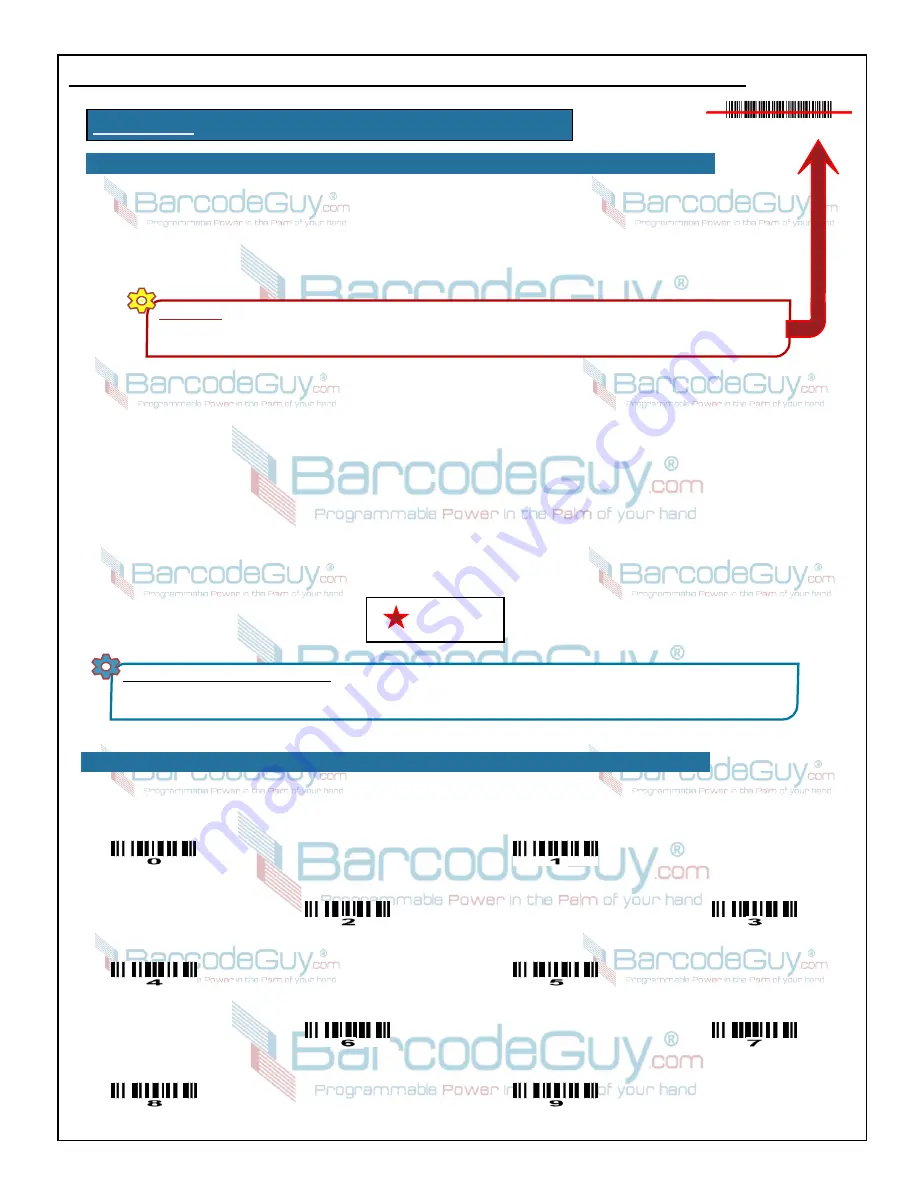
Some symbologies allow you to set numeric values for specific symbology options. For example, Code 39 allows you to
set a Maximum Length and Minimum length. Use the barcodes below to enter the numeric digits required.
C.A1 - Length Barcodes for Maximum and Minimum Barcode Length
CRITICAL!
These barcodes set the decoder in the SP2100 1D Laser Scanner ONLY!!!
If you have an imager and use these
codes to change the settings in the SP2100 2D Imager decoder, you can verify you’re using the right codes by looking for this
mark in the top right of the page. If you have the SP2100 2D Laser Scanner, use the Decoder Setup Barcodes in
Appendix B.
Denotes Decoder
System Default
The decoder on the SP2100 1D laser scanner is the firware chip directly related to the hardware that makes the scan
beam be projected out of and the reflected light sensed by the scanner. This isn’t the same as the System Menu
commands listed in the User’s Guide before the appendicies. Programming the decoder directly gives you an even
greater control of what types of barcodes can be read and how they are formatted before being sent to the SP2100’s
firmware programming and ultimately to your connected host.
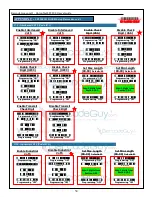
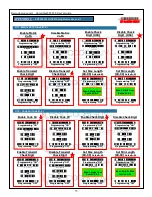
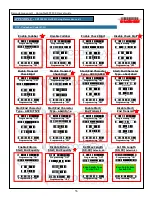
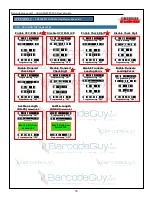
The methodology for changing the setup options for the laser scanner include scanning a “program on” barcode, followed
by the barcode denoting the combined symbology type and symbology option being changed, then scannign a 2-digit
numeric code that represents enable/disable or other setting, and finally scanning a “program off” barcode.
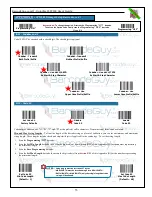
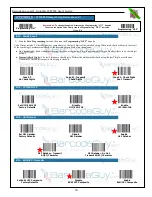
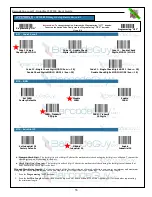
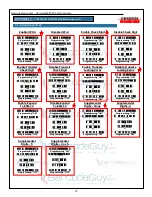
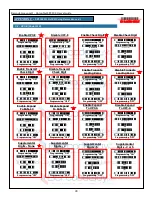
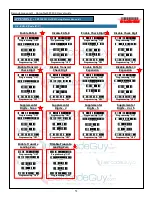
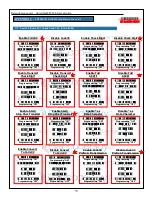
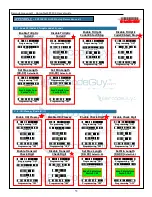
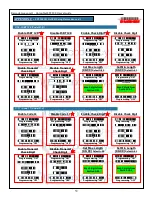
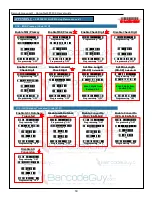
Because the laser scanner can be precisely aimed and the barcodes in this appendix can therefore be smaller, we’ve included
all the barcodes to change a particular symbology option together in a group surrounded by a red box. To set the option, all
you have to do is scan each of the barcodes in the option’s box from top to bottom.
From
Appendix H
, you can see the full list of barcodes your SP2100 supports, depending
on whether you have the 1D or 2D model. In this Appendix the defaults are marked with
a red star beside them for easy identification.
APPENDIX C
- SP2100 1D LASER Setup Barccodes

