


38
3D. Set the Present/Cut Mode
Use the Present/Cut Mode to adjust how the printer presents labels after they are printed or if/when they
are cut after printing. To adjust the Present/Cut Mode, open the UNINET IColor PrintHub program.
1.
Connect the printer via USB and turn on the power. The Output/Cut Mode Setting is stored on the
printer's mainboard so you will not be able to access it unless the printer is turned on and
properly communicating with the computer.
2.
Go to Start / Programs / UNINET Technology / UNINET IColor PrintHub.
3.
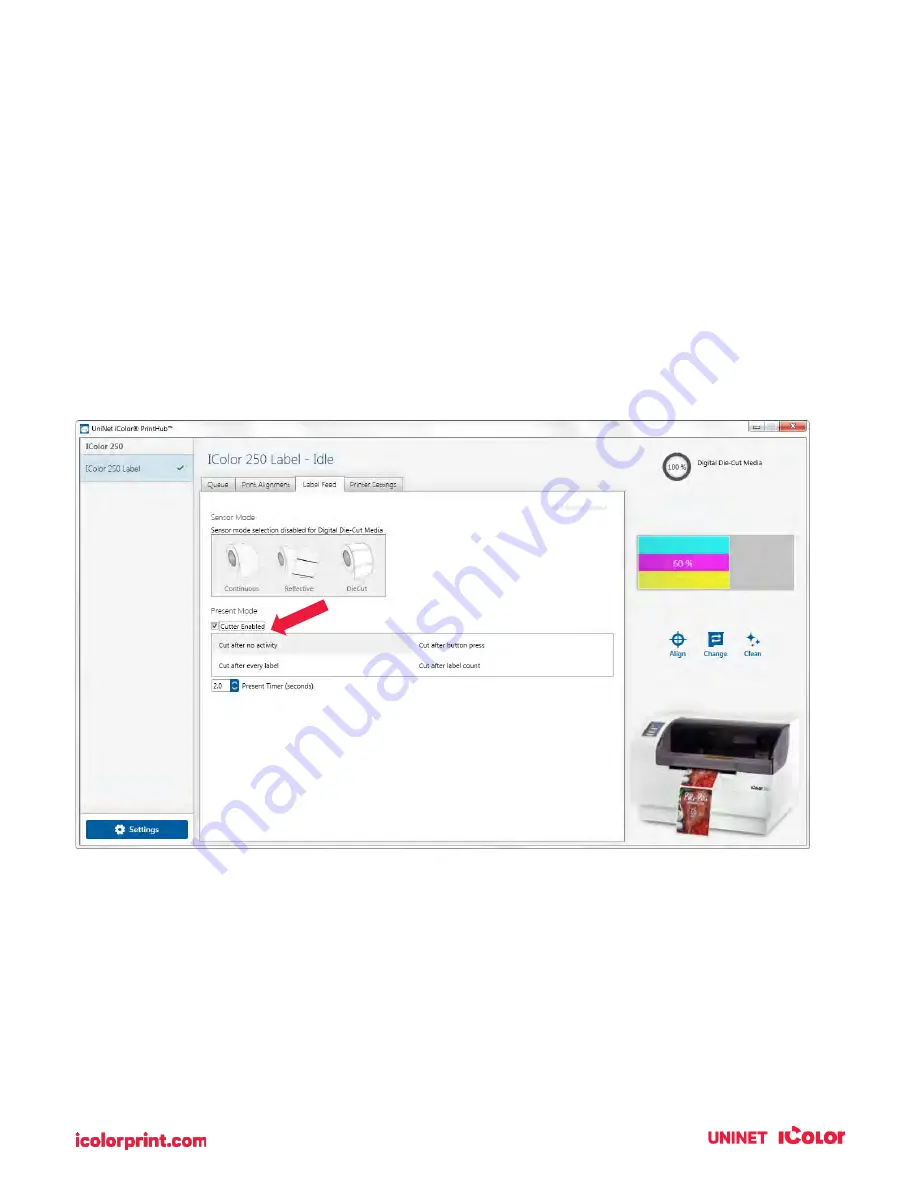
Click on the Label Feed Tab.
4.
Click on the Output/Cut Mode button. There are different options available which change if the
Cutter is enabled or disabled. If the Cutter is disabled, the label present options will be available. If
the Cutter is enabled the present options are no longer available but cut options become
available
.
Cutter Options
Cut after the button press. This setting will cut after you press the Load/Feed button on the printer.
This can be used after one label or an entire job. This feature is useful if you will not be present at the end
of the print to catch the cut label.
Cut after label count. This option will cut after the number of labels specified in the toggle box that
appears when this option is selected. This is useful if you have front/back labels or sets of labels.
Summary of Contents for IColor 250
Page 1: ......
Page 52: ...51 2 Browse to the file you would like to use and choose Open ...
Page 59: ...58 8 Center the image horizontally and vertically to the page ...
Page 73: ...72 2 Select Blank Template Click Next 3 Select IColor 250 Label Click Next ...
Page 104: ...103 Printing from Preview Click on the Preview dropdown menu and choose Printer Features ...
Page 114: ...113 4 Prepare items needed for the procedure 5 Soak the paper towels in water for 5 seconds ...


