Main Menu Configuration
35
Figure 3.43. Password Input Screen
3.7.2.1.3. Password Application
For each content, system password application option can be set up by ON / OFF. Password application contents
are recording termination, menu entrance and system power off. For these 3 contents, the user can set up password
application respectively. When it's selected ON with password application, every time the relevant content is called
up, then the password verification process will be in effect and when it's selected OFF, password verification will
not be implemented in any case.
3.7.2.2. Automatic Key Lock
When there's no key input for a certain time, automatic key lock application and stand-by time option set up is
required. If this value is OFF, automatic key lock function will not be implemented. Possible setup time is 30 sec,
1 min, 3 min, 5 min, 10 min. When the setup is completed, then the automatic key lock will be activated and the
key shape icon is to be displayed on the bottom of the screen. In case of key lock status, password input window
will be displayed when any key button is pressed. Entering system password will lead lock-free status and the
system is available for further use.
3.7.3. Date and Time
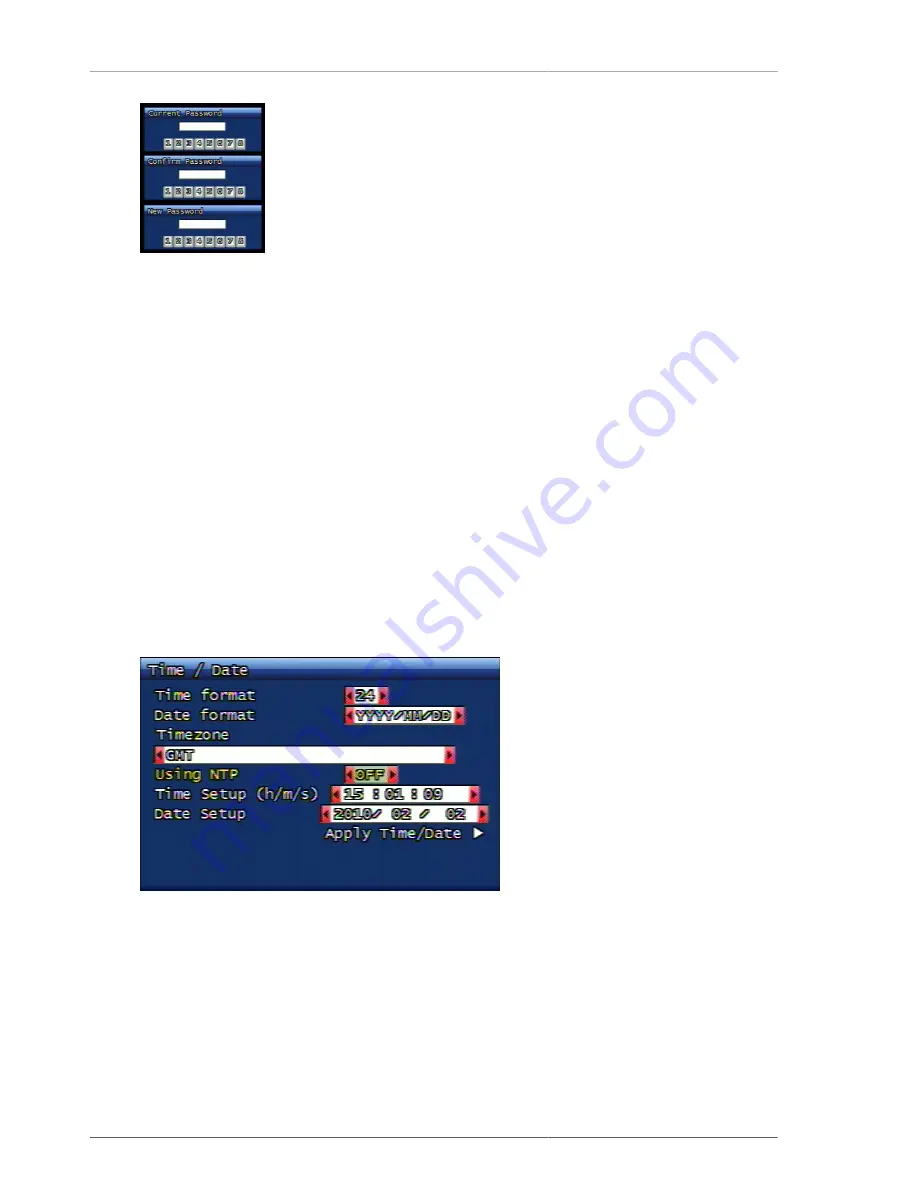
The user can set up system time and date and this menu is for time/date display format and NTP relevant function
setup.
Figure 3.44. Date and Time Setup Screen
3.7.3.1. Display Format
This is to set up system date and time display format. Time format for 24 hrs / 12 hrs display is available and date
format has 3 different setup availability which are YYYY/MM/DD, MM/DD/YYYY, DD/MM/YYYY.
3.7.3.2. Standard Time Zone
This is to set up the time zone where the current DVR is located. Please select the time zone where the DVR is
located. According to this time zone, day light savings time application is to be set up automatically.
Summary of Contents for H.264 Real Time DVR
Page 1: ...FULL MANUAL H 264 Real Time DVR Version 1 0 0 Unimo Technology ...
Page 70: ...PC Client Introduction 60 Figure 4 7 When DVR is not on recording ...
Page 72: ...PC Client Introduction 62 Figure 4 9 This screen shows the searched recoreded data on DVR ...
Page 73: ...PC Client Introduction 63 Figure 4 10 Backup Guide Screen ...
Page 75: ...PC Client Introduction 65 Figure 4 12 This screen shows the searched recoreded data on DVR ...
Page 81: ...PC Client Introduction 71 Figure 4 17 D Zoom Example ...
Page 111: ...PC Client Introduction 101 Figure 4 59 Calendar Search Screen ...
Page 115: ...PC Client Introduction 105 Figure 4 62 Still Image Screen Figure 4 63 Watermark Except Screen ...


