Main Menu Configuration
17
It's possible to set up the recording schedule of a week or a day per date and time.
From the time zone where the cursor is located, the user can select the preferred recording or event by referring to
the referrence menu on the right. The cursor can be moved by using top, bottom, left and right button. After setup,
you can exit to the upper menu after saving the setup schedule by using Menu button.
3.3. Event setup menu configuration
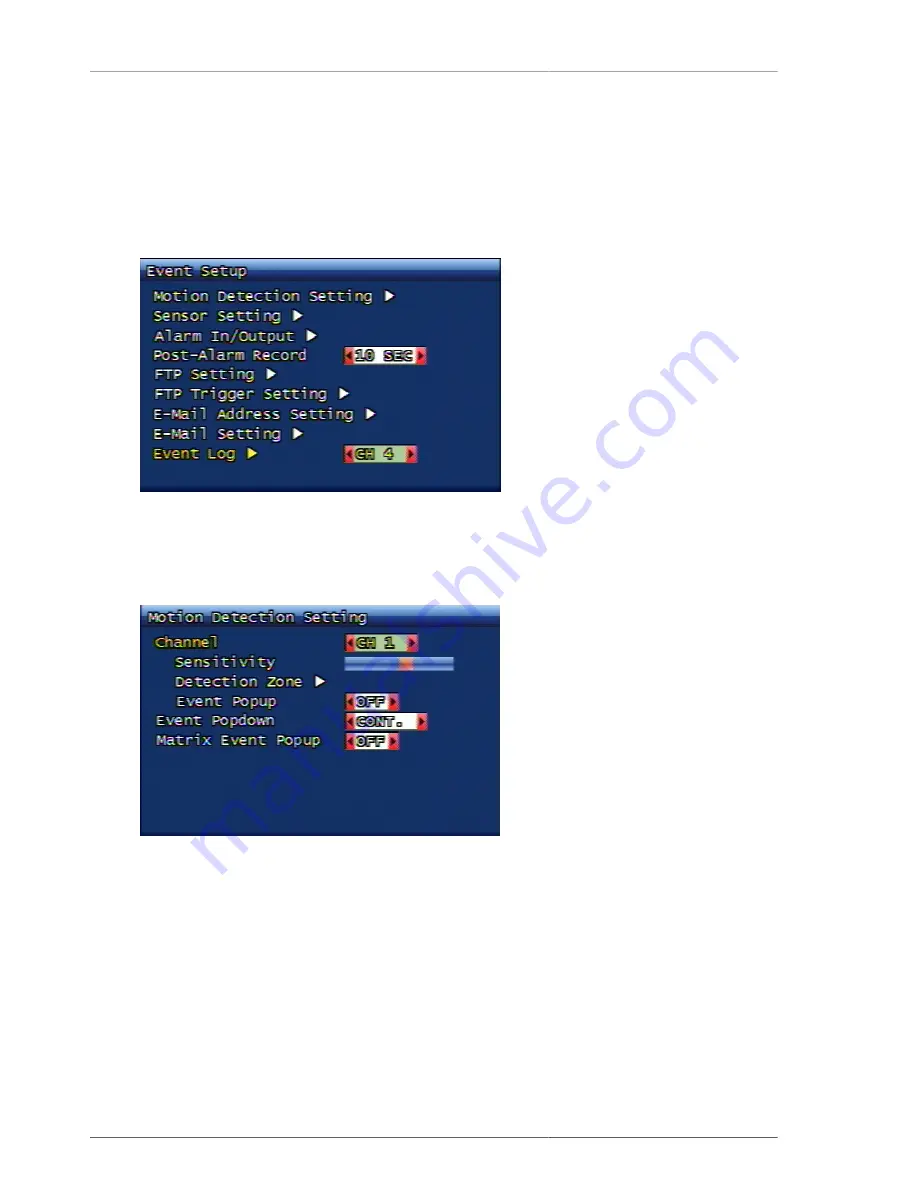
Figure 3.11. Event setup menu configuration
3.3.1. Motion detection setup
Figure 3.12. Motion detection setup screen configuration
You can set up motion detection area and sensitivity.
3.3.1.1. Channel
Selection of specific channel for sensitivity and detection area setup.
3.3.1.1.1. Sensitivity
Setting up the motion sensitivity. When the red bar is closer to the left, sensitivity is low and when it's closer to
the right, sensitivity is high.
Summary of Contents for H.264 Real Time DVR
Page 1: ...FULL MANUAL H 264 Real Time DVR Version 1 0 0 Unimo Technology ...
Page 70: ...PC Client Introduction 60 Figure 4 7 When DVR is not on recording ...
Page 72: ...PC Client Introduction 62 Figure 4 9 This screen shows the searched recoreded data on DVR ...
Page 73: ...PC Client Introduction 63 Figure 4 10 Backup Guide Screen ...
Page 75: ...PC Client Introduction 65 Figure 4 12 This screen shows the searched recoreded data on DVR ...
Page 81: ...PC Client Introduction 71 Figure 4 17 D Zoom Example ...
Page 111: ...PC Client Introduction 101 Figure 4 59 Calendar Search Screen ...
Page 115: ...PC Client Introduction 105 Figure 4 62 Still Image Screen Figure 4 63 Watermark Except Screen ...


