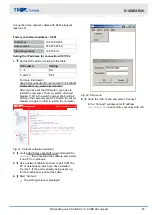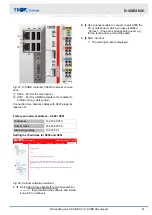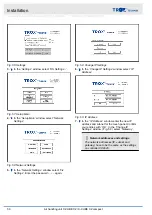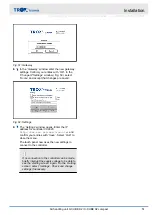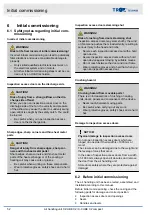
Fig. 61: Gateway
8.
In the
‘Gateway’
window enter the new gateway
settings. Confirm your entries with
‘OK’
. In the
‘Change IP Settings’
‘Home’
and accept that changes are saved.
Fig. 62: Settings
9.
The
‘Settings’
window opens. Enter the IP
address for controller CX9020
http://xxx.xxx.xxx.xxx/trox.html
and
confirm your entries with
‘Save’
. Select
‘Quit’
to
close the menu.
The touch panel now uses the new settings to
connect to the controller.
If no connection to the controller can be made,
briefly interrupt the supply voltage to be able to
see the ‘starting screen’ again. On the ‘starting
screen’ select ‘Settings’ . Check and change
settings if necessary.
Installation
Connecting the controls to your PC or local netw... > X-CUBE controller CX9020
Air handling unit X-CUBE X2 / X-CUBE X2 compact
51


