Using the Operation Panel
4-26
4
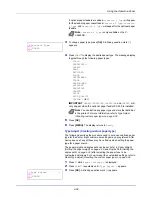
Press
or
to display the desired user name (
Arlen
, in this
example).
5
Press
[OK]
. The user name and the job name (
Agenda
, in this
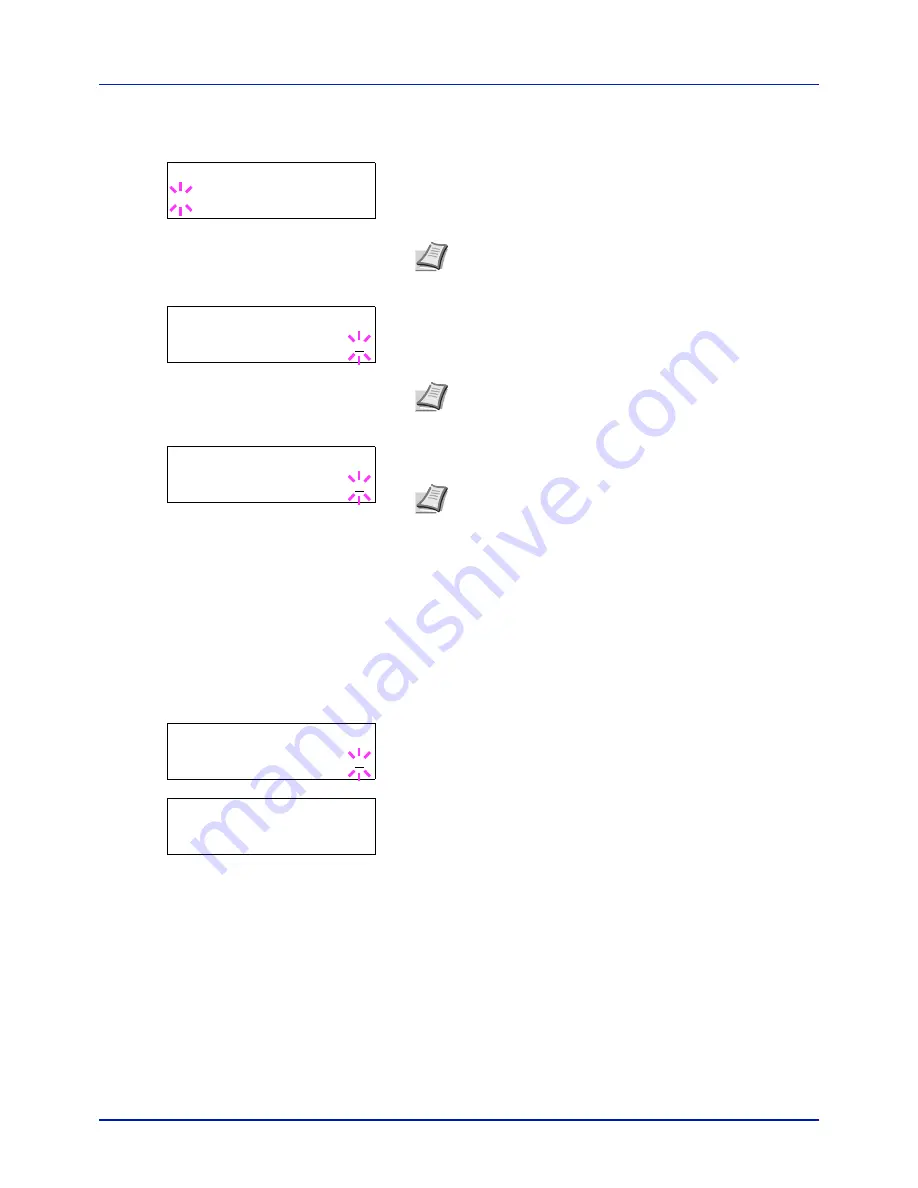
example) entered in the printer driver appear with a blinking question
mark (
?
).
6
Press
or
to display the desired job title.
7
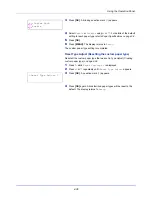
Press
[OK]
. The ID input line appears. Enter the four-digit access
code entered in the printer driver and press
[OK]
.
To enter the ID, press
or
to move the cursor to the number to be
changed and then enter the correct number by pressing
or
.
8
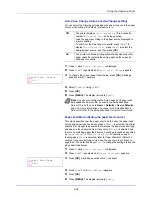
You can set the number of copies to be printed. To increase the copy
count, press
; to decrease the copy count, press
.
9
Press
[OK]
to finalize the copy count. The printer prints the specified
number of copies for the job.
Deleting a Private/Stored Job
You can individually delete stored jobs by performing the following
procedure. Jobs saved using Private Print will be automatically deleted if
you turn the power off after printing, but jobs saved using Stored Job will
not be deleted automatically.
1
Follow steps 1 through 6 in the above section.
2
When the title of the job to be printed is displayed (
Agenda
, in this
example), press
[OK]
. Enter the four-digit access code entered in the
printer driver and press
[OK]
.
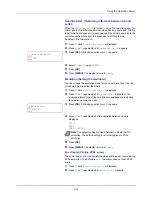
3
Press
repeatedly until
Delete
appears for the number of copies.
4
Press
[OK]
. The private job is deleted.
Job Box Configuration
Change Job Box settings, such as the maximum number of storable
documents in the SSD, and automatic delete settings.
The following items are available in the Job Box detail settings.
• Changing the Maximum Number of Quick Copy
• Set Automatic Delete times for Temporary Jobs
>Arlen
?Agenda
Note
If you selected
All Files
, this process is applied to
all the documents in the Private/Stored Job.
>Agenda
ID
0000
Note
If you selected
All Files
and the stored access
code does not match any of the documents. or if no
access codes was specified,
ID error
is displayed.
>Agenda
Copies
001
Note
If you selected
All Files
, press
after
Copies
--
- is displayed to set the number of copies.
>Agenda
Copies
001
>Agenda
Delete
Summary of Contents for P-C2160DN
Page 1: ...Operation Guide P C2160DN P C2660DN ...
Page 10: ...viii ...
Page 200: ...Troubleshooting 6 16 ...
Page 218: ...Glossary Glossary 4 ...
Page 222: ...Index 4 ...
Page 223: ...A1 ...


