4-63
Using the Operation Panel
Date (date setting)
1
After entering the administrator ID and password, press
or
repeatedly until
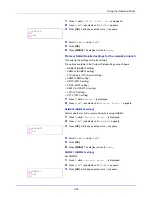
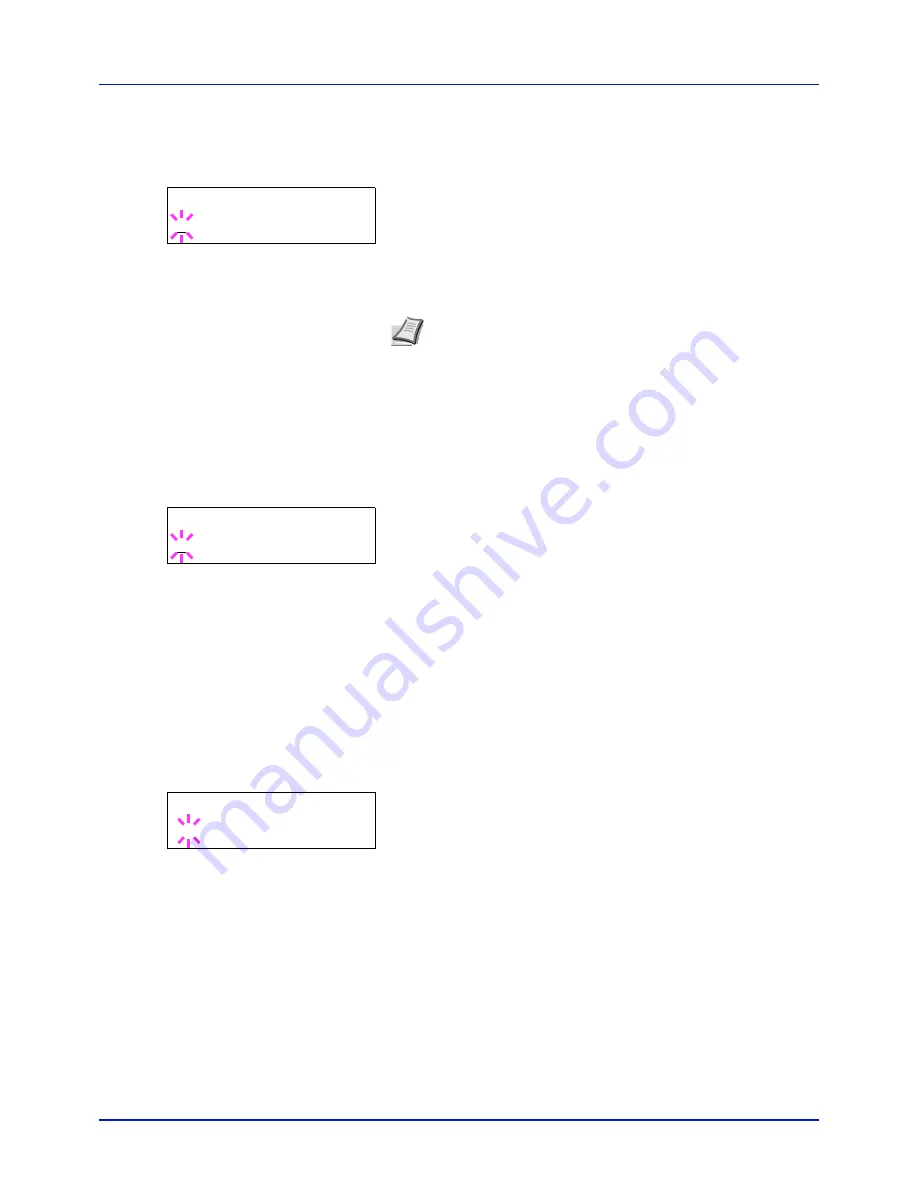
>>Date (Year/Mon/Day)
appears.
2
Press
[OK]
. A blinking cursor (
_
) appears.
3
Use the arrow keys to set the year, month, and day. Press
or
to
increase or decrease, respectively, the value at the blinking cursor.
Use
and
to move the cursor right and left.
4
Press
[OK]
.
5
Press
[MENU]
. The display returns to
Ready
.
Time (time setting)
1
After entering the administrator ID and password, press
or
repeatedly until
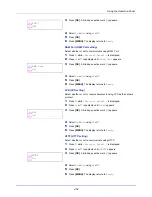
>>Time (Hour:Min:Sec)
appears.
2
Press
[OK]
. A blinking cursor (
_
) appears.
3
Use the arrow keys to set the hour, minute, and second. Press
or
to increase or decrease, respectively, the value at the blinking
cursor. Use
and
to move the cursor right and left.
4
Press
[OK]
.
5
Press
[MENU]
. The display returns to
Ready
.
Date Format (date format selection)
One of three formats can be selected for the date format.
1
After entering the administrator ID and password, press
or
repeatedly until
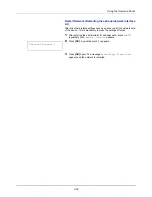
>>Date Format
appears.
2
Press
[OK]
. A blinking question mark (
?
) appears.
3
Press
or
to select
Date Format
. The following date formats
can be selected:
Month/Day/Year
Day/Month/Year
Year/Month/Day
4
Press
[OK]
.
5
Press
[MENU]
. The display returns to
Ready
.
>>Date (Year/Mon/Day)
2013 / 01 / 01
Note
The order in which the year, month, and day appear varies
depending on the
Date Format (date format selection) on page 4-
63
.
>>Time (Hour:Min:Sec)
11 : 19 : 21
>>Date Format
? Month/Day/Year
Summary of Contents for P-C2160DN
Page 1: ...Operation Guide P C2160DN P C2660DN ...
Page 10: ...viii ...
Page 200: ...Troubleshooting 6 16 ...
Page 218: ...Glossary Glossary 4 ...
Page 222: ...Index 4 ...
Page 223: ...A1 ...


