


Appendix-16
OPERATION GUIDE
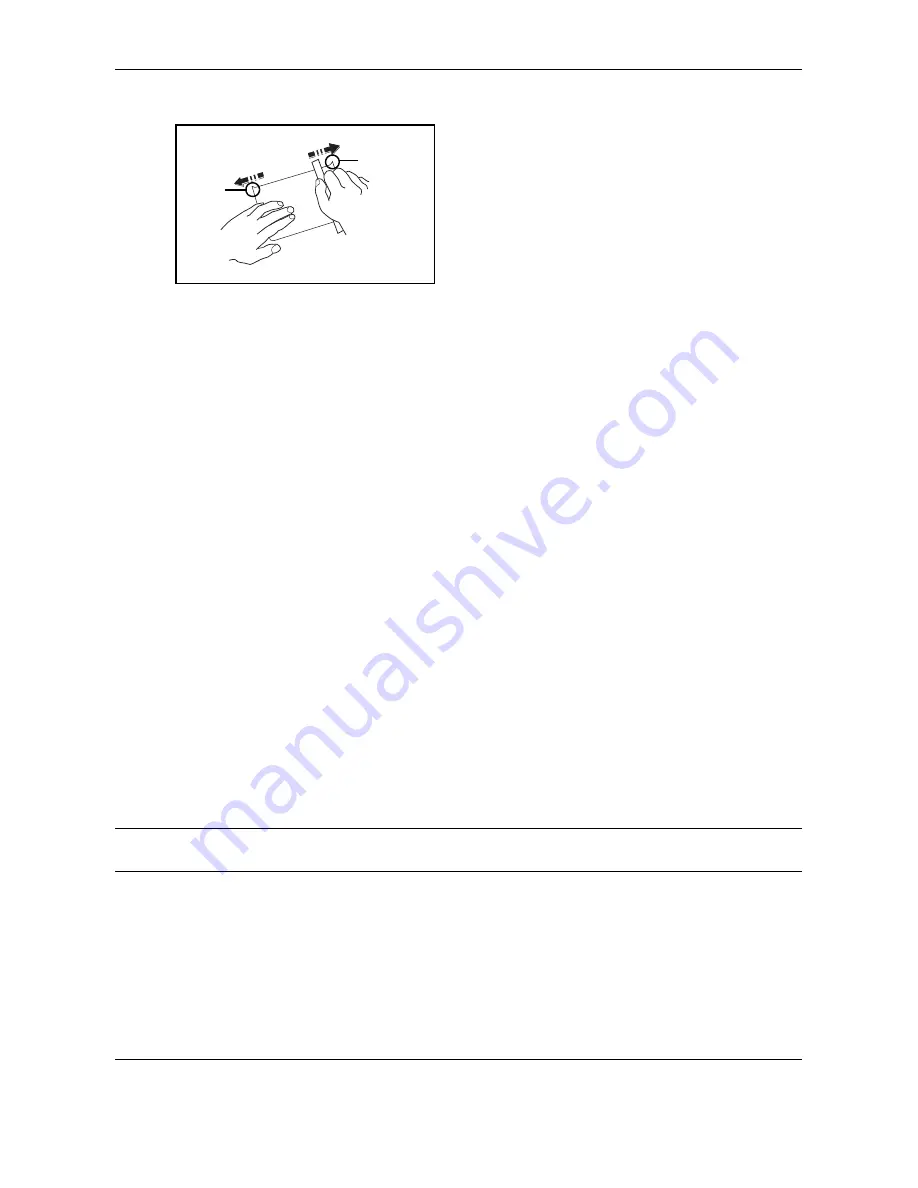
Hagaki
Before loading Hagaki into the multi purpose tray, fan
them and align the edges. If the Hagaki paper is curled,
straighten it before loading. Printing onto curled Hagaki
may cause jams.
Use unfolded Oufuku Hagaki (available at post offices).
Some Hagaki may still have rough edges developed by
a paper cutter on the back side. Remove any such
rough edges by placing the Hagaki on a flat surface and
rubbing the edges gently a few times with a ruler.
Envelopes
Use the multi purpose tray for envelopes.
Due to the structure of envelopes, printing evenly over the entire surface may not be possible in some cases.
Thin envelopes in particular may be wrinkled by the machine in some cases as they pass through. Before
purchasing envelopes in volume, try testing a sample to ensure the print quality.
Storing envelopes for a long period may cause them to become wrinkled. Thus, keep the package sealed until
you are ready to use them.
Keep the following points in mind.
Do not use envelopes with exposed adhesive. In addition, do not use the type of envelope in which the adhesive
is exposed after the top layer is peeled off. Serious damage may be caused if the paper covering the adhesive
comes off in the machine.
Do not use envelopes with certain special features. For example, do not use envelopes with a grommet for
winding a string to close the flap or envelopes with an open or film-covered window.
If paper jams occur, load fewer envelopes at once.
To prevent paper jams when printing onto multiple envelopes, do not allow more than ten envelopes remain in
the output tray at once.
Thick Paper
Before loading thick paper in the multi purpose tray, fan it and align the edges. Some thick paper may still have
rough edges developed by a paper cutter on the back side. Remove any such rough edges just as with Hagaki
by placing the paper on a flat surface and rubbing the edges gently a few times with a ruler. Printing onto paper
with rough edges may cause jams.
NOTE:
If the paper is not supplied correctly even after it is smoothed, load the paper in the multi purpose tray
with the leading edge raised a few millimeters.
Label
Be sure to feed labels from the multi purpose tray.
For selecting labels, use extreme care so that the adhesive may not come in direct contact with any part of the
machine and that the labels are not easily peeled from the carrier sheet. Adhesives that stick to the drum or
rollers and peeled labels remaining in the machine may cause a failure.
Burrs
Burrs
Summary of Contents for DCC 2725
Page 1: ...Instruction Handbook DCC 2725 2730 DCC 2740 2840 Digital Colour Multifunctional System...
Page 70: ...Preparation before Use 2 32 OPERATION GUIDE...
Page 122: ...Basic Operation 3 52 OPERATION GUIDE...
Page 180: ...Copying Functions 4 58 OPERATION GUIDE...
Page 216: ...Sending Functions 5 36 OPERATION GUIDE...
Page 254: ...Status Job Cancel 7 20 OPERATION GUIDE...
Page 315: ...Default Setting System Menu OPERATION GUIDE 8 61 8...
Page 360: ...Default Setting System Menu 8 106 OPERATION GUIDE...
Page 401: ...Troubleshooting OPERATION GUIDE 10 29 10 5 Press the indicated position to close left cover 1...
Page 402: ...Troubleshooting 10 30 OPERATION GUIDE...
Page 431: ...OPERATION GUIDE Appendix 3 Key Counter FAX Kit Expansion Memory...
Page 467: ...E1U...
Page 468: ...UTAX GmbH Ohechaussee 235 22848 Norderstedt Germany...


