63
6. Operation and Configuration of S3M UPS Models
and Battery Cabinets
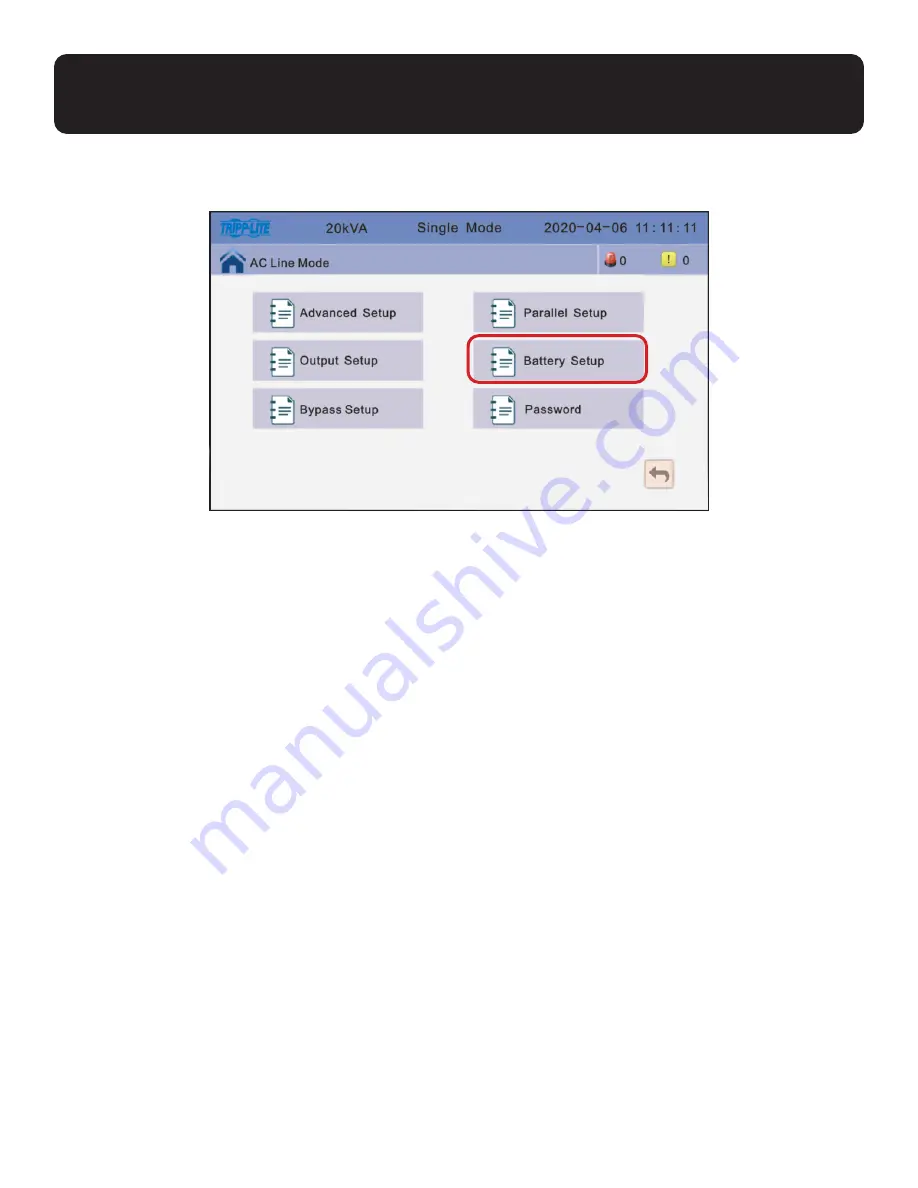
6.2.3 Battery Setup
Click
Battery Setup
6.2.4 Configuring the S3M10-20K UPS and Optimizing Charging of the
BP240V09/BP240V09K, BP240V40 and BP240V40L Battery Cabinets
Step 1: Setting the Battery Group
The Battery Group is Quantity 1 for every set of 20 batteries that are in and/or connected to the UPS model. For example,
UPS model S3M20K3B has 60 internal batteries and is Battery Group 3. However, to connect a BP240V09 cabinet with
80 internal batteries to the S3M20K3B, the S3M20K3B UPS must be configured to a Battery Group 7 (seven sets of 20
batteries). Obtain the
Battery Group
number based on the specific S3M UPS and Battery Cabinet models combination from
the chart under
Section 6.4
.
The value can be 1 to 8. The default value is 1 for S3M UPS models without internal batteries.
Step 2: Setting the Battery Number
The battery number must remain at 20 for all S3M10-100K UPS models when connected to Tripp Lite external battery
cabinets designed for the S3M-Series UPS Series.
Summary of Contents for BP240V09
Page 38: ...38 5 Installation Figure 5 32 Wiring Diagram for Installation of 80 Batteries ...
Page 46: ...46 5 Installation Figure 5 41C Front Layer 3 Layer 2 Layer 1 Rear ...
Page 49: ...49 5 Installation Figure 5 44A 2 Remove top right side and left side plates Figure 5 44 ...
Page 54: ...54 5 Installation 14 Reinstall the covers and the screws Figure 5 53 Figure 5 53 ...
Page 113: ...113 5 Instalación Figura 5 32 Diagrama de Cableado para la Instalación de 80 Baterías ...
Page 121: ...121 5 Instalación Figura 5 41C Front Layer 3 Layer 2 Layer 1 Rear ...
Page 129: ...129 5 Instalación 14 Reinstale las cubiertas y los tornillos Figura 5 53 Figura 5 53 ...
Page 196: ...196 5 Installation Figure 5 41C Front Layer 3 Layer 2 Layer 1 Rear ...
Page 204: ...204 5 Installation 14 Réinstaller les couvercles et les vis Figure 5 53 Figure 5 53 ...