


39
7. Administration
(continued)
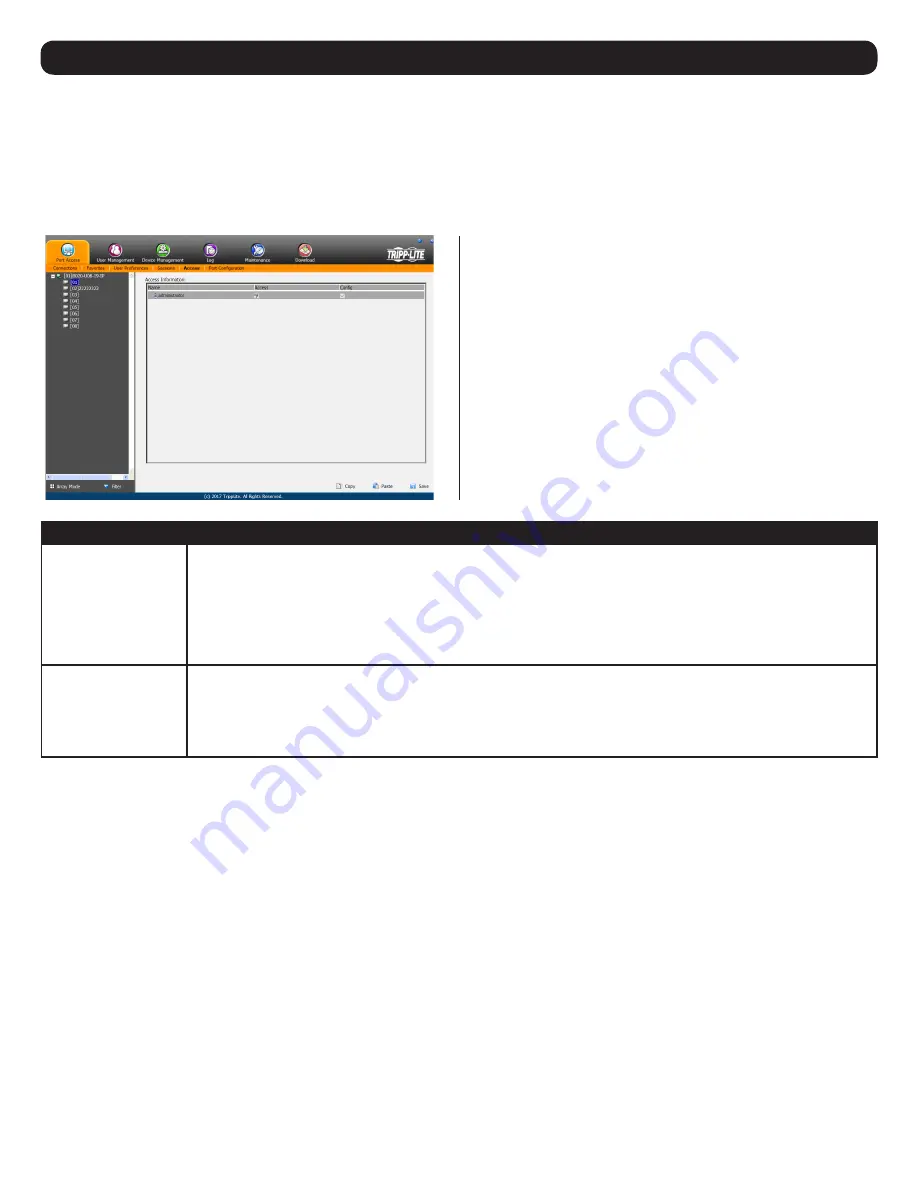
7.2.8 Access
The
Access
sub-section allows Super Administrators and Administrators to set user access and configuration rights for switches and ports. As
with the
Sessions
sub-section, Super Administrators can see all accounts, whereas Administrators can only see Administrator, User and Group
accounts. The browser and non-browser
Access
sub-sections are the same, except the non-browser page includes drop-down filters above
each column. These filters allow you to choose which accounts are displayed. For example, you can choose to display only those accounts that
are given configuration access to the selected KVM/port by choosing the
Permitted
option from the drop-down menu above the configuration
column.
Note
: The
Access
sub-section is not available to User accounts, and will not show up when they log into the OSD.
When the master KVM switch is highlighted in the port list, the
Access sub-section displays only one setting column; Config. When a
port is highlighted in the port list, the Access sub-section displays
three settings columns; Access, Mount USB and Config. The section
that follows describes these settings, and how to edit them.
Setting
Description
Access
The
Access
setting determines if an account is allowed to access the selected port, and if so, what level of access the account
has. To edit this setting, click on the box in the Access column next to the account you wish to edit. Continue to click until you
toggle to the desired setting.
Full Access –
This setting is represented by an icon that shows a pair of glasses and a pencil. It allows the corresponding account
to both view video and perform operations on the selected port.
View Only –
This setting is represented by a pair of glasses only. It allows the corresponding account only to view video of the
selected port.
No Access –
This setting is represented by an X, and denies the corresponding account access to the selected port.
Config
The
Config
setting determines if an account has permission to make changes to the master KVM or port configuration settings. To
edit this setting, click on the box in the
Config
column next to the account you wish to edit. Click to toggle
Config
access on/off. A
check mark enables access, an X disables access.
Note: Config checkboxes are provided as a way for Super Administrators and
Administrators to customize which ports Administrators and User accounts have Configuration access to. In order for the Config
checkbox to enable Configuration access to a port, the Administrator or User account must be given Port Configuration access to
the KVM switch. (See
Permissions
in the
Adding User Accounts
section under
User Management
in
OSD Operation
for details.)
When you are done editing access rights to the selected port, click on the
Save
icon in the lower-right corner of the
Access
sub-section.
Also at the bottom of the page are
Copy
and
Paste
icons. These are used to copy the access settings from one port and paste those same
settings to another port. To do this, simply highlight the port you want to copy and click on the
Copy
icon. Then highlight the port you want to
paste to and click the
Paste
icon.