Prestige SOLO 399
Burner Mounting Plate Kit
3
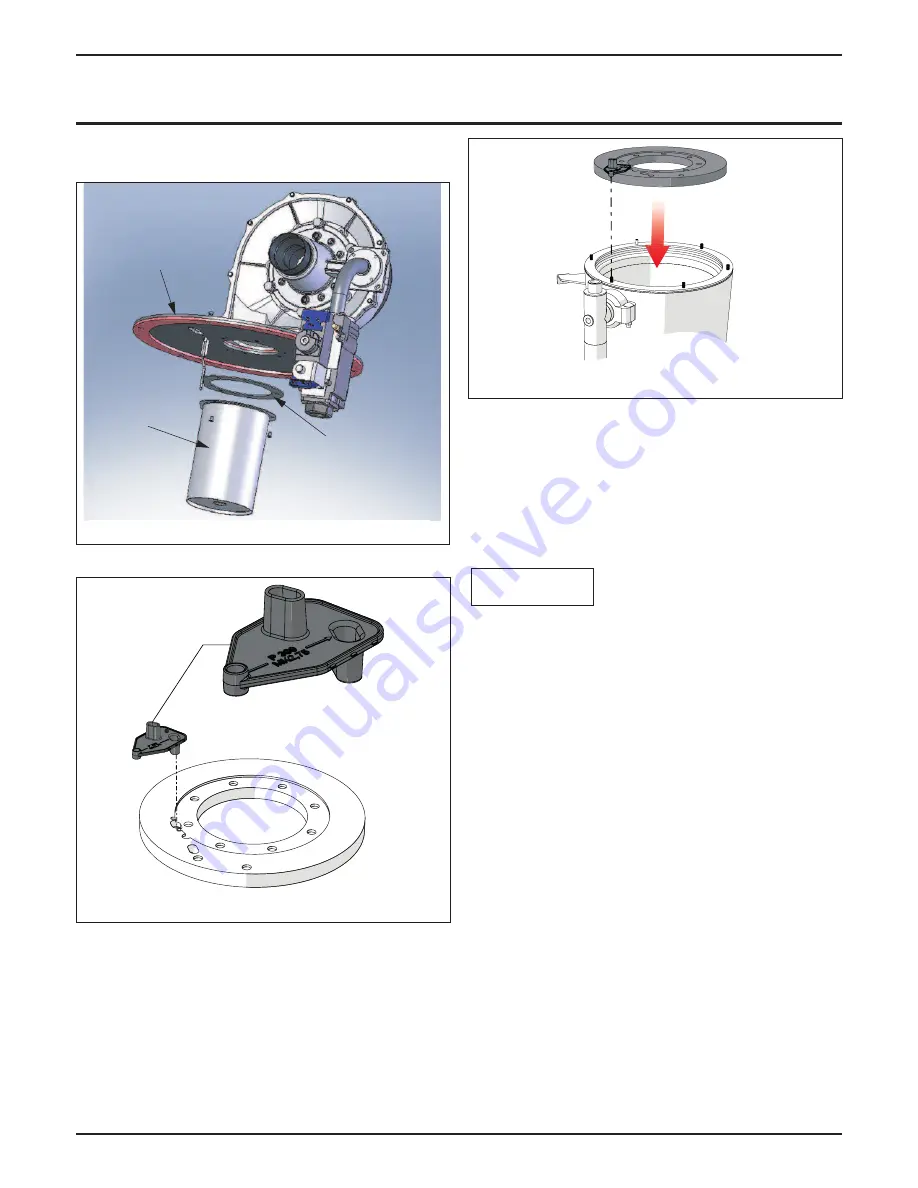
17. Install new burner plate gasket onto heat
exchanger.
18. Re-assemble the burner mounting plate assembly
onto the heat exchanger. Ensure the burner plate
gasket and combustion chamber insulation is in
place and not damaged.
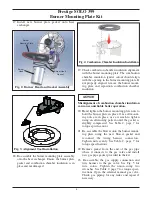
19. Check combustion chamber insulation alignment
with the burner mounting plate. The combustion
chamber insulation igniter cutout should align
with the opening in the burner mounting plate. If
not properly aligned, remove the burner mount-
ing plate and reposition combustion chamber
insulation.
Misalignment of combustion chamber insulation
can cause unreliable boiler operation.
20. Hand tighten the burner mounting plate nuts to
hold the burner plate in place. Once all mount-
ing nuts are in place, use a wrench to tighten
using an alternating pattern until the gasket is
slightly compressed. See Table 2, page 7 for
torque specifications.
21. Re-assemble the blower onto the burner mount-
ing plate using the new blower gasket and
reconnect the wiring harness connectors.
Tighten nuts evenly. See Table 2, page 7 for
torque specifications.
22. Remove gasket from the end of the gas pipe
where it connects to the gas valve and install
new gas pipe gasket provided in the kit.
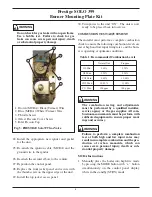
23. Re-assemble the gas supply connection and
wire harness to the gas valve. See Fig. 5 for
wire colors. Tighten the union using two
wrenches. See Table 2, page 7 for torque speci-
fications. Open the external manual gas valve.
Check gas piping for any leaks and repair if
necessary.
NOTICE
Burner
Head
Burner
Mounting Plate
Burner Head
Gasket
Fig. 2: Burner Head and Gasket Assembly
Fig. 3: Alignment Tool Installation
Fig. 4: Combustion Chamber Insulation Installation

