© Copyright 2015 TRENDnet. All Rights Reserved.
TRENDnet User’s Guide
TEW-824DRU
10
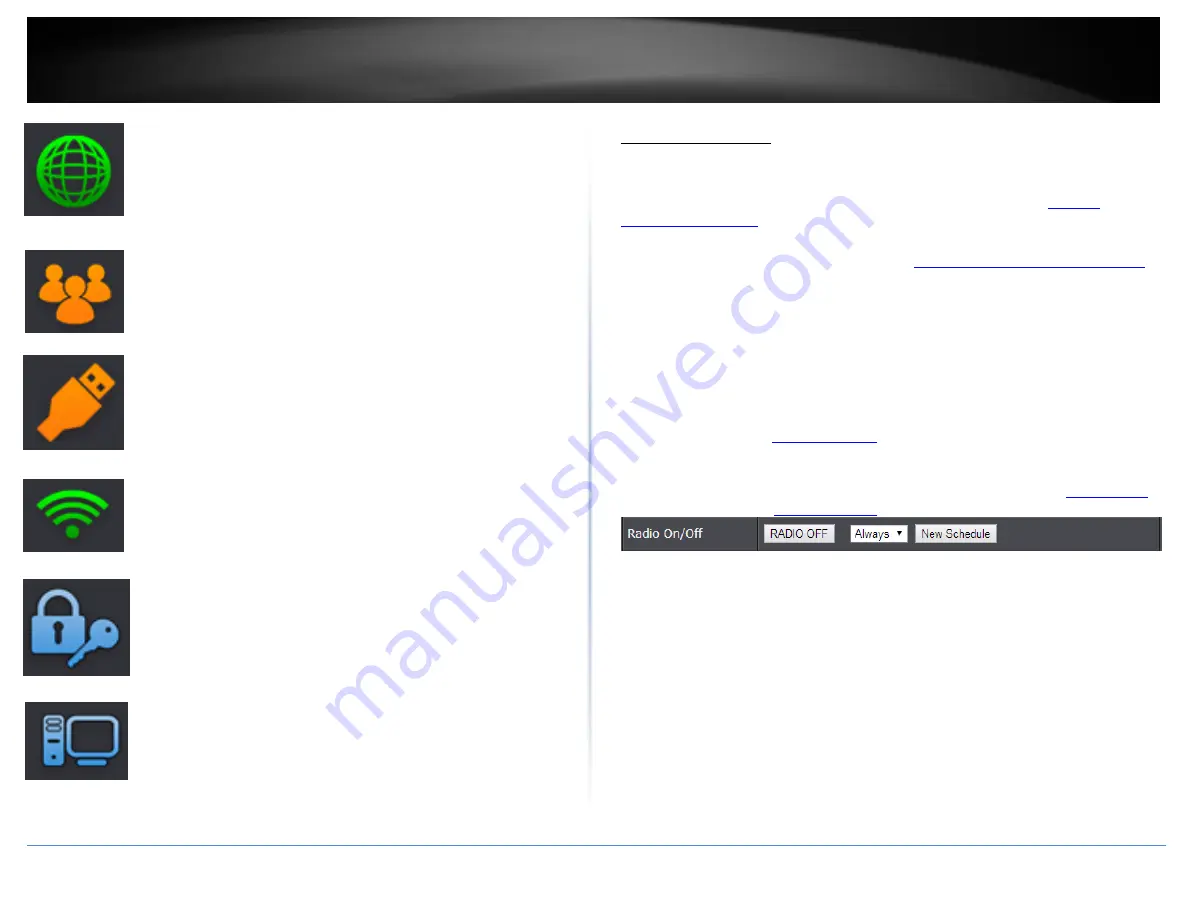
Internet:
The Internet icon displays green to indicate that your router
has successfully established an Internet connection. The Internet icon
displays orange to indicate that a physical connection has been
established on the Internet port of the router but with no successful
Internet connection has been established. The Internet icon displays
red to indicate that the Internet is physically disconnected.
Guest Network:
The Guest Network icon displays orange to indicate
that there are no wireless guest networks currently enabled. The
Guest Network icon will display green to indicate that you have at
least one wireless guest network currently enabled.
USB:
The USB icon displays orange to indicate that there are no USB
devices connect to the USB port(s). The USB icon displays green to
indicate that are USB devices connected to the USB port(s).
Wireless:
The wireless icon displays green to indicate that wireless is
enabled on both 2.4GHz and 5GHz bands. The wireless icon displays
orange to indicate that only wireless band is enabled (2.4GHz or
5GHz). The wireless icon will display red to indicate that wireless is
disabled on both 2.4GHz and 5GHz bands.
Wireless Security:
The wireless security section will display the
current security settings configured for your wireless networks. It is
strongly recommended to enable security on your wireless networks.
Connected Devices:
The connected devices section displays the list of
network devices currently connected to your router.
Wireless Settings
Basic > Wireless (2.4GHz or 5GHz)
This section outlines available management options under basic wireless sub tab for
both 2.4GHz and 5GHz wireless sections. You can refer to the page 21
to configure your wireless security settings.
1. Log into your router management page (see “
Access your router management page
on page 9).
2. Click on
Wireless
and click on
Basic
scroll down to
Wireless Network Settings
(2.4GHz
or 5GHz)
3. To save changes to this section, click
Apply
when finished.
Radio On/Off –
Click the radio on/off button to enable/disable the wireless radio.
Note:
It is recommended to keep wireless radios enabled.
New Schedule –
The schedule function allows you to define a schedule when the
wireless should be turned on. To define a new schedule, click
New Schedule
and
”. After you have created a new schedule,
click the drop-down list and the new schedule will be available for selection.
Note:
Before applying scheduling, please ensure your Time settings are configured
correct and you have defined a schedule. See page 38 to configure
and see page 39 “
” to create a schedule.
Wireless Mode:
When applying the Wireless Mode setting, please keep in mind the
following:
Wireless devices that support 802.11n are backwards compatible and can connect
wirelessly at 802.11g or 802.11b.
Wireless devices that support 802.11ac are backwards compatible and can connect
wirelessly at 802.11n or 802.11a.
Connecting at 802.11b or 802.11g will limit the capability of your 802.11n
supported wireless devices from obtaining higher performance and data rates.
Connecting at 802.11a or 802.11n will limit the capability of your 802.11ac
supported wireless devices from obtaining higher performance and data rates.
Allowing 802.11b or 802.11g devices to connect to an 802.11n capable wireless
network may degrade the wireless network performance below the higher
performance and data rates of 802.11n.
Summary of Contents for TEW-824DRU
Page 1: ...TRENDnet User s Guide Cover Page...
Page 72: ......


