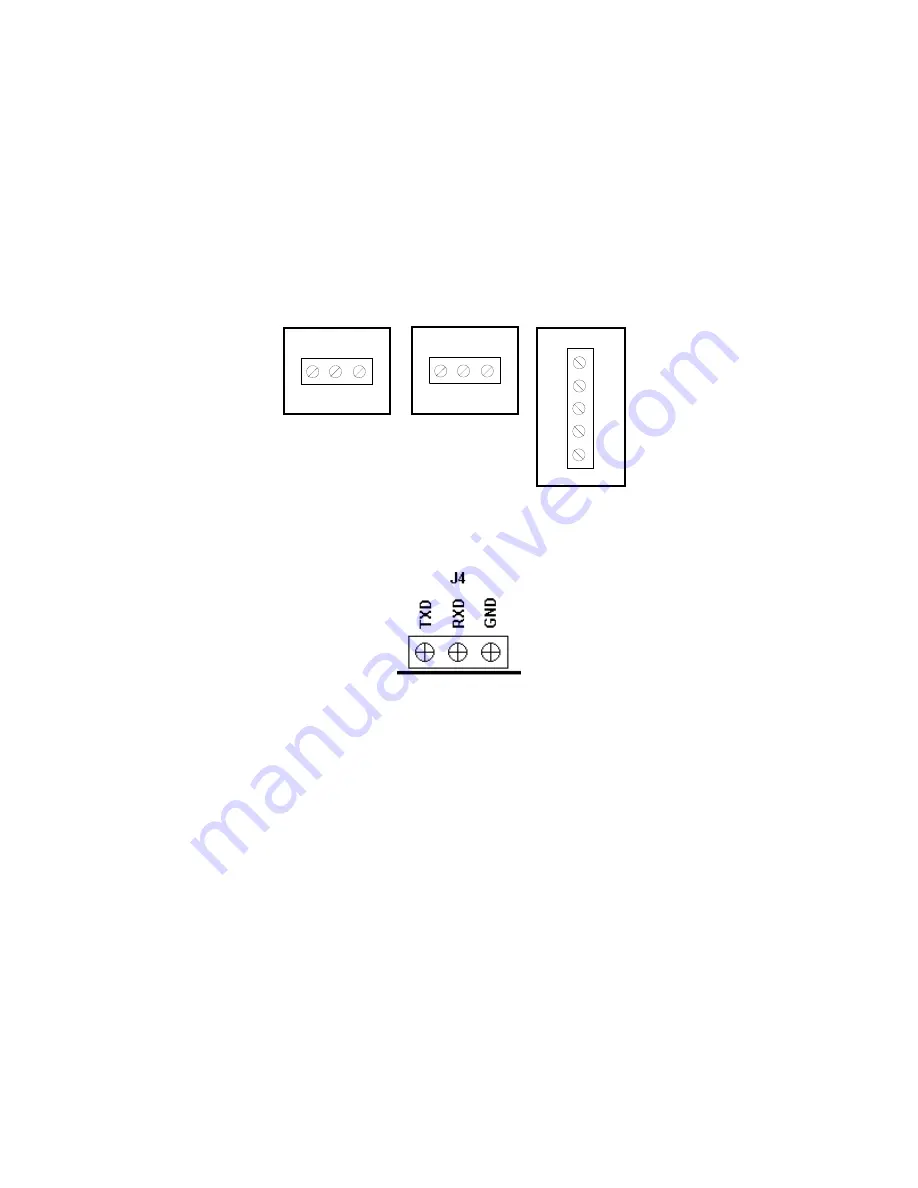
2.2.2 CONNECTING THE SERIAL PRINTER, REMOTE DISPLAY OR COMPUTER
The TI-500 Series indicator comes standard with one full duplex RS-232 serial port,
designed for connection to either a PC or a serial printer. The same port may be also used
as a simplex, RS-232 port designed for connection to a remote display.
Connection assignments for all serial communication terminals are shown in Figure 2-7.
NOTE:
Do not connect any RS-232 equipment to the “+5V” terminal (not shown).
1. Connect your serial printer, remote display or computer communication cable (not
included) to the appropriate terminal on the main board.
TXD RXD GND
J3
TI-500E-SS
TXD RXD GND
J4
TI-500-SSB
J3
GND
RXD
TXD
nc
nc
TI-500-SL
Figure 2-7: Connection assignments for the serial communication terminal
Figure 2-7a: Connection assignments for the serial communication terminal – TI-500E-SS 4-20
2.2.3 CONNECTING THE POWER SUPPLY
The TI-500E-SS indicator ships with an AC line cord attached to the indicator. Simply plug
the unit into a standard wall outlet.
The TI-500-SSB and TI-500-SL indicators ship with the rechargeable battery pre-installed.
The external power supply (included) can also be used to power the indicator. The adapter
acts as the battery charger. Because of this, the rechargeable indicator must use a 12 VDC,
800 mA adapter.
1. Simply plug the AC adapter into the indicator’s DC Power Jack first, and then plug into a
standard wall outlet.
Make sure that the AC voltage appearing at the wall outlet
matches the input voltage marked on the AC adapter.
Page 2-6


