TL-R480T
Enterprise Broadband Router User Giude
DHCP Server - Enable
or
Disable
the DHCP server. If you disable the Server, you
must have another DHCP server within your network or else you must manually
configure the computer.
Start IP Address -
This field specifies the first of the addresses in the IP address
pool. 192.168.1.100 is the default start address.
End IP Address -
This field specifies the last of the addresses in the IP address
pool. 192.168.1.199 is the default end address.
Address Lease Time -
The
Address Lease Time
is the amount of time a network
user will be allowed connection to the router with their current dynamic IP address.
Enter the amount of time, in minutes, which the user will be "leased" this dynamic
IP address. The range of the time is 1 ~ 2880 minutes. The default value is 120
minutes.
Default Gateway -
(Optional.) Suggest to input the IP address of the LAN port of
the router, default value is 192.168.1.1
Default Domain -
(Optional.) Input the domain name of your network.
Primary DNS -
(Optional.) Input the DNS IP address provided by your ISP. Or
consult your ISP.
Secondary DNS -
(Optional.) Input the IP address of another DNS server if your
ISP provides two DNS servers.
Note:
To use the DHCP server function of the router, you must configure all computers
on the LAN as "Obtain an IP Address automatically" mode. This function will take effect
until the router reboots.
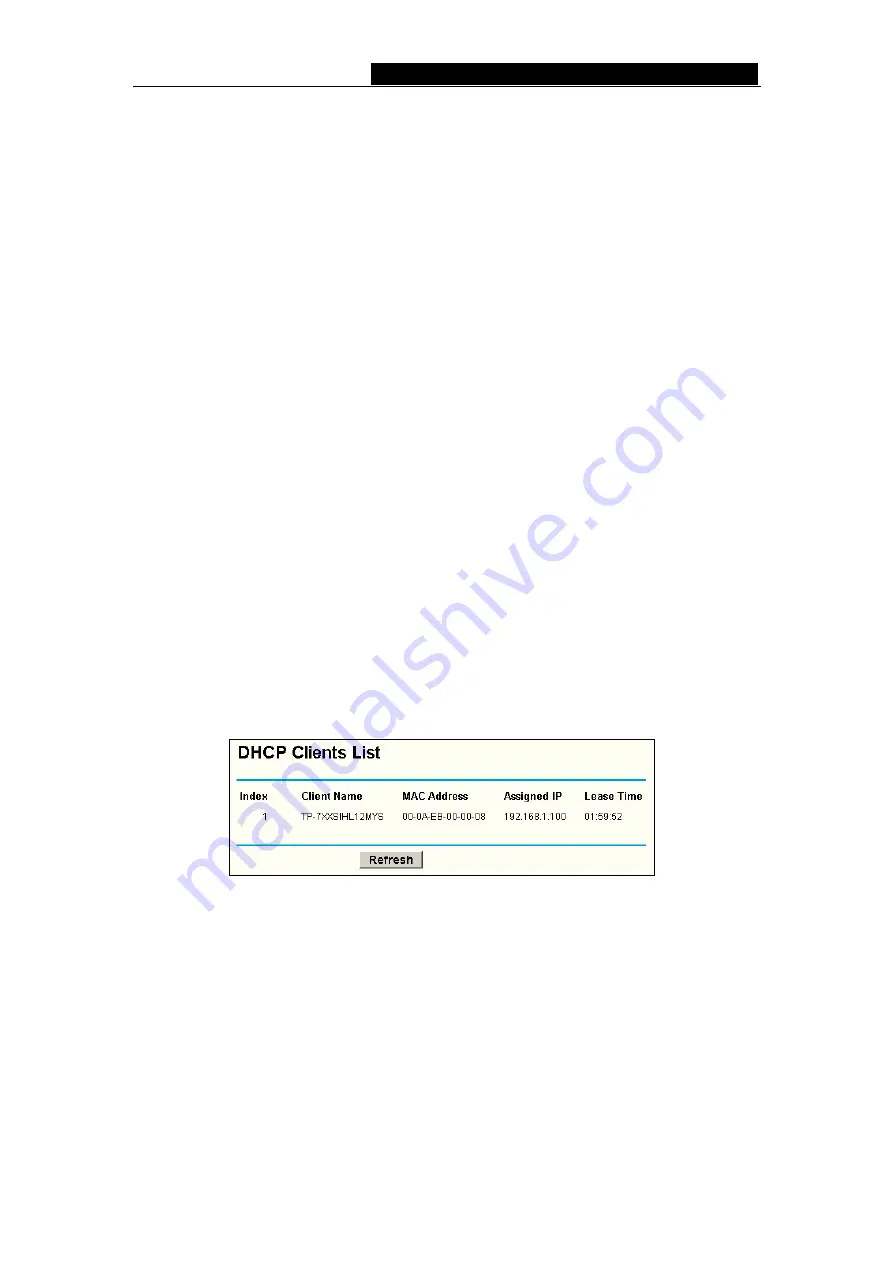
5.5.2 DHCP Clients List
This page shows
Client Name, MAC Address, Assigned IP
and
Lease Time
for each
DHCP Client attached to the router (figure 5-14):
Figure 5-14 DHCP Clients List
Index -
The index of the DHCP Client
Client Name
-
The name of the DHCP client
MAC Address
-
The MAC address of the DHCP client
Assigned IP
-
The IP address that the router has allocated to the DHCP client.
Lease Time
-
The time of the DHCP client leased. Before the time is up, DHCP
client will request to renew the lease automatically.
You cannot change any of the values on this page. To update this page and to show the
current attached devices, click on the
Refresh
button.
- 22 -
Summary of Contents for TL-R480T
Page 1: ......


