JetStream L2/L2+ Managed Switch
20
Configuration
■
Use the console port to access the switch. When using the console port, start the terminal emulation
program (such as the Hyper Terminal) on the PC and configure the terminal emulation program as
follows:
Baud Rate
Data Bits
Parity
Stop Bits
Flow Control
38400 bps
8
None
1
None
For the detailed configurations, refer to the
User Guide
and
CLI Guide
. The guides can be found on
the download center of our official website: https://www.tp-link.com/download-center.html
Note:
For certain devices, you may need to change the password the first time you log in, which will
better protect your network and devices.
4.3 Controller Mode
Controller Mode applies to the large scale network with mass devices. All devices can be centrally
configured and monitored via Omada Hardware Controller or Omada Software Controller.
Note:
Before the following configurations, make sure the switch can access the internet. When using
Omada Software/Hardware Controller, make sure the switch and the controller are in the same
subnet. Typically, the switch obtains IP address from the DHCP server. You can check the
switch’s IP address on the DHCP server.
■
Via Omada Hardware Controller (OC200/OC300)
Omada Hardware Controller (OC200/OC300) is a good alternative if you have no spare PC to keep
running Omada Software Controller in the network. It needs to be purchased additionally. Follow the
steps below to configure the Omada Hardware Controller.
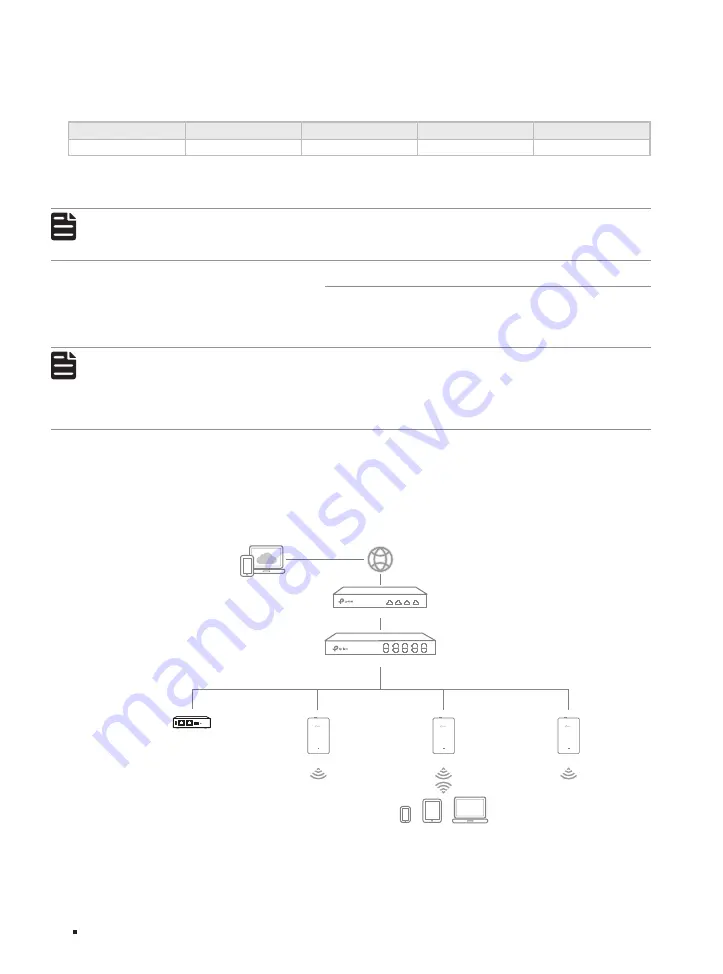
Figure 4-2
Manage the network via Omada Software/Hardware Controller
Switch
Router
Clients
Omada Hardware Controller
(OC200/OC300)
EAP
EAP
EAP
Note:
•
Before you start, be sure to power up and connect your devices according to the topology figure.


