12
❏
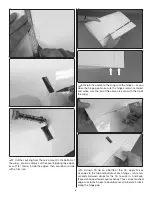
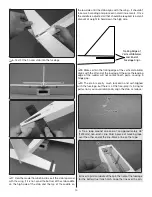
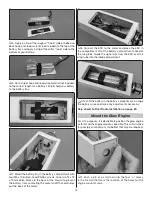
13. Use a pin to puncture the covering on both sides of the
stab just inside the lines you marked. Wipe away the ink lines
with a paper towel square dampened with denatured alcohol.
❏
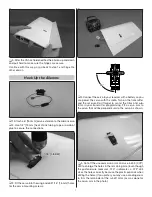
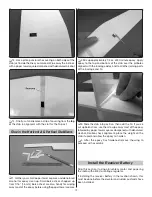
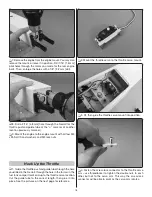
14. Finally, cut and remove a strip of covering from the
top
of the stab in alignment with the slot for the fi n post.
Glue in the Horizontal & Vertical Stabilizers
❏
1. Gather your small paper towel squares and denatured
alcohol for epoxy clean up. Small balsa sticks chopped up
from 1/16" [1.5 mm ] balsa sheet are also handy for wiping
away most of the epoxy before using the paper towel squares.
❏
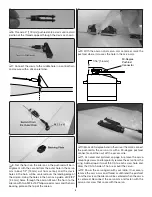
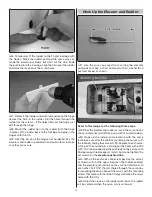
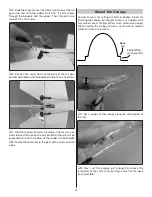
2. Mix up approximately 1/4 oz. of 30-minute epoxy. Apply
epoxy to the top and bottom of the stab over the pinholes
aligned with the fuselage sides and to all other joining parts
of the fuselage and fi n.
❏
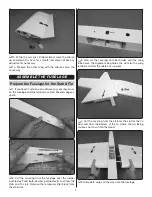
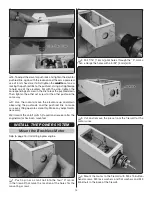
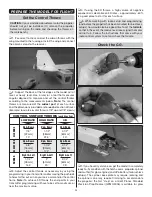
3. Slide the stab into position, then add the fi n. If you’ve
cut up balsa sticks, use them to wipe away most of the epoxy
followed by paper towel squares dampened with denatured
alcohol. Double-check alignment, place the weight on the
stab if used and allow the epoxy to harden.
❏
4. After the epoxy has hardened remove the wing to
proceed with assembly.
Install the Receiver Battery
Skip this section if using a brushless motor and powering
the radio with a BEC or voltage regulator.
If installing the receiver battery in the location shown, this
must be done before the elevator and rudder pushrods have
been installed.


