5
AEPM030
5
6
ES
GB
FR
DE
IT
13 p.
7 p.
G
G
H
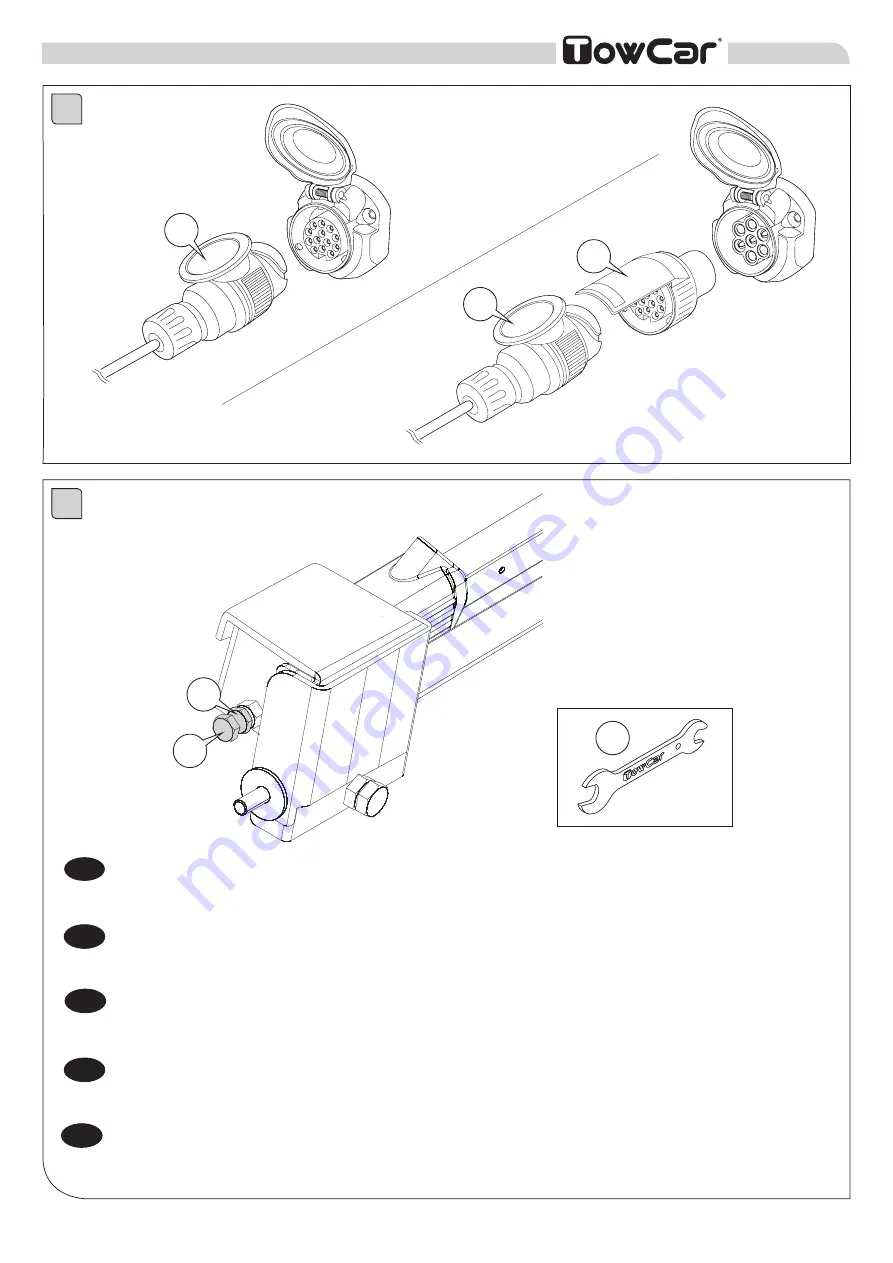
Ajuste del cabezal: Afloje la contratuerca (B), apriete el tornillo (A) hasta que el cabezal no pueda girar (en caso de que
no sea posible bajar la palanca con la fuerza de la mano, afloje un poco el tornillo). Una vez se consiga un buen ajuste,
apriete la contratuerca (B). Esta operación debe ser repetida cada cierto tiempo.
Regolazione della testa: allentare il controdado (B), serrare la vite (A) fino a immobilizzare completamente la testa (in caso
non sia possibile, abbassare la leva manualmente e allentare leggermente la vite). Una volta ottenuta la regolazione
desiderata, serrare il dado di bloccaggio (B). Questa operazione deve essere ripetuta periodicamente.
Kopfteileinstellung: Kontermutter (B) lösen, Schraube (A) anziehen, bis sich das Kopfteil nicht mehr drehen kann (sollte
das nicht möglich sein, Hebel mit Handkraft absenken und Schraube etwas lockern). Sobald die richtige Einstellung
erreicht ist, Kontermutter (B) anziehen. Dieser Vorgang muss ab und zu wiederholt werden.
Régler la tête: Desserrer le contre-écrou (B), serrer la vis (A) jusqu’à ce que la tête ne puisse tourner (si ce n’est pas
possible, baisser le levier manuellement, desserrer un peu la vis). Une fois bien réglé, serrer le contre-écrou (B). Cette
opération doit être répétée régulièrement.
Adjustment of the coupling: Loosen the locknut (B), tighten the screw (A) until the whole system can not rotate (if it is not
possible to lower the lever by the force of the hand, slightly loosen the screw). Once a good fit is achie-ved, tighten the
locknut (B). This operation must be often repeated.
A
B
P
160729 Rev. 2
Summary of Contents for AEPM030
Page 3: ...3 AEPM030 1 90 2 2 3 1 E 160729 Rev 2...
Page 4: ...1 Racing 4 AEPM030 3 4 F 90 2 3 160729 Rev 2...
Page 7: ...7 AEPM030 8 9 1 2 3 CLIC CLIC R 4x 1 2 3 4 160729 Rev 2...
Page 8: ...Racing 8 AEPM030 10 7 3 6 4 5 L 2 160729 Rev 2...
Page 9: ...11 9 AEPM030 4 1 5 2 3 2x N N1 1x 120 cm N2 2x 80 cm 160729 Rev 2...


