6-3-2. CCD Sensitivity (SENSITIVE)
Devices to use:
- Dedicated power supply (accessory)
- Lens hood
- SD card
The SD card needs to contain the adjustment firmware. Make sure the firmware is written to root
directory.
- Standard light source
It takes several minutes to stabilize the luminosity. Start the adjustment after waiting for at least 10
minutes after turning the power on.
1) Confirm that the AC adapter is connected, lens food is attached, and SD card with adjustment firmware is
inserted to the camera.
2) Set the dial of the standard light source at 11LV.
3) Place the camera in the position where lens hood can tightly fit to the luminosity side of standard light
source.
4) Turn on the camera with holding the MENU button.
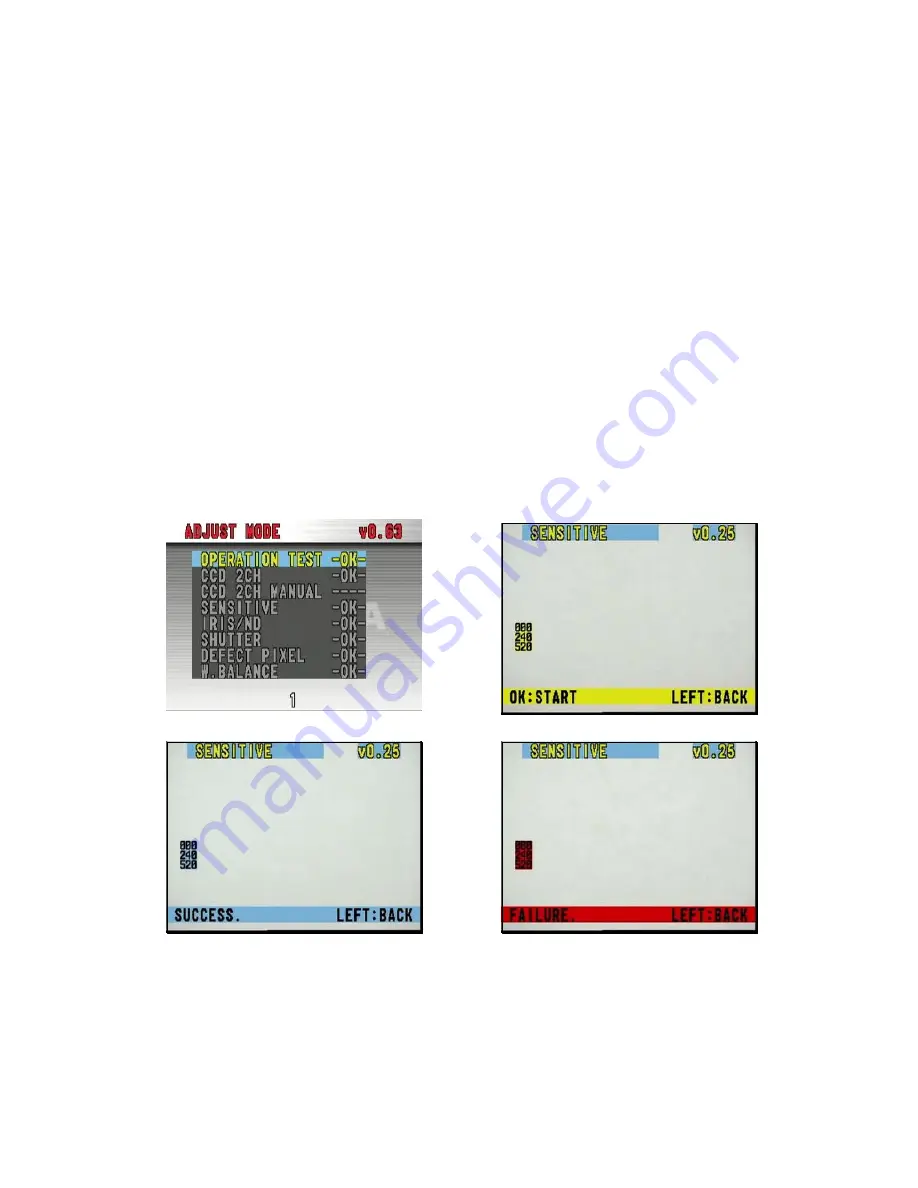
5) The adjustment menu shown in Fig. 6.3.1.2 will be displayed on the LCD monitor. Select "SENSITIVE" by
rotating the JOG dial or by pushing up/down the OK button, and press the OK button down to right to
proceed.
6) The image shown in Fig. 6.3.2.2 will be displayed on the LCD monitor. Press the OK button to proceed.
7) After the automatic adjustment, the result will be displayed at the bottom of monitor screen within several
seconds. As shown in Fig. 6.3.2.3, the adjustment is completed when "SUCCESS" is displayed. As shown
in Fig. 6.3.2.4, the adjustment is failed when "FAILURE" is displayed, and re-adjustment will be required.
8) Return to the adjustment menu (Fig. 6.3.2.1) by pushing the OK button down to left in order to continue the
adjustment for other items. Turn off the camera to end the adjustment.
Fig. 6.3.2.1
Fig. 6.3.2.2
Fig. 6.3.2.3
Fig. 6.3.2.4
43
Summary of Contents for Gigashot GSC-R30
Page 12: ...2 Mechanical Parts 2 1 Explode Diagram GSC R60 11 ...
Page 13: ...GSC R30 12 ...
Page 58: ...GSC R60 GSC R30 ...


