English
- 79
E
diting
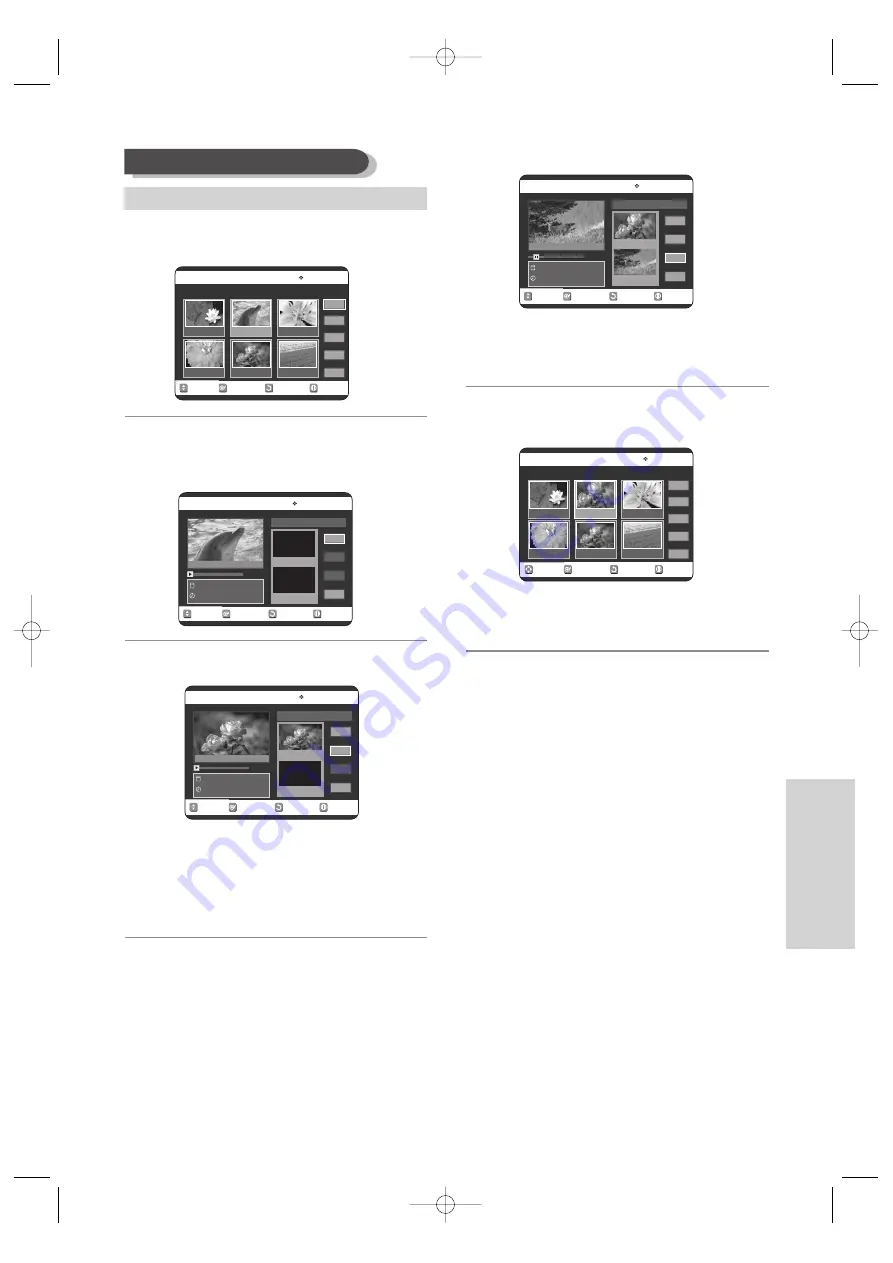
4
Press the
…† œ √
buttons to select the scene you
want to modify, then press the
OK
button.
5
Press the
…†
buttons to select
Modify
, then press the
OK
button.
The Modify Scene screen is displayed.
6
Press the
OK
button at the start point of the scene.
• The image and starting point time are displayed on
the Start window.
• Select the starting or ending point of the section you
want to modify using the playback related buttons
(
√
II
,
I
œœ
,
√√
I
,
√√
,
œœ
).
7
Press the
OK
button at the end point of the scene.
• The image and ending point time are displayed in the
End window.
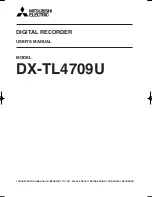
8
Press the
…†
buttons to select
Change
, then press the
OK
button.
• The scene you want to modify is changed with the
selected section.
Modifying a Scene (Replacing a Scene)
RETURN
OK
MOVE
EXIT
Modify Scene
DVD-RAM(VR)
Dolphin
20/JAN/2005 06:43
00:00:20
Start
End
Change
Cancel
Scene No. 002
Start 00:00:20
End 00:00:00
RETURN
OK
MOVE
EXIT
Modify Scene
DVD-RAM(VR)
Dolphin
20/JAN/2005 06:43
00:00:30
Start
End
Change
Cancel
Scene No. 002
Start 00:00:20
End 00:00:30
RETURN
OK
MOVE
EXIT
Edit Scene
DVD-RAM(VR)
Scene No. 2/7
Playlist No. 2
Play
Modify
Move
Add
Delete
01
00:00:26
02
00:00:07
03
00:00:04
04
00:00:03
05
00:00:11
06
00:00:04
RETURN
OK
MOVE
EXIT
Modify Scene
DVD-RAM(VR)
Dolphin
20/JAN/2005 06:43
00:00:00
Start
End
Change
Cancel
Scene No. 002
Start 00:00:00
End 00:00:00
RETURN
OK
MOVE
EXIT
Edit Scene
DVD-RAM(VR)
Scene No. 2/7
Playlist No. 3
Play
Modify
Move
Add
Delete
01
00:00:26
02
00:00:07
03
00:00:04
04
00:00:03
05
00:00:11
06
00:00:04
Title List : 1/7
Title List : 1/7
Title List : 1/7
To setup, follow steps 1 to 3 in page 78.
VR25SB-3-eng 5/6/05 5:52 PM Page 79


