DANGER
In certain conditions during fueling, static
electricity can be released causing a spark which
can ignite the fuel vapors. A fire or explosion from
fuel can burn you and others and can damage
property.
•
Always place fuel containers on the ground away
from your vehicle before filling.
•
Do not fill fuel containers inside a vehicle or on
a truck or trailer bed because interior carpets
or plastic truck bed liners may insulate the
container and slow the loss of any static charge.
•
When practical, remove equipment from the
truck or trailer and refuel the equipment with its
wheels on the ground.
•
If this is not possible, then refuel such
equipment on a truck or trailer from a portable
container, rather than from a fuel dispenser
nozzle.
•
If a fuel dispenser nozzle must be used, keep the
nozzle in contact with the rim of the fuel tank
or container opening at all times until fueling is
complete.
1.
Park the machine on a level surface.
2.
Using a clean rag, clean area around fuel tank cap.
3.
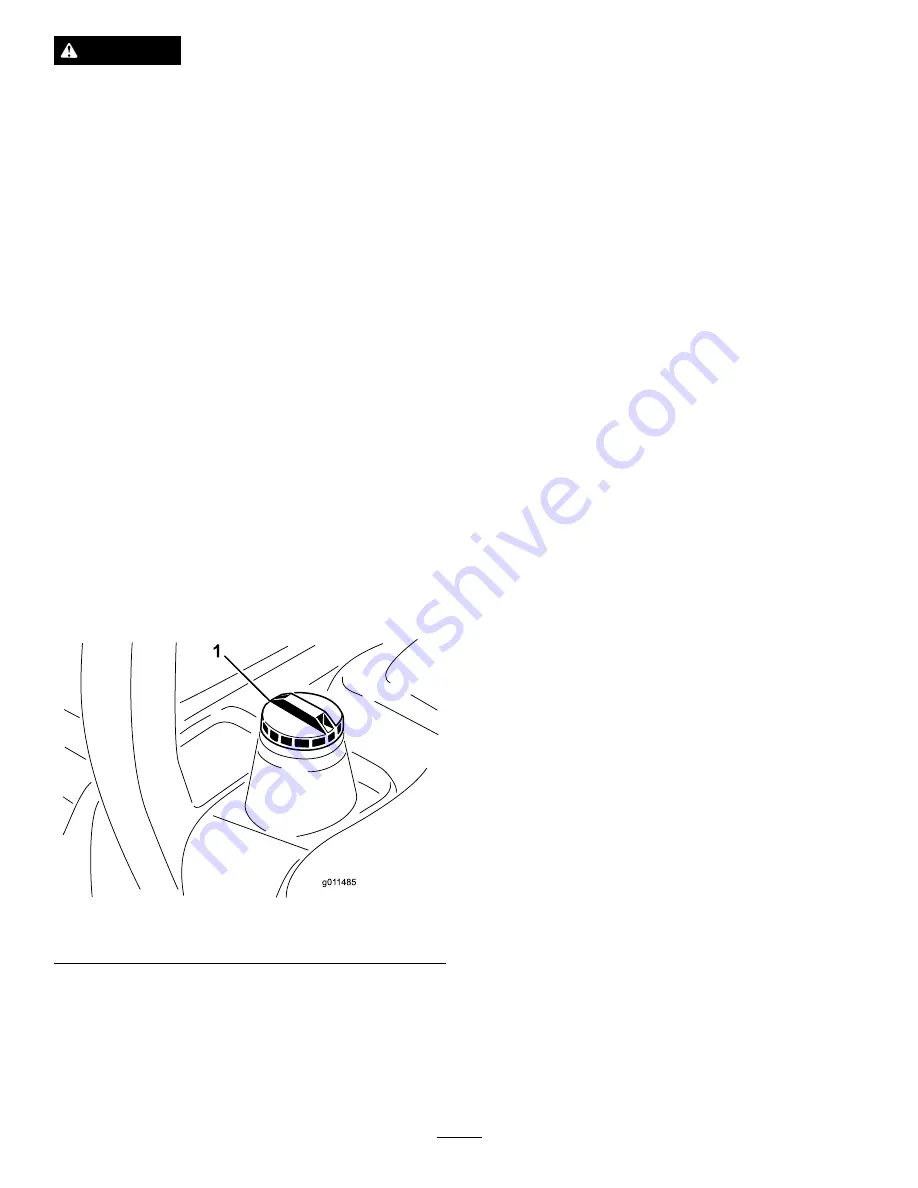
Remove cap from the fuel tank (Figure 11).
Figure 11
1.
Fuel tank cap
4.
Fill the tank until the level is to the bottom of the filler
neck with diesel fuel.
5.
Install fuel tank cap tightly after filling tank.
Note:
If possible, fill the fuel tank after each use. This
will minimize possible buildup of condensation inside
the fuel tank.
Checking the Hydraulic Fluid
Service Interval:
Before each use or daily
The machines reservoir is filled at the factory with
approximately 8 U.S. gallons (30.2 l) of high quality hydraulic
fluid.
Check the level of the hydraulic fluid before
the engine is first started and daily thereafter.
The
recommended replacement fluid is:
Toro Premium All Season Hydraulic Fluid
(Available in
5 gallon pails or 55 gallon drums. See parts catalog or Toro
distributor for part numbers.)
Alternate fluids: If the Toro fluid is not available, other fluids
may be used provided they meet all the following material
properties and industry specifications. We do not recommend
the use of synthetic fluid. Consult with your lubricant
distributor to identify a satisfactory product.
Note:
Toro will not assume responsibility for damage
caused by improper substitutions, so use only products
from reputable manufacturers who will stand behind their
recommendation.
High Viscosity Index/Low Pour Point Anti-wear
Hydraulic Fluid, ISO VG 46
Material Properties:
St @ 40° C 44 to 48
Viscosity, ASTM D445
St @ 100° C 7.9 to 8.5
Viscosity Index ASTM D2270
140 to 160
Pour Point, ASTM D97
-34° F to -49° F
Industry Specifications:
Vickers I-286-S (Quality
Level), Vickers M-2950-S
(Quality Level), Denison
HF-0
Note:
Many hydraulic fluids are almost colorless, making it
difficult to spot leaks. A red dye additive for the hydraulic
system oil is available in 2/3 oz (20 ml) bottles. One bottle
is sufficient for 4-6 gallons (15-22 1) of hydraulic oil. Order
part no. 44-2500 from your authorized Toro distributor.
1.
Position the machine on a level surface, lower the
cutting units, stop the engine, and remove the key.
2.
Unlatch the seat, raise it, and engage the prop rod.
3.
Clean the area around the filler neck and cap of the
hydraulic tank (Figure 12). Remove the cap from the
filler neck.
20
Summary of Contents for 30447N
Page 57: ...Schematics g014815 Electrical Schematic Rev D 57...
Page 58: ...g017775 Electrical Schematic Rev D 58...
Page 59: ...g017776 Electrical Schematic Rev D 59...
Page 60: ...g017779 Electrical Schematic GM 4000 4100 Rev D 60...
Page 61: ...g017780 Electrical Schematic GM 4010 Rev D 61...
Page 62: ...g017781 Electrical Schematic GM 4110 Rev D 62...
Page 63: ...g017782 Electrical Schematic GM 4010 Rev D 63...
Page 64: ...g017783 Electrical Schematic GM 4110 Rev D 64...
Page 65: ...g017784 Electrical Schematic GM 4110 Cab Rev D 65...
Page 66: ...g017785 Electrical Schematic GM 4110 Cab Rev D 66...
Page 67: ...Hydraulic Schematic Rev B 67...


