


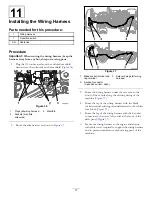
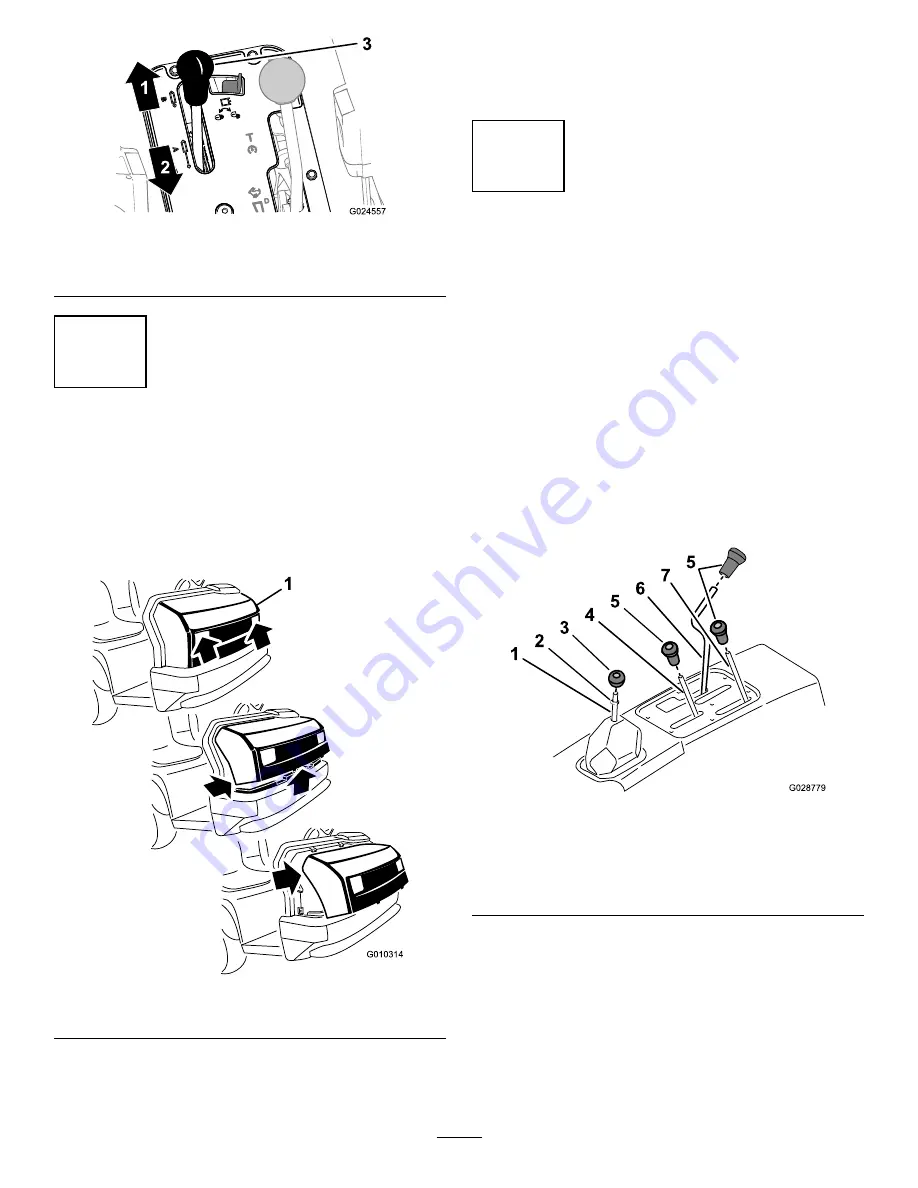
Figure 3
1.
Forward
3.
Lift control
2.
Backward
2
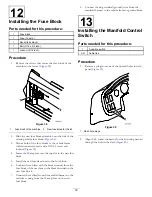
Removing the Hood
No Parts Required
Procedure
1.
While grasping the hood in the headlight openings, lift
up on the hood to release the lower mounting tabs
from the slots in the bumper (
).
Figure 4
1.
Hood
2.
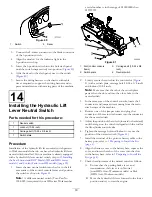
Pivot the bottom of the hood upward until the top
mounting tabs can be pulled from the frame slots
(
3.
Pivot the top of hood forward and unplug the wire
connectors from the head lights (
).
4.
Remove the hood.
3
Removing the Seats (HD and
HDX series models)
No Parts Required
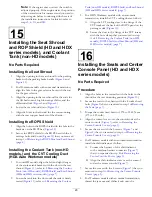
Removing the Center-Console Covers
1.
Ensure that the parking brake is set.
2.
Remove the center console covers as follows:
•
For Workman models with an
manual
transmission
—
A.
shift the differential lock to the Lock position
(
B.
remove the shifter handle and jam nut from
the transmission-shift rod (
Figure 5
1.
Transmission-shift rod
5.
Control knobs
2.
Jam nut
6.
Differential lock rod
3.
Shifter handle
7.
High—low range rod
4.
Hydraulic bed-lift rod
•
For Workman models with an
automatic
transmission
—
A.
move the transmission lever to the L (low
forward) position (
).
B.
remove the transmission lever knob (
).
C.
move the speed-range lever to the A (high
range) position (
).
5


