


4-13
4 PROGRAM MODE
4.6.1 Options
The option routines provide features for selecting jobs, job maintenance and transferring jobs to and
from the GTS-600. In the (Create or Select a job) routine, the user can scroll through memory to select
a job by pressing the soft key assigned to the job.
In the Job Manager option. the user can View Jobs in Memory, Erase Points in a Job, Create Jobs,
Transfer Jobs, Delete and Rename Jobs.
Examples are provided below for all the routines for the Options.
Create or Select a Job
In the Create or Select a Job option, all the jobs in memory are shown on the display. If there are more
than four jobs in memory, pressing the (MORE) [F6] key will page down to view other jobs. Once a job
is highlighted, press the soft key for that job to become the current job.
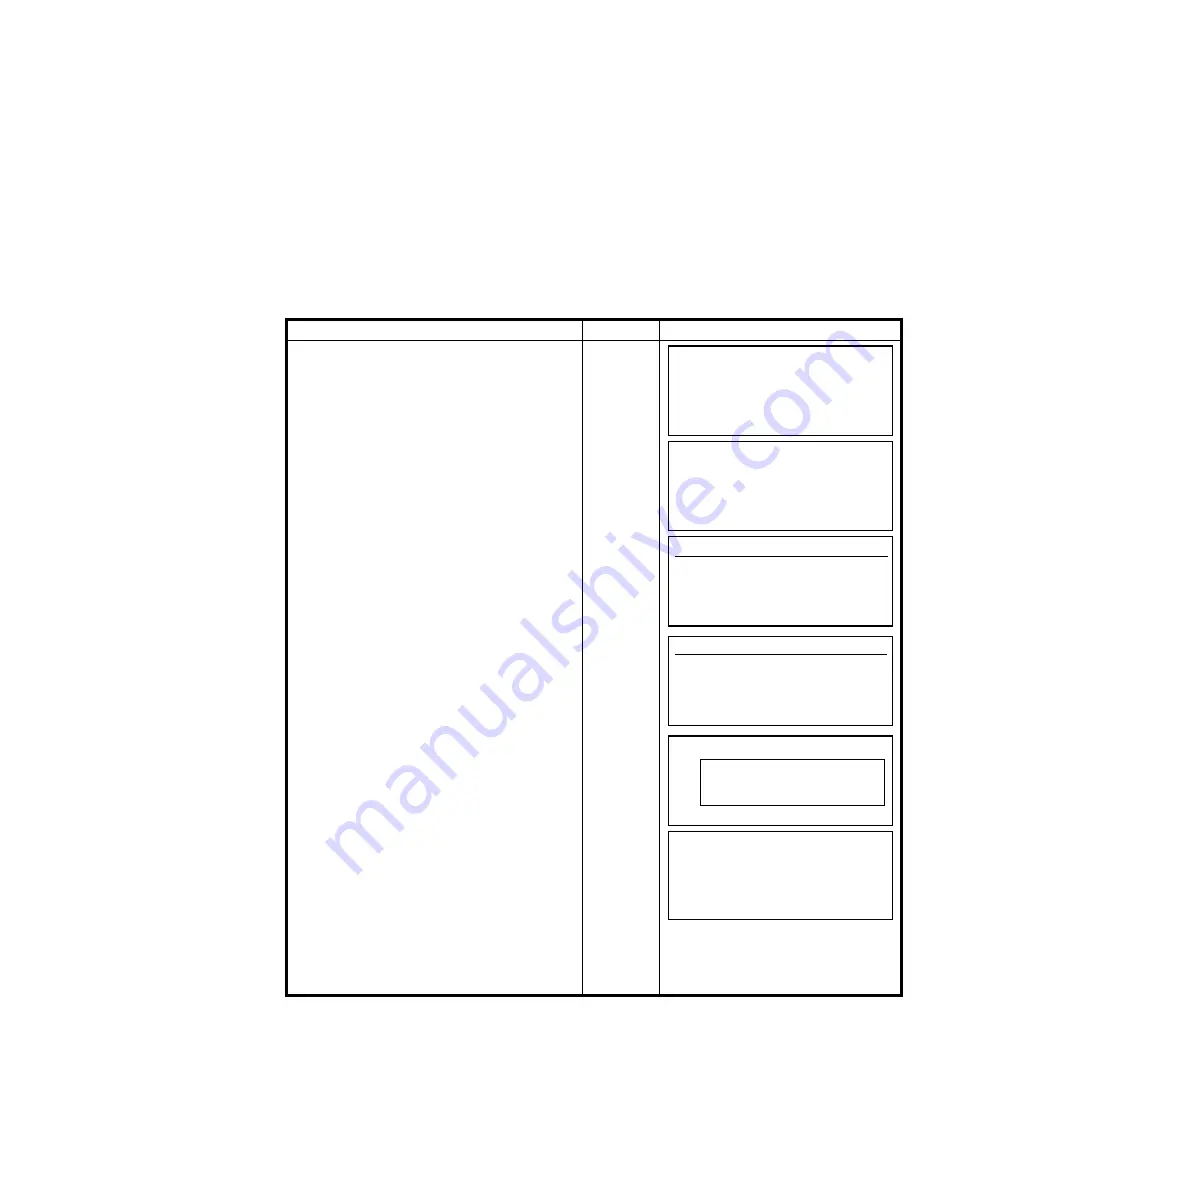
Operating procedure
Operation
Display
1
From the Main Menu Icons, press the [F4]
(Options) key.
[F4]
2
In the Options menu select [F1] (Create or
Selection a Job).
[F1]
3
The jobs that are in memory will show on the
screen. If there are more then four jobs in
memory, the [F6] (MORE) will scroll to the
other pages.
[F6]
4
To select a job, press the soft key that
represents the job. EXAMPLE; To select the
job, TAC2, press the [F3] key.
[F3]
5
The LAYOUT screen appears in the back
ground with the current job information in
front.
6
Once the job information disappears from the
display, the layout menu appears on the
display and that job becomes the current job.
LAYOUT
F1 Setting Direction Angle
F2 Setting Layout Point
F3 Coordinate data
F4 Options
Options
F1 Create or Select a Job
F2 Job Manager
Select a Job (Job,# of Pts)
F1 TAC1 25 4/6
F2 TOPCON 20
F3 TAC2 10
F4 NEW 10 MORE
Select a Job (Job,# of Pts)
F1 TAC1 25 4/6
F2 TOPCON 20
F3 TAC2 10
F4 NEW 10 MORE
LAYOUT
F1 Setting Direction Angle
F2 Setting Layout Point
F3 Coordinate data
F4 Options
Job Name TAC2
# of Pts 10
Grid Factor 1.000000
LAYOUT
F1 Setting Direction Angle
F2 Setting Layout Point
F3 Coordinate data
F4 Options
Summary of Contents for GTS-600 Series
Page 2: ......
Page 120: ...10 SETTING ATMOSPHERIC CORRECTION 10 4...
Page 121: ...10 SETTING ATMOSPHERIC CORRECTION 10 5...
Page 143: ......


