CA-200F Corneal Analyser - Rev. 7 16/01/2012
23
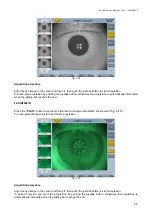
The images are numbered progressively and each of them is associated with the eye to which they refer and
the type of acquisition.
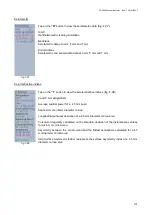
For topography and fluorescein, you can tap on a preview image to select or deselect it. The selected
images are displayed normally, while those not selected are dark.
To calculate the topographic map, the software automatically selects the best image for each eye.
Press the arrow buttons to scroll up and down all the images.
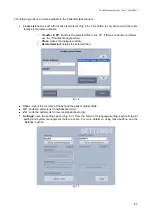
Functions
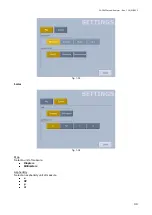
Settings
Tap on
“Settings”
to open the settings panel. See the “Settings” section.
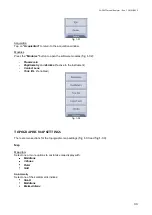
Close/Save
Tap on
“Close/Save”
to open the options (
Store Locally
: locally stores the data acquired. This data can be sent to the PC using the
“Local
List”
button in the Patient Details window;
Transfer to PC
: sends the data acquired directly to the PC. If there are transfer problems, see the
“Troubleshooting” section;
Close
: closes the current patient and returns to the Patient Details window.
fig. 1-12
Reset
The
“Reset”
button deletes the images in the gallery of the examination highlighted for the current patient.
Processing
The
“Processing”
button processes the images acquired for the three sections (topography, pupillometry
and fluorescein). If at least one topography image has been acquired, the software by default accesses the
map environment.


