1/8" wide tape to accurately mark the recommended
C.G. (center of gravity, or “balance point”) on the
bottom of the wing 2-1/2" [65mm] back from the
leading edge on both sides of the belly pan.
❏
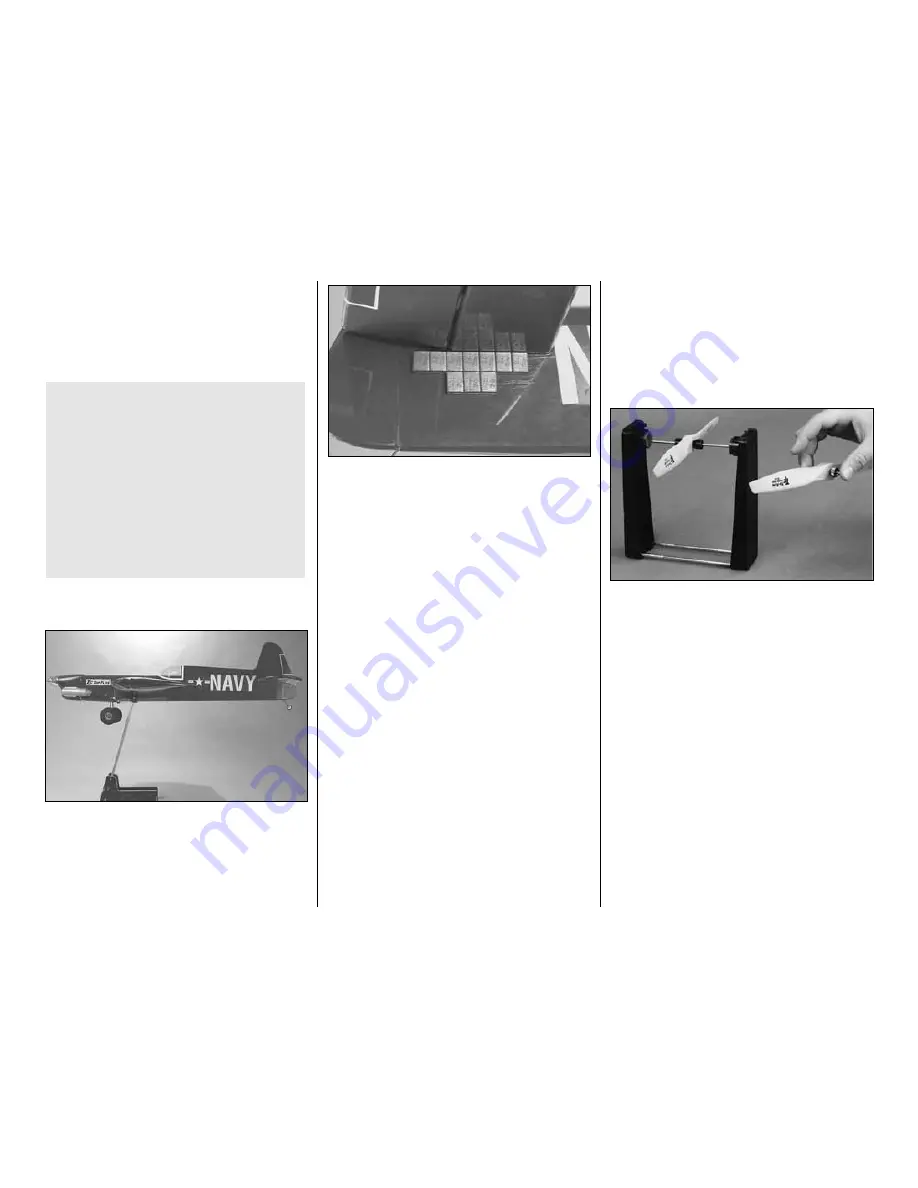
2. Place the model on a Great Planes CG
Machine, or lift it at the balance point you marked on
both sides of the fuselage. Note whether the nose or
tail drops. If the tail drops, the model is “tail heavy”
and weight must be added to the nose to balance. If,
however, the nose drops (as will likely be the case),
weight must be added to the tail to balance.
❏
3. Add nose or tail weight to balance the model. If
nose weight is required it may be added by using a
“spinner weight” (GPMQ4645 for the 1 oz. [30g]
weight, or GPMQ4646 for the 2 oz. [55g] weight) or
Great Planes (GPMQ4485) “stick-on” lead which
may be added to the firewall (don’t attach weight to
the cowl–it is not intended to support weight). If tail
weight is required it may be placed on the right side
of the fuselage (opposite the muffler) under the
stabilizer. After the final amount of tail weight has
been determined (from several test flights) the covering
may be cut from the lightening hole in the back of the
fuselage and the lead permanently glued inside.
Note: Do not rely upon the adhesive on the back of
the lead weight to permanently hold it in place. Over
time, fuel and exhaust residue may soften the
adhesive and cause the weight to fall off. Use #2
sheet metal screws, RTV silicone or epoxy to
permanently hold the weight in place.
❏
4. IMPORTANT: If you found it necessary to add
any weight, recheck the C.G. after the weight has
been installed.
Wing Tip Weight
To begin, add 1 oz. [30g] of lead weight to the right
wing tip. This can be temporarily attached to the
bottom of the wing with the self-adhesive foam tape
attached to the weight. After the final amount of
weight required has been determined (after test
flying), it can be permanently attached inside the
wing tip with epoxy.
PREFLIGHT
Balance the Propellers
Carefully balance your propeller and spare
propellers before you fly. An unbalanced prop can be
the single most significant cause of vibration that can
damage your model. Not only will engine mounting
screws and bolts loosen, possibly with disastrous
effect, but vibration can also cause your fuel to foam,
which will, in turn, cause your engine to run hot or quit.
We use a Top Flite Precision Magnetic Prop
Balancer
™
(TOPQ5700) in the workshop and keep a
Great Planes Fingertip Prop Balancer (GPMQ5000)
in our flight box.
Engine Check
If the engine is new, follow the engine manufacturer’s
instructions to break-in the engine. After break-in,
confirm that the engine runs reliably and smoothly
and maintains full power–indefinitely. After you run
the engine on the model, inspect the model closely
to make sure all screws remained tight, the hinges
are secure and the prop is secure.
This is where the Nobler should balance for the
first flights–especially for sport flying and
beginning aerobatics. After the first few flights,
experienced modelers may wish to experiment
by shifting the C.G. forward up to 1/4" [5mm] or by
shifting the C.G. back, up to 1/4" [5mm] to change
the flying characteristics. If the C.G. is moved too
far forward (nose-heavy) response is slow and
the model becomes too difficult to flare for
landing. If the C.G. is moved too far aft (tail-
heavy) the model becomes too unstable and
over-responsive to control inputs. In any case,
start at the recommended balance point.
- 18 -


