❏
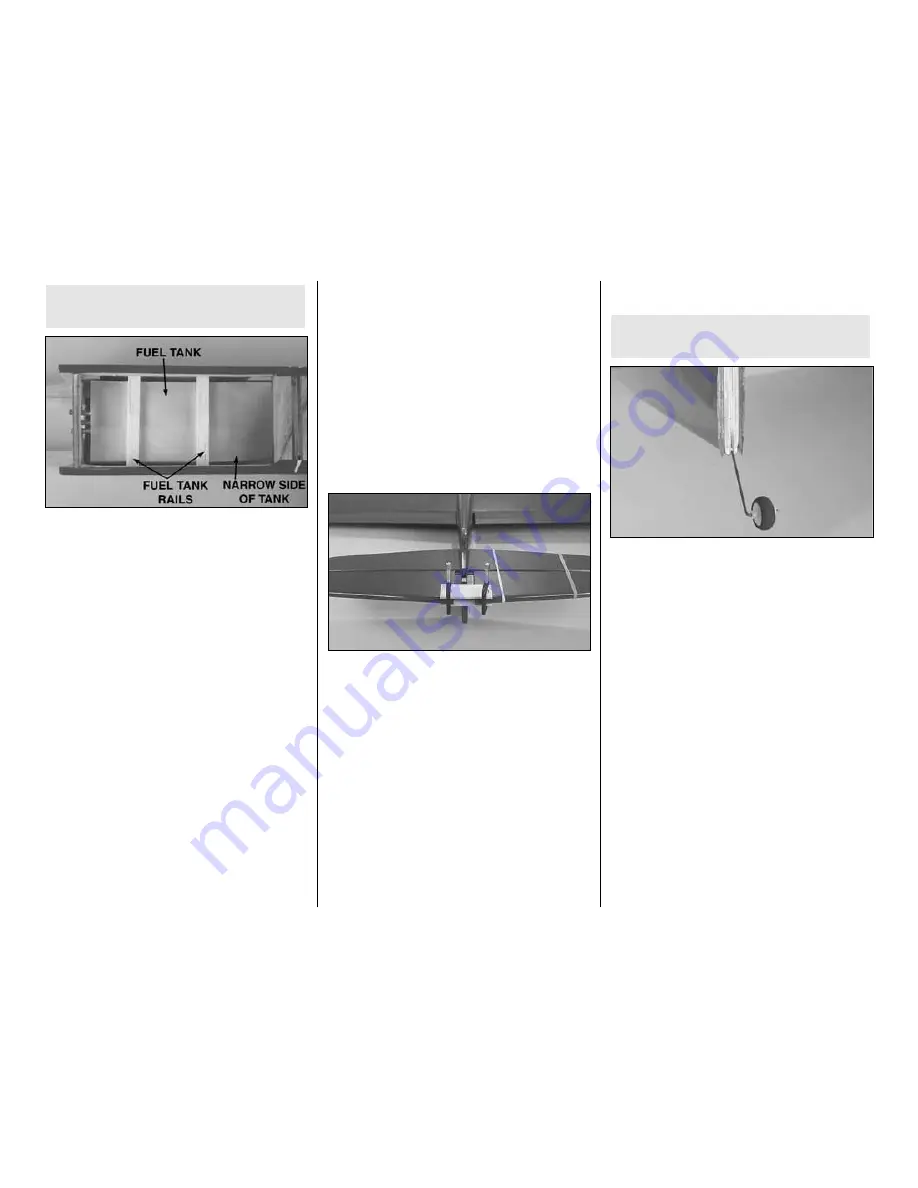
2. Add a bead of RTV silicone to the bottom of the
engine mount rails where the fuel tank will contact
them, and then install the tank. Be certain the
narrower “wedge” portion of the tank faces the
outside of the circle (the right wing tip).
❏
3. Cut two fuel tank rails from the 1/4" x 1/2" x 5"
[6 x 12 x 130mm] balsa stick to fit between the
fuselage sides below the tank. Apply a bead of RTV
silicone to the bottom of the rails. Glue them into the
fuselage securely, holding the tank in place.
…Now back to the wing.
Join the Wing & Stab to the Fuselage
❏
1. Disconnect the elevator pushrod from the flap
and remove the wing and stab from the fuselage.
Now that the final length of the elevator pushrod has
been determined, tighten the 4-40 nut to the clevis
on the front of the pushrod.
❏
2. Paint the cockpit and add any other details at
this time. The cockpit in the prototype was simply
painted black.
❏
3. Mix up a batch of 30-minute epoxy. Apply epoxy
to the wing saddle on both sides of the fuselage and
to the wing where it contacts the fuselage. Install the
wing and bolt it into position. Use small balsa sticks
and/or your paper towel squares to wipe up excess
epoxy. Be certain none of the epoxy enters the flap
linkage. Allow the epoxy to fully harden before
proceeding.
❏
4. Reconnect the elevator pushrod to the flap control
horn (middle hole). Apply 30-minute epoxy to the
stab and fuselage where they join. Then, slide the
stabilizer into position. Use your paper towel squares
dampened with denatured alcohol to clean off any
excess epoxy. Then, confirm the stab alignment using the
pin-and-string and by viewing the model from the rear.
❏
5. The same as was done with the flaps, apply a
few drops of oil or a dab of petroleum jelly to the
hinge pins on the elevator hinges. Use 30-minute
epoxy to permanently join one of the elevators to the
stab and the joiner wire with the hinges. Temporarily
join the other elevator to the other side of the stab.
Use a couple of rubber bands to close the hinge gap
by holding the elevator to the stab and clamp the
elevators together to keep them aligned with each other.
❏
6. After the epoxy from the previous step has
hardened permanently, join the other elevator.
Join the Fin & Tail Wheel
❏
1. Mount the tail wheel to the prebent tail gear
wire with a small wheel collar and a 6-32 set screw.
Use Threadlocker on the set screw before installing it
into the collar.
❏
2. Cut the covering on the end of the fuselage
down the center. Peel back the covering, but don’t cut
any off.
❏
3. Drill a 1/16" [1.6mm] hole and cut a groove in
the end of the fuselage for the tail gear wire.
❏
4. Clean the tail gear wire with denatured alcohol
or other solvent. Roughen the wire so glue will
adhere. Glue the wire in the end of the fuselage with
30-minute epoxy.
Refer to this photo for the following
four steps.
Refer to this photo for the following
two steps.
- 13 -


