NanoCam3D Mk.1 Instruction Manual
IMPORTANT – READ CAREFULLY BEFORE USE
KEEP FOR FUTURE REFERENCE
The camera is now in online calibration mode, which is indicated by a slow LED flashing
cycle. There are two different adjustment modes (Sensor Vertical Adjustment Mode =
repeated single flash, Side-by-Side Offset Adjustment Mode = repeated double flash), here
the required Sensor Vertical Adjustment Mode is automatically preselected.
Activate Sensor Vertical Adjustment Mode by pressing push button 1 again and keep it
pressed for ca. 1 sec until the status LED flashes fast. Then release push button 1.
Horizontal lines are displayed over the SBS-video signal to assist the following video image
alignment.
Now press and release one of the two push buttons at a time to vertically align left and right
video image. Each push button is responsible for one of the two possible shift directions
(left down/right up; left up/right down). Input is accepted upon release of the respective
push button. The possible range for vertical image alignment is +/- 36 video lines.
When done press push button 1 again and keep it pressed for ca. 1 sec until the status
LED indicates a solid signal, then release push button 1. This will terminate the Sensor
Vertical Adjustment Mode. The vertical adjustment settings will be saved and the camera
restarts with the new settings.
2.6 Side-by-Side Offset Adjustment
This adjustment mode is meant as a means to compensate optical imperfections of FPV video
goggles that do not separate the left and right picture of squeezed side-by-side input video
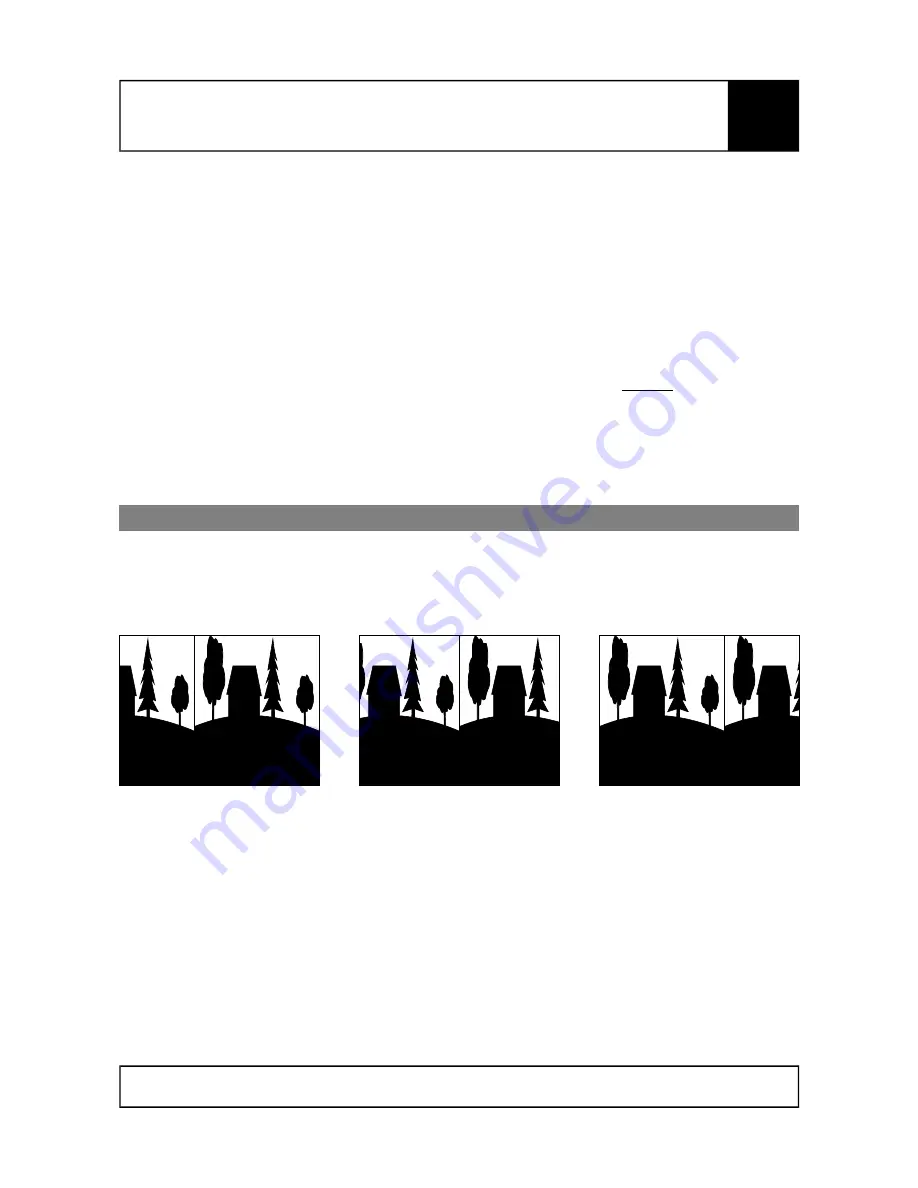
correctly in the middle of the video frame. A typical symptom is the visibility of portions of the right
hand side image in the left display of the goggle or vice versa (Figure 4).
This effect can be mitigated with the camera by slightly shifting the whole side-by-side raw video
arrangement to the left or to the right, without compromising the raw side-by-side video. Follow the
procedure outlined below for side-by-side offset adjustment. The procedure can be canceled at any
time by power-cycling the camera.
Power on camera and display video signal on a suitable test monitor or video goggle. This
adjustment is only applicable for side-by-side 3D mode.
Press push button 1 and keep it pressed for ca. 1 sec until the status LED flashes fast, then
release push button 1.
Page 7 of 12
Subject to change without notice.
Figure 4: Side-by-Side offset positions: to the left, center, to the right
EN


