Chapter 4: Using the interfaces
TT 98-122274-Q
Using a computer
67
Using the USB interface
Before connecting to the USB interface
To connect to the USB (Universal Serial Bus) interface, use a USB cable mounted with a USB Mini-
B connector. A suitable cable is provided with your EXPLORER 500. For specifications, refer to USB
interface on page 160.
First time setup of USB
If it is the first time you connect your computer to the EXPLORER 500 using the USB interface, or
you have exchanged the EXPLORER 500 with another EXPLORER 500, you must install a driver as
follows:
1.
Power up your computer.
2.
Connect the USB cable to the USB port of your computer.
3.
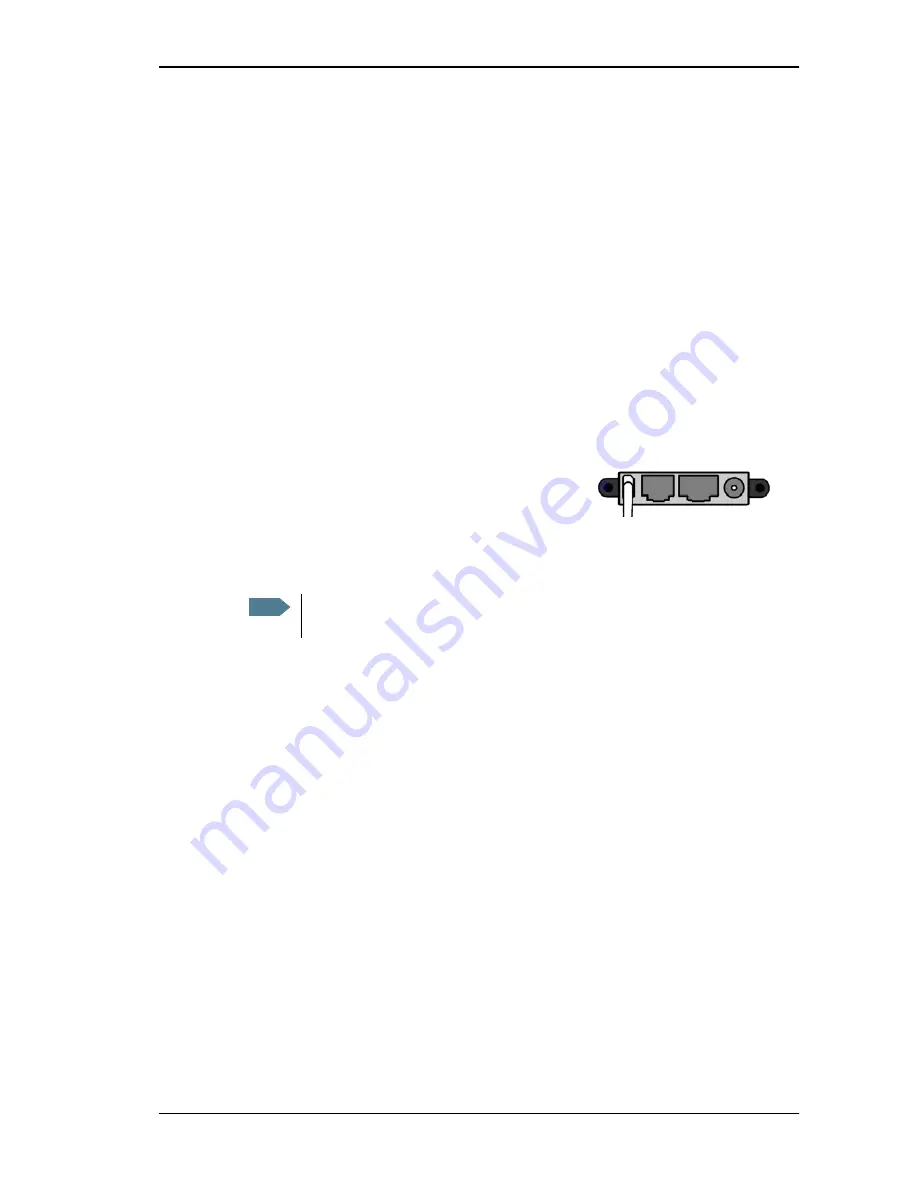
Connect the other end of the cable to the USB
connector on the EXPLORER 500.
4.
Power up the EXPLORER 500 as described in Getting started on page 11.
5.
Your computer should now automatically discover that new hardware is connected.
6.
On
Windows XP
, the New Hardware Wizard will start automatically. Go through the wizard as
follows:
7.
In the New Hardware Wizard, select
No, not this time
when you are asked if Windows can
search for software.
8.
Click
Next
.
9.
Insert the Thrane & Thrane CD-ROM provided with your EXPLORER 500 into the CD-ROM drive
of your computer.
10. Select
Install the software automatically
and click
Next
.
11. If you get a warning that the software has not passed Windows logo testing, you can safely
click
Continue Anyway
.
12. Click
Finish
when the installation is complete.
When you finish the wizard, the Thrane & Thrane EXPLORER USB driver is installed.
To verify that the installation was successful, display the list of modems on your computer (for
details, refer to the documentation for your operating system).
Note
The following description is for
Windows XP
. If you are using a different operating
system, the procedure may be different.


