


Chapter 3
Meter Setup Menus
28
Orion Versa Star Pro Meter User Manual
Thermo Scientific
Mode Menu
1.
In the measurement mode, press the setup key.
2.
Press the
,
,
or
key to highlight Channel 1, Channel 2, Channel 3 or Channel 4
and press the f3 (Select) key.
3.
Press the
or
key to highlight Mode and press the f3 (Select) key.
4.
The available measure modes will depend on the type of module connected with the
selected channel.
a.
For the pH module, press the
or
key to highlight the pH, mV, Relative mV or
ORP measure mode and press the f3 (Select) key.
b.
For the pH/ISE module, press the
or
key to highlight the pH, mV, Relative mV,
ORP or ISE measure mode and press the f3 (Select) key.
c.
For the pH/LogR module, press the
or
key to highlight the pH, mV, Relative mV
or ORP measure mode and press the f3 (Select) key.
d.
For the conductivity module, press the
or
key to highlight the conductivity, TDS,
Salinity or Resistivity measure mode and press the f3 (Select) key.
e.
The RDO/DO module will proceed directly into the measure mode settings and setup
parameters menu.
5.
Press the
or
key to highlight a menu option and press the
or
key to highlight a
submenu option. Common settings include Electrode Serial Number, Sample ID, Stability,
Averaging, Read Type and Alarm. Onscreen text prompts provide instructions for changing
parameters within a selected menu option.
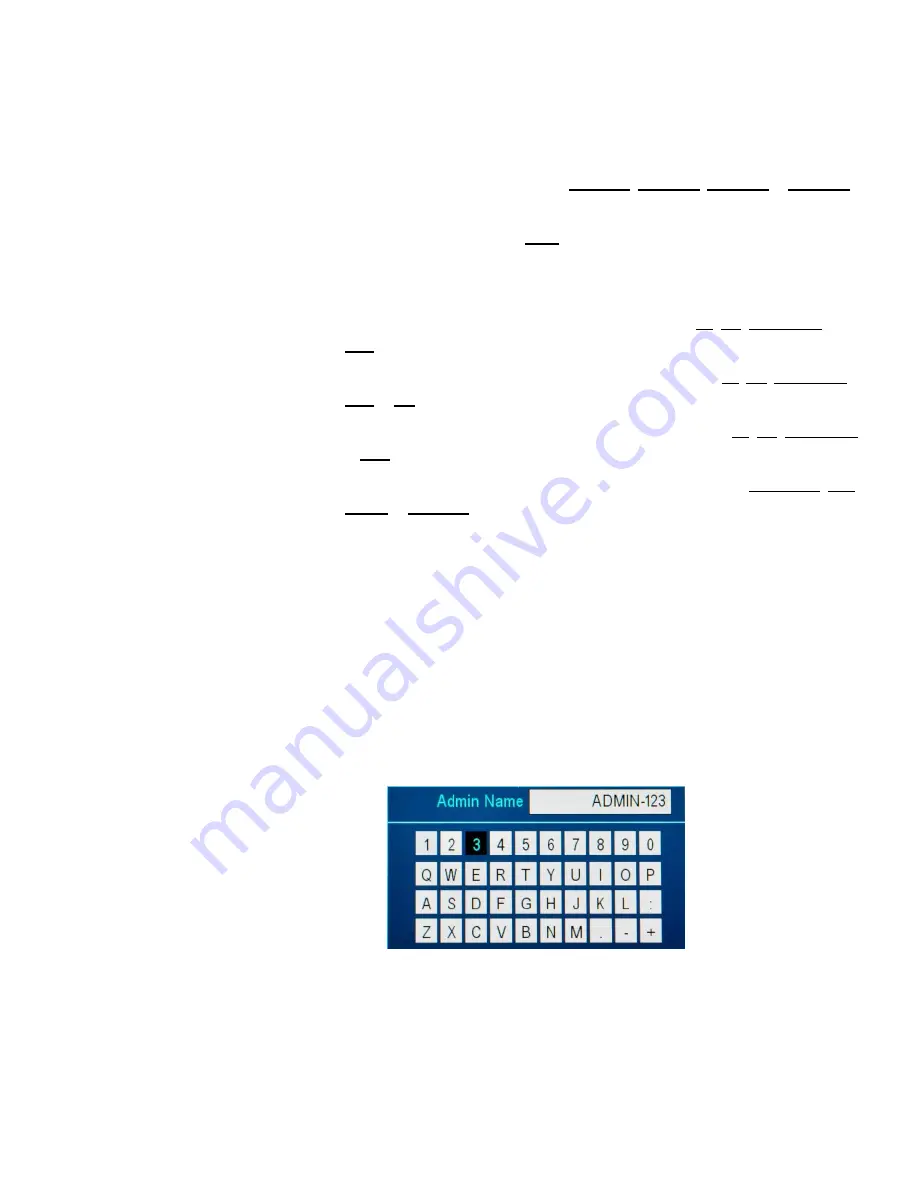
a.
Use the popup alphanumeric keypad screen for menu options including Electrode
Serial Number and Sample ID.
i.
Press the
,
,
or
key to highlight a character, press the f2 (Enter) key
to input the character and repeat until the desired label is entered.
ii.
Press the f1 (Done) key to save the entry.
6.
Refer to the individual module chapters for detailed information on the available settings for
each measure mode.


