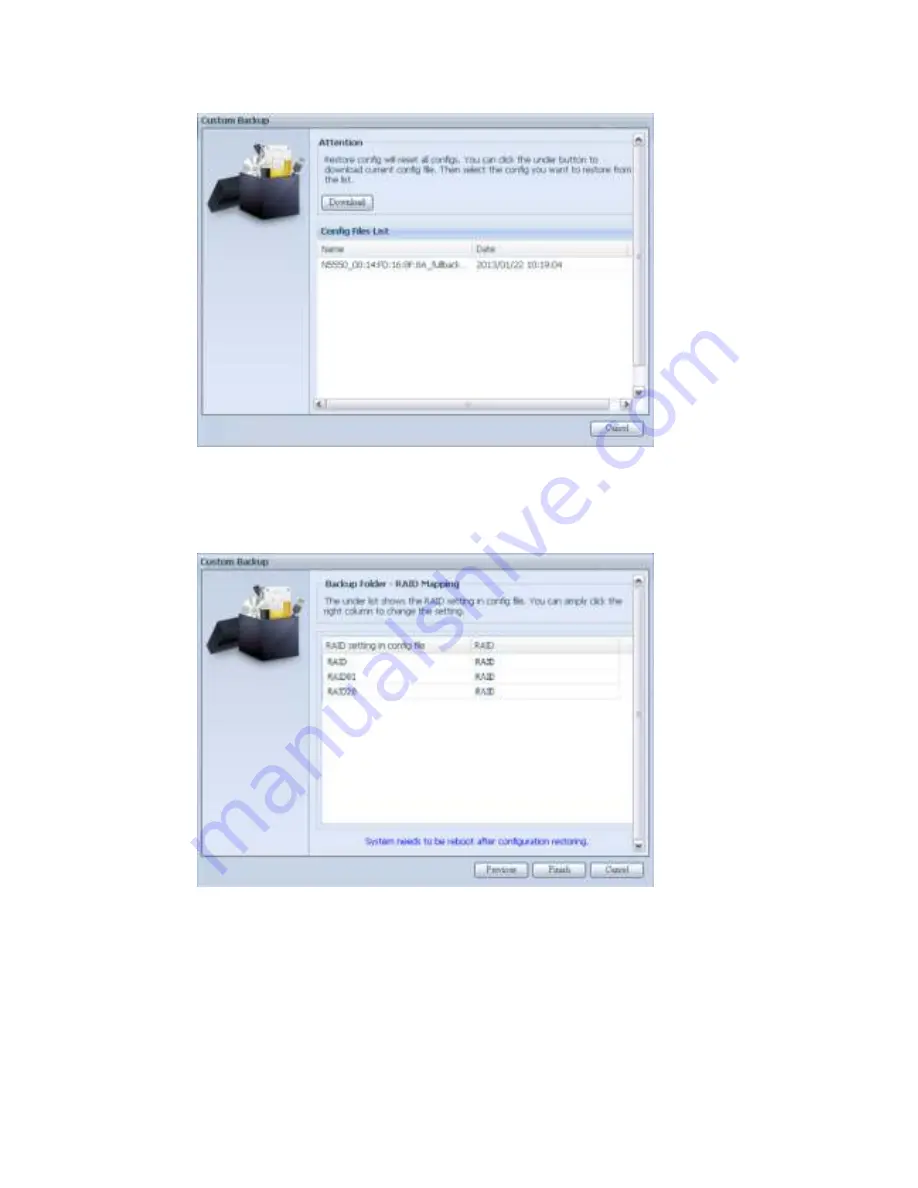
4. Aft er clicking “ Next ” , a scr een w ill appear as show n below . List ed on t he left
hand side, you w ill see t he configurat ion backup det ails w hich cont ain t he 3
RAI D volum es. On t h e right hand side, you w ill see a list of single “ RAI D”
volum e. You m ay r oll back t o pr evious page t o r ecall t he exam ple w e have
t aken.
5. The backup configurat ion has differ ent num ber s of RAI D v olum e t han t he
curr ent syst em ( 3 v s 1) . I t can be kept as t he RAI D v olum e m apping ar ranged
by t he syst em , t h en car ry on t o click “ Finish” . This m eans t hat all 3 RAI D
volum es configurat ion such as share folder et c. w ill all rest ore t o t h e cu rr ent
unit in t he RAI D volum e “ RAI D” .
6. I n ot h er circum st ances, if t he current unit cont ains 2 RAI D volum es, t hen it can
be chosen from t h e left hand side of syst em backup configurat ion RAI D volum e
list w hich RAI D v olum e t o m ap t o t he cur rent syst em .
Let ’s see t he follow ing scr een t o m ak e it clear er .
160
Summary of Contents for N8810U series
Page 61: ...61...
Page 177: ...177...
Page 191: ...Folder to Folder Folder to external device External device to Folder 191...
Page 207: ...Appendix C How to open the top cover N8900 series 207...
Page 208: ...N12000 series N16000 series 208...


