V2.1
–
TH3D EZABL
™
Pro Installation Guide -
Copyright © 2021 TH3D Studio LLC
–
ALL RIGHTS RESERVED
15
Calibrating the EZABL™
Pro Sensor for your printer
The next step is setting the sensor sensitivity. If you have a heated bed do this with your bed
heated to your normal print temperature. This is to account for the bed changing shape during
the heating cycle.
Status LED Information
•
Both sensor sizes have a
RED LED
that lights when the sensor is triggered.
•
18mm Size
–
Has
2 LEDs
, a
GREEN LED
that lights to indicate power and shuts off when
the
RED LED
lights (triggered).
•
12mm (Mini) Size - ONLY
has the
RED LED
(triggered) and no green power led.
If you print at different temperatures depending on the material, you are printing then select
one in the middle of the highest and lowest print temps you use. Lower the Z until your NOZZLE
is on the bed, if you have filament on the nozzle heat it before lowering and clean it off.
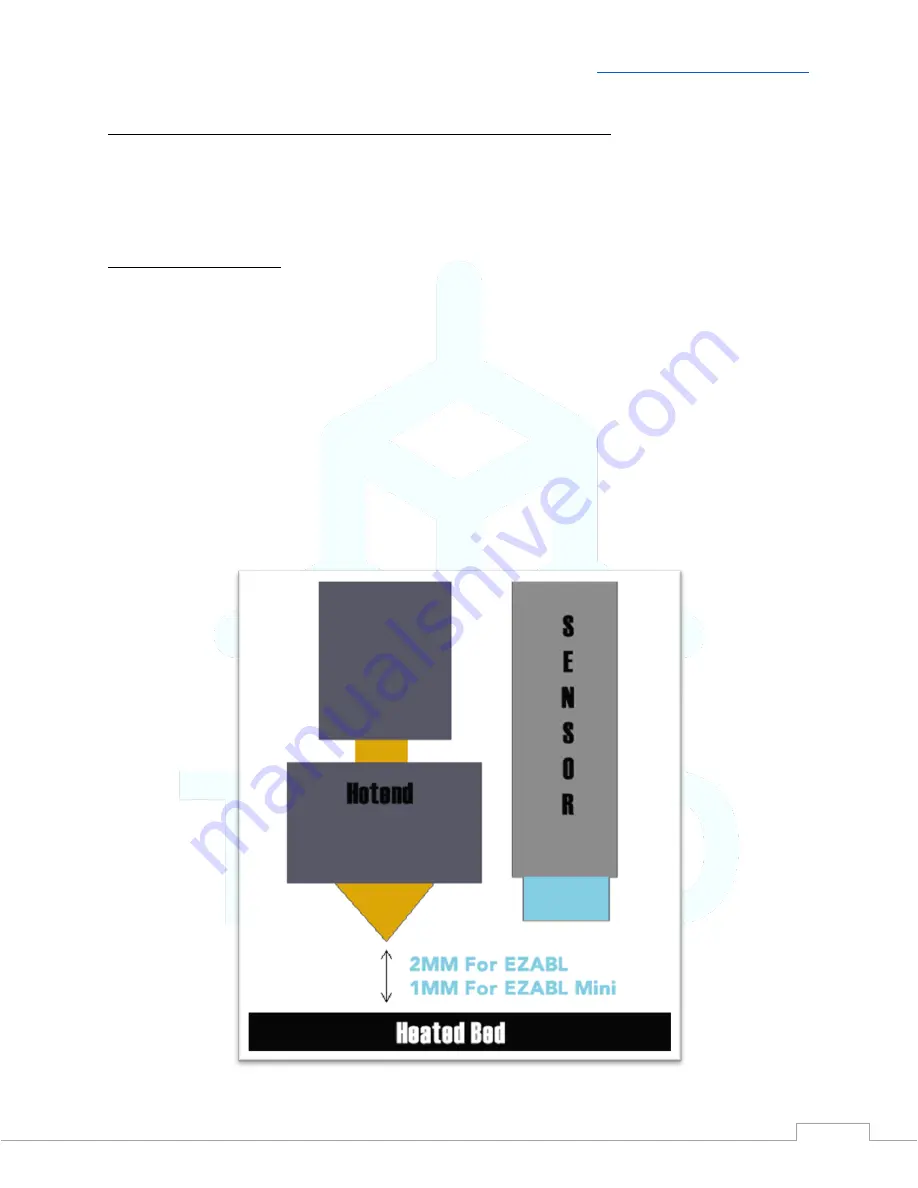
Manually move the Z with the printer LCD or your Computer/Pi until the nozzle is on the bed,
then move the Z up
2mm for EZABL
™
Pro
and
1mm for EZABL
™
Pro Mini
.


