V2.1
–
TH3D EZABL
™
Pro Installation Guide -
Copyright © 2021 TH3D Studio LLC
–
ALL RIGHTS RESERVED
13
Sensor/Endstop Test
The next step you want to do is to check if the endstop is properly being recognized by your
board.
Make sure you have your Z endstop wire connected to our EZABL
™
Pro Control Board.
DO NOT HOME YOUR Z
OR “HOME ALL”
UNTIL YOU VERIFY THAT THE FIRMWARE IS SEEING THE
SENSOR CORRECTLY AND YOU HAVE CALIBRATED THE SENSOR.
YOU CAN DAMAGE YOUR HOTEND AND/OR PRINTER.
Start by moving the Z up until the light on the sensor and the Status LED on the EZABL
™
Pro
Control Board turn off.
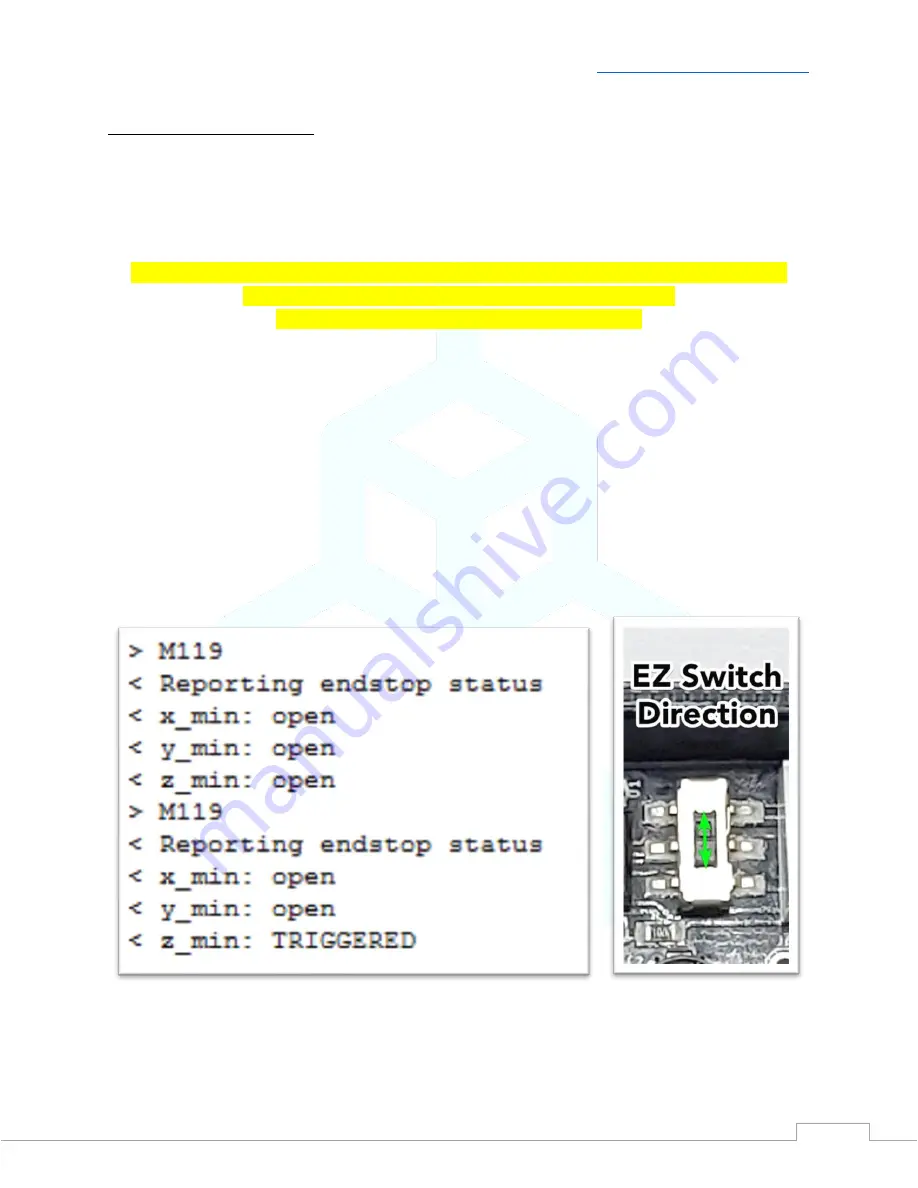
Next, connect to your printer over your preferred slicer (or Octoprint) and issue an M119 and
see if the Z_min is showing TRIGGERED or open.
If it shows open place your finger or an object under the sensor so the light comes ON and then
issue M119 again. If it shows TRIGGERED then proceed to setting your sensor sensitivity.
If your slicer (namely Cura) does NOT support sending terminal commands then use the Gcode
sender program in the “Extra Programs” folder of the Unified Firmware Package.
If it does not, then
move the “EZ Switch” on the EZABL™ Pro Control Board
and re-run the
M119 test. If it is in the up position, then move it down. If it is in the down position, then
move it up.


