


Internet Phone User Manual
26
than once till you can get the desired alphabet.
4.2.1. My Phone
Navigation Menu
Æ
4: Setup
Æ
User Authentication
Æ
My Phone
User can change the name that is displayed on the upper menu through ‘My Phone’
menu.
STEP 1
Press ‘Menu’ key on the keypad.
STEP 2
Select ‘4. Setup’.
STEP 3
Enter the password for user authentication.
STEP 4
Select ‘1: My Phone’.
y
Use navigation key to select the
menu, or press the menu number.
y
Press ‘Cancel’ key to return to the
upper menu.
4.2.1.1.
My Name
This menu is to edit the name to be displayed on the LCD.
STEP 1
Select ‘1: My Name’.
y
Use navigation key to select the
menu, or press the menu number.
y
Press ‘Cancel’ key to return to the
upper menu.
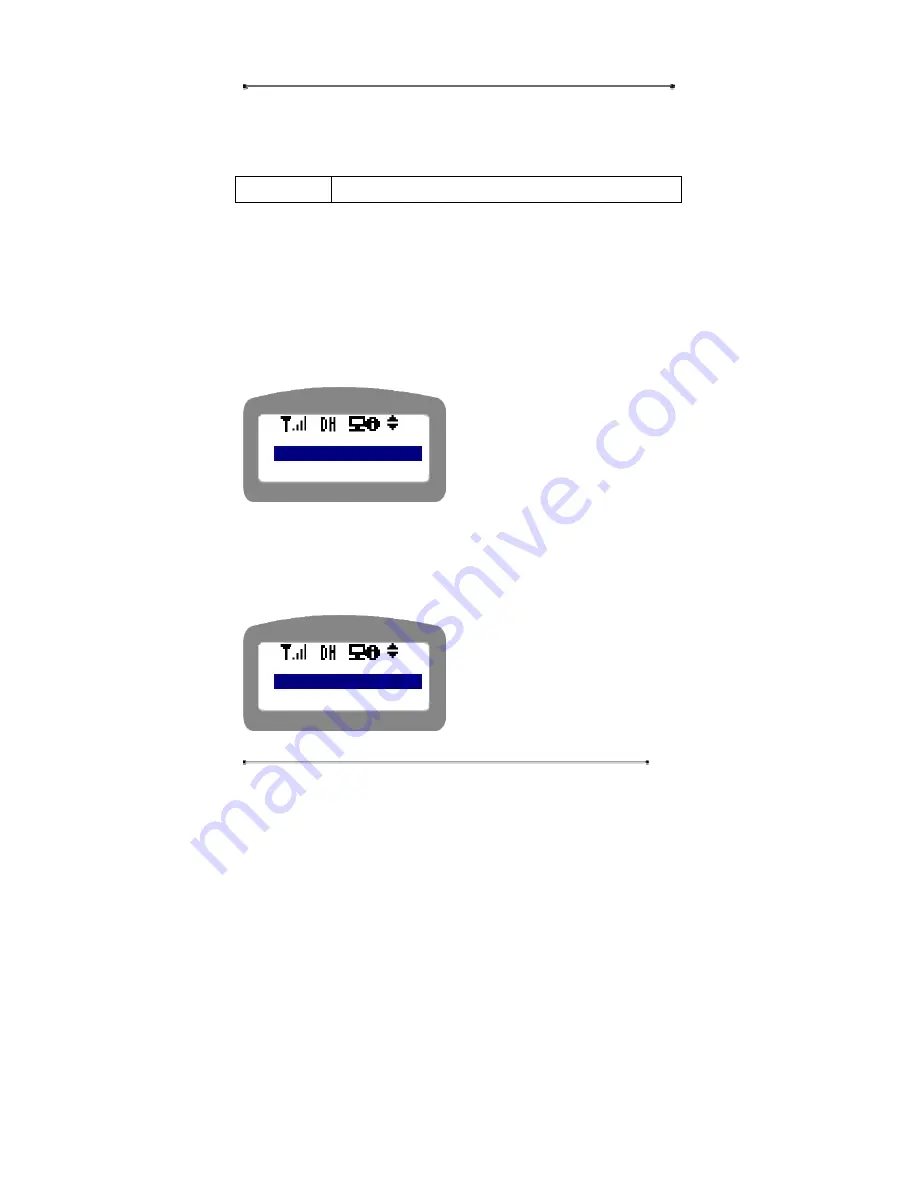
<Setup>
1: My Phone
2: Network
<My Phone>
1: My Nam
2: Password
Summary of Contents for 3200 series
Page 1: ...INTERNET PHONE Model Teliphone3200 Administrator Manual Version 1 6 ...
Page 10: ...Internet Phone User Manual 10 Figure 1 Application Diagram ...
Page 45: ...Internet Phone User Manual 45 STEP 5 Remove the current Gateway IP address on the Gateway tab ...
Page 46: ...Internet Phone User Manual 46 STEP 6 Check Do not use DNS on the DNS Setting tab ...
Page 54: ...Internet Phone User Manual 54 STEP 5 Click on Properties button ...