Eye
III+
VXB
I
nstallation Guide
Page 23
Installation of
Eye
III
+
VXB
for Remote Monitoring
6.
Power on the
Eye
III+
VXB
. You will notice the
LINK LED
is on and
COL LED
is
off which indicate you have connected to your LAN network properly.
7.
If you have enabled the built-in web server of
Eye
III+
VXB
, you can connect to
Eye
III+
VXB
using a web browser (eg. IE) on a PC inside the network. Type the
address as (eg.
http://192.168.0.3
), you are prompt to enter the password (default is
“000000”). Please see section 5 for detail on built-in web server access.
8.
If all the settings are correct, you can view the video through the browser.
B. Setup
Eye
III+
VXB
for connection in WAN environment with static IP
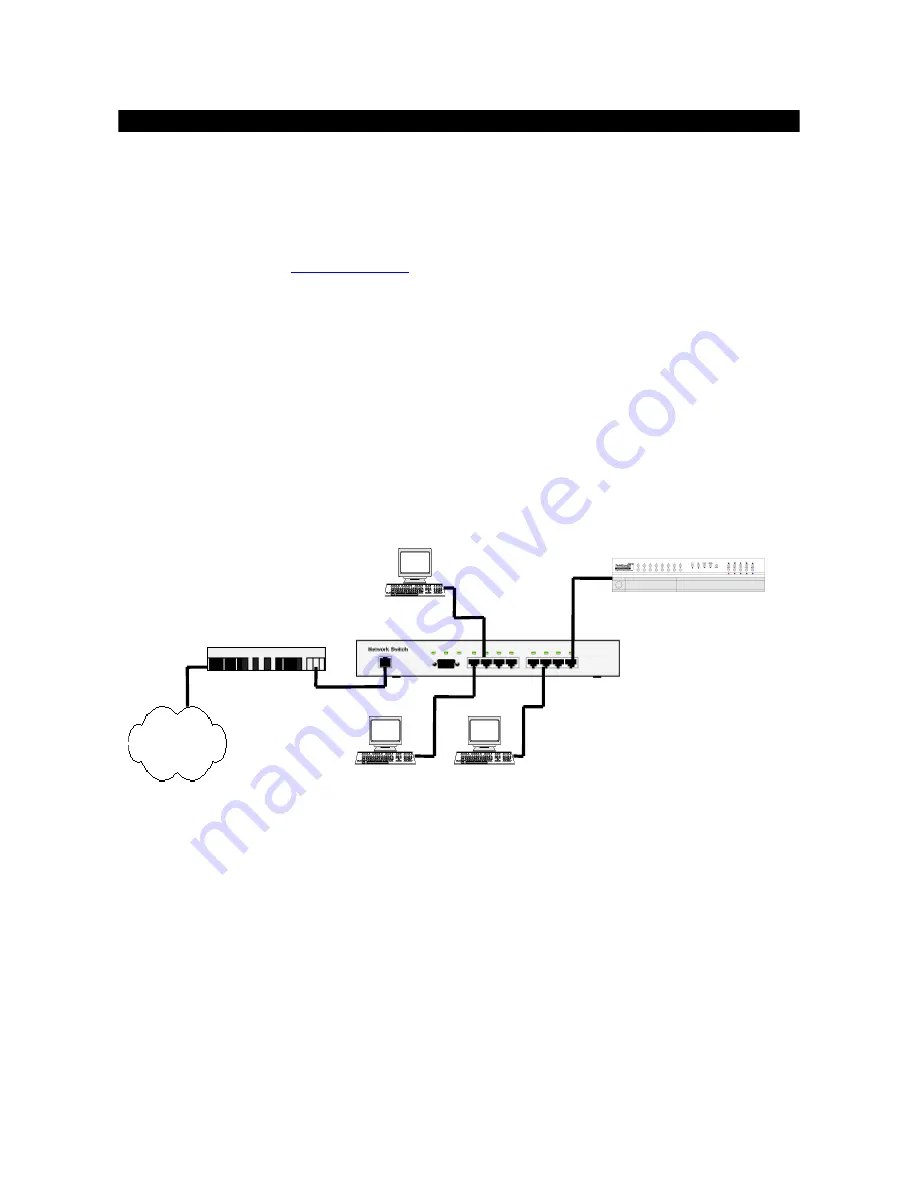
Connection topology:
The connection topology of
Eye
III+
VXB
in WAN environment is similar in the case of
LAN. An additional equipment called Router/Gateway is needed for connecting the LAN with
WAN. Therefore, we need to setup the gateway IP for
Eye
III+
VXB
.
Network Switch
Internet
192.168.0.2
192.168.0.4
192.168.0.3
192.168.0.5
192.168.0.1
210.17.139.70
Router/Gateway
Eye
III+
VXB
Procedures:
1.
Follow the steps of setting up
Eye
III+
VXB
for local video display so that you can
configure everything with OSD. Press the button
[Menu]
, and then by entering the menu
[MAIN MENU]
and
[TRANSMITTER SETUP]
, you can see the following menu.


