Markers
Use markers to quickly log important points in a recording. During analysis, you can quickly find and review
the markers to identify points of interest. You can set an unlimited number of markers in a recording.
Markers are recording-specific (defined in the study configuration) and all observers for a recording use the
same set of pre-defined markers to work with.
During recording, you can go back and edit previously logged markers and tasks. You can also edit or add
markers, tasks, or scores in Manager after importing the recording.
The task logger log tasks by marking the start and end of a task the participant performs during the recording.
For more information, see
Tasks
.
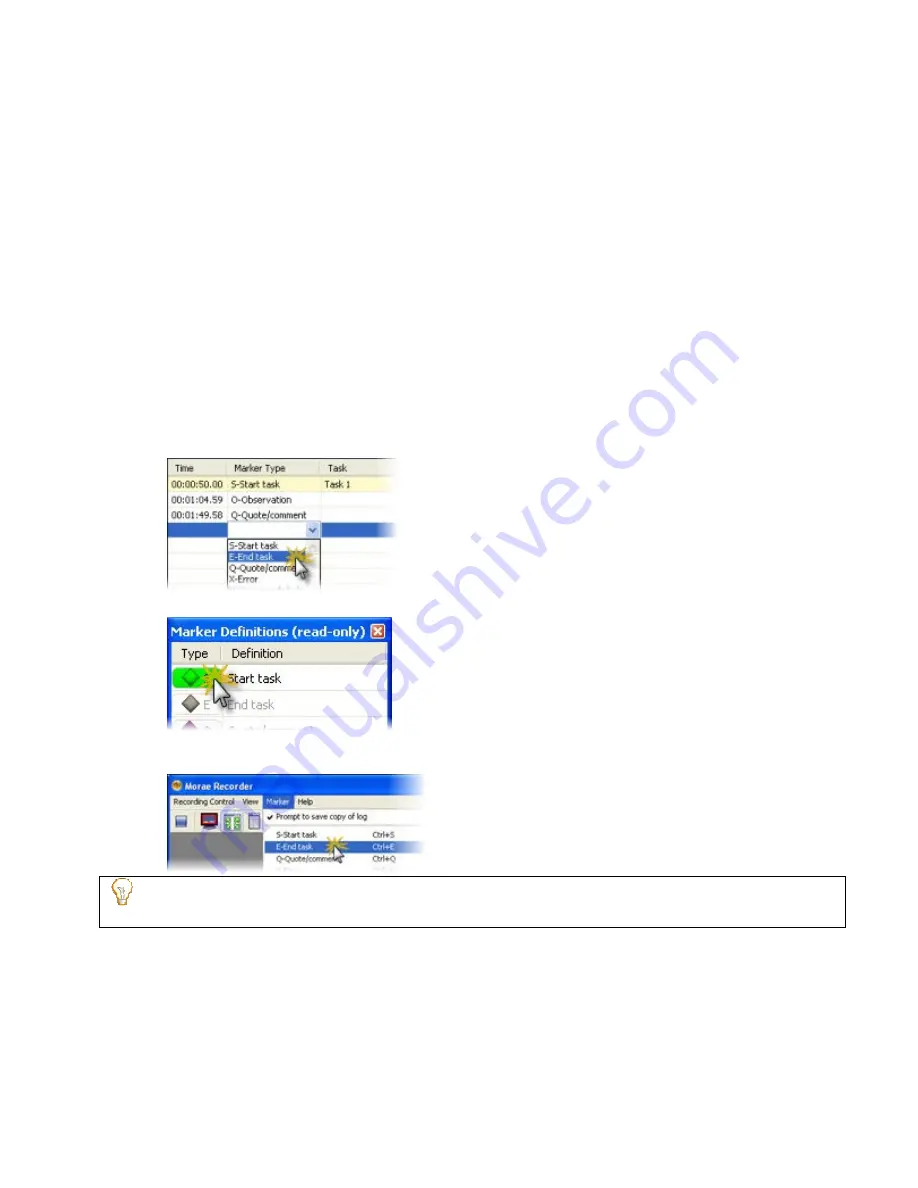
Different Ways to Log a Marker
When you see a point in the recording to mark, do one of the following to log a marker:
•
Choose <
Ctrl+ [letter]
> on the keyboard.
•
In the
Marker Type
column, enter the letter of a marker.
•
Pick a marker from the drop-down list in the
Marker Type
column.
•
Click a defined
Type
button in the
Marker Definitions
window.
•
Choose the
Marker
menu and select the letter (Type) from the menu. Defined markers appear at the
top of the menu.
To create markers without a type assigned, choose the
generic
option from the list marker types or use
the <
Ctrl
+
Space
> hotkey combination.
See also:
•
Get to Know the Log
•
Quick Tips for Logging a Session
•
Tasks
•
Surveys
•
View Recording Details
Morae Recorder
Help PDF
Page 75
www.techsmith.com


