Quick Tips for Setting Video and Audio Sources
•
Record from the screen, camera, screen and camera, or two cameras. For more on the video options,
see
Choose Video Sources
.
•
You can flip your camera video, both vertically and horizontally, so you can set up your camera out of
the way of the participant. To flip camera video, click
Modify camera settings
.
•
If the audio is going into the red in the
Audio monitor
, move the audio slider to the left. For more on
audio levels, see
Adjust Audio Level
.
•
Click
Test Recording
in the Recorder toolbar to create a 15-second video test recording to verify the
video and audio. For more information, see
Create a Test Recording
.
•
Need to save disk space? You can change the size and frame rate of the recording. See
Modify
Video Settings
.
•
Morae chooses the recommended codec for screen and camera video. If you want to use a specific
codec, see Screen Video Compression Setup Options or Camera Camera Video Compression Setup
Options.
•
If your video is too dark or you want to zoom in, some cameras allow you to adjust these settings. To
change the camera properties and preview the results, see
Camera Properties Options
.
See also:
•
Choose Video Sources
•
Examples
•
Choose Audio Source
•
Modify Video Settings
•
Camera Video Settings
Choose Video Sources
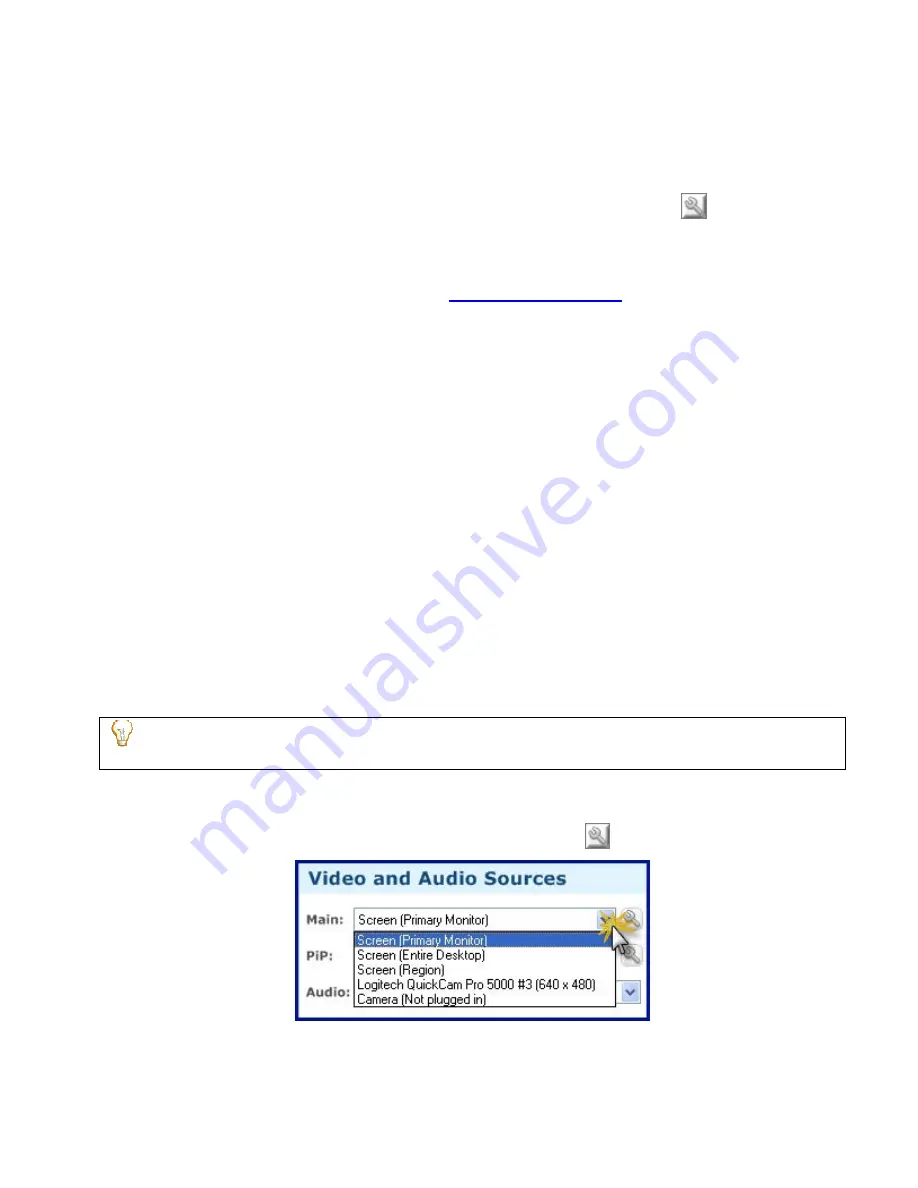
Use the dropdown lists to select from the various video sources. You can choose both a
Main Video
and a
PiP Video
, or just a main video source.
To see examples screenshots of the various options, see
Examples
.
If you record both main and PiP videos, after you import the recording into Manager, you can produce
highlight videos with or without the PiP included. You can also adjust the location of the PiP.
Main Video
Select a video source and click
Modify screen video/camera settings
to adjust the video settings.
Morae Recorder
Help PDF
Page 54
www.techsmith.com


