


Daily Operation
5
➜
To switch on, press the
Power key
on the front
panel of the TV set.
➜
Use either the
Standby/ on
key on the remote
control unit.
Or
➜
Use the
Programme
keys on the remote control
unit.
Or
➜
Use the keys
0 to 9
on the numeric keypad.
Or
➜
Use the two keys on the left of the panel behind
the cover on the TV set.
The mode display light will change from red to green.
➜
Use the
Power key
on the set, or the
Standby/
on
key on the remote control in order to switch off
the TV set.
If the
Standby/ on
key was used to switch off
the set, it will go into standby mode, and can
be switched on again using the
Standby/ on
key.
The eco-standby mode ensures a very low
power requirement of only 1W.
Note:
The last switching command given by the
remote control, whether On or Off, will be sto-
red in memory by the set.
Should the set have been switched of via the
Power button on the set while in this operatio-
nal mode, repeated pressing of the Power
key will result in the set being switched on,
and not into standby mode.
Should you experience a power failure, we
recommend you switch the set off via the
Power key, so as to avoid the set swit-
ching itself on again unintentionally later.
Using the remote control
➜
Press the
Volume
keys to adjust the volume of the
built-in loudspeakers.
A bar representing the current volume level
will be displayed on-screen.
Using the controls on the TV set
➜
Press the marked area on the covering flap on the
front panel of the TV set.
➜
Use the two keys on the right to adjust the volume.
➜
Press the
Programme
keys to select a new chan-
nel.
In addition, the programme place in the list, the
channel logo and the status of sound reproduction
will be displayed.
The status of sound reproduction modes may be one
of the following:
mono
stereo
dual
➜
By pressing a number or several numbers within a
space of 3 seconds, a new channel can be selec-
ted directly.
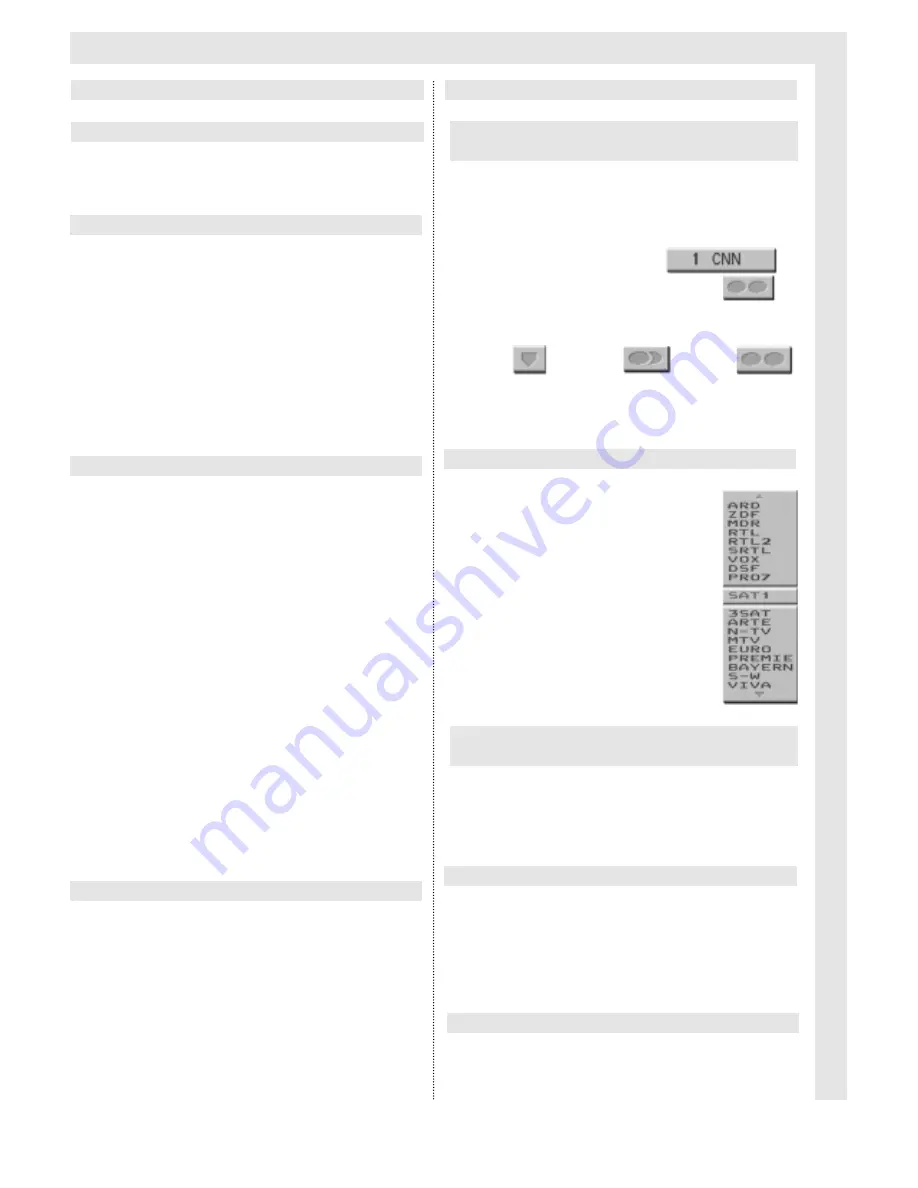
➜
Press the
OK
key to see the
list of programmes on screen.
➜
Use the
Programme
keys to
select a new programme, and
confirm by pressing the
OK
key.
Hint:
In order to select the
programme more quickly,
use the
Volume
keys to
page through the list in
blocks of 19 programmes
at a time.
➜
Press the marked area on the covering flap on the
front panel of the TV set.
➜
Use the two keys on the left to select a new chan-
nel.
➜
Pressing the
Switching
key will switch to the pro-
gramme previously selected.
Each time the channel switch key is pressed,
the programme number, name of the channel
and status of sound mode will be displayed
briefly.
➜
Press the yellow
?
key to display or hide a table of
hints.
Switching on via Power key on the
TV set
Switching on from Standby mode
Direct channel selection using the
numeric keypad
Switching the set of
Selecting channel from the programme list
Exchange function with last channel selected
Selecting a channel with controls on the
TV set
Adjusting the volume
Showing Hints and Tips
Switching the TV on and off
Channel Selection


