background image

Settings

9

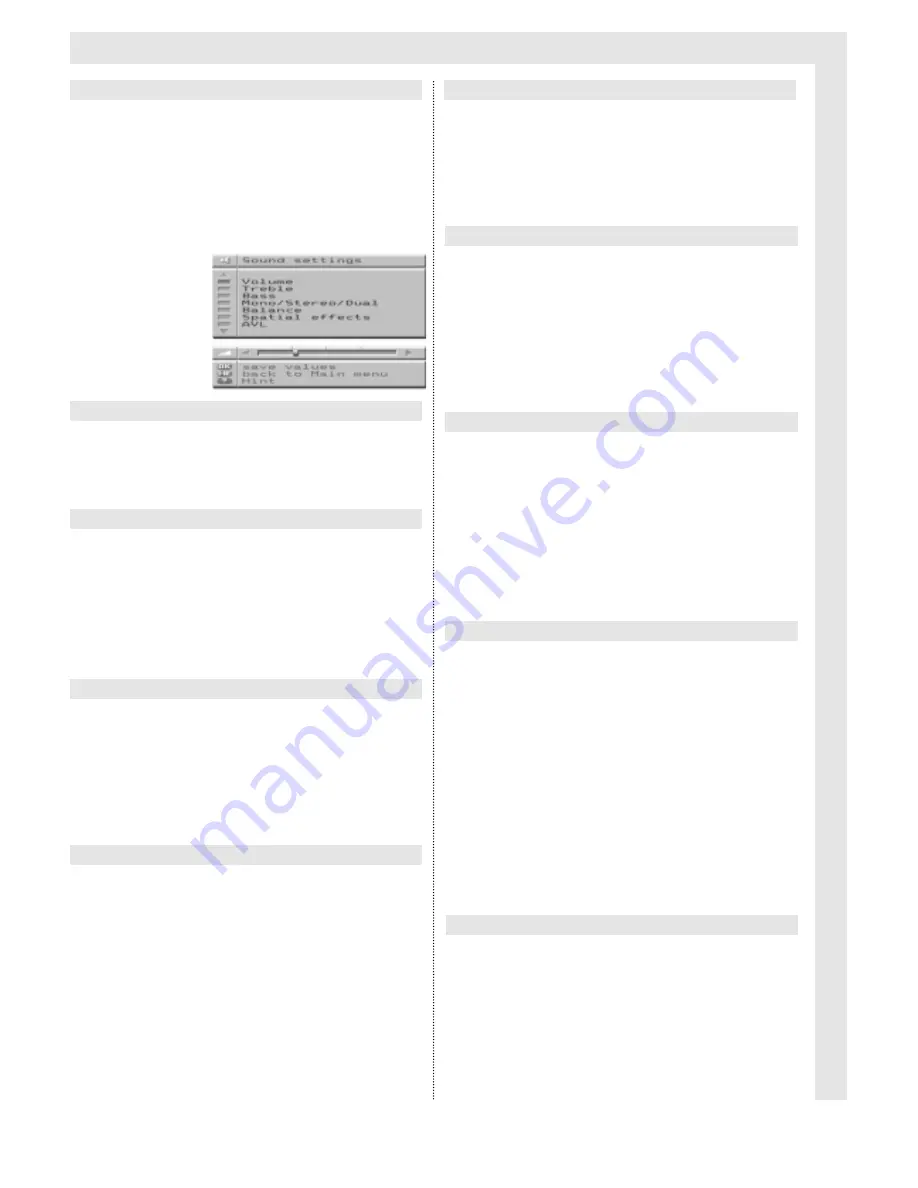
This menu provides facilities to adjust the
sound reproduction to your individual prefe-
rences, and to store these in memory.

Press the 

MENU 

key to select the Main Menu.

Use the 

Programme 

keys to mark the menu item

Sound Settings

, then press the 

OK 

key to select.

Use the 

Volume 

keys to select the desired volu-

me, then press the 

OK 

key to store in memory.

Use the 

Programme 

keys to mark the menu item

Treble.

Use the 

Volume 

keys to adjust the level, then

press the 

OK 

key to store in memory.

Use the 

Programme 

keys to mark the menu item

Bass.

Use the 

Volume 

keys to adjust the level, then

press the 

OK 

key to store in memory.

Use the 

Programme 

keys to mark the menu item

Mono/Stereo/Dual.

Use the 

Volume 

keys to select the sound repro-

duction mode.

This facility is only active in AV-mode, or
when a programme is being broadcast in ste-
reo or in dual channel mode.
It may be preferable to switch to "Mono"
when, for instance, a video camera is
connected that has only one sound channel.
If you do not switch to "Mono", the sound will
come out of one loudspeaker only.

Use the 

Programme 

keys to mark the menu item

Balance.

Use the 

Volume 

keys to achieve the desired

balance between left and right loudspeakers, then
press the 

OK 

key to store in memory.

Activating this function changes the spatial
sound picture.

Use the 

Programme 

keys to mark the menu item

Spatial Effects.

Use the 

Volume 

keys to switch spatial effects on

or off.

Activating AVL will limit extreme differences in
volume levels (e.g. for particularly loud adver-
tising spots).

Use the 

Programme 

keys to mark the menu item

AVL.

Use the 

Volume 

keys to switch the function on or

off, then press the 

OK 

key to store in memory.

This menu item can be used, for instance, to
set the sound output in the case of dual
channel sound separately for headphones
and loudspeakers.

Use the 

Programme 

keys to mark the menu item

HP Mono/Stereo/Dual.

Use the 

Volume 

keys to set the selected output

mode. 

This switch is only operational when a pro-
gramme is broadcast in Stereo or in dual
channel sound.

Use the 

Programme 

keys to mark the menu item

HP Volume.

Use the 

Volume 

keys to make a setting, then

press the 

OK 

key to store in memory.

Use the 

RADIO / TV 

key to return to the TV

image, or press the 

MENU 

key to return to the

Main Menu.

Sound Settings

Volume

Balance

Spatial Effects

AVL

Headphones Mono/Stereo/Dual

Headphone Volume

Treble

Bass

Mono/ Stereo/ Dual

Summary of Contents for 100Hz Television sets Colani-TV Classic Line

Page 1: ...Instruction Manual for 100Hz Television sets Colani TV Classic Line Made in Germany...

Page 2: ...ontrol changing batteries 3 Initial Operation 3 Controls and features 4 Daily Operation 5 Switching on and off 5 Adjusting the volume 5 Selecting a channel 5 Displaying tips 5 Selecting sound features...

Page 3: ...e following safety precautions are ignored the manufacturer s responsibility ceases Never open the housing It is extremely dangerous to touch parts carry ing high voltage current Only trained personne...

Page 4: ...na cable to the F socket of the TV set only if satellite module is fitted Connect power plug to the power supply Switch on the TV set via the power switch on the TV control panel The power control lig...

Page 5: ...group EXT Equipment code Please note When using the remote control for the first time or after changing batteries press the TV key at bottom right Front panel controls Classic Line Front panel control...

Page 6: ...rols on the TV set Press the marked area on the covering flap on the front panel of the TV set Use the two keys on the right to adjust the volume Press the Programme keys to select a new chan nel In a...

Page 7: ...when a zoo med 4 3 image is received Pressing the key for a third time restores the origi nal setting In some 16 9 broadcasts e g PALplus the TV set interprets a coded information sent with the broadc...

Page 8: ...ill be downloaded into memory The sub page bar shown at left of the screen will mark the sub page being displayed in yellow All other sub pages available in memory are shown in white and can be called...

Page 9: ...ys to mark the menu item Colour Use the Volume keys to adjust the colour then press the OK key to store in memory Use the Programme keys to mark the menu item Sharpness Use the Volume keys to set the...

Page 10: ...he menu item Balance Use the Volume keys to achieve the desired balance between left and right loudspeakers then press the OK key to store in memory Activating this function changes the spatial sound...

Page 11: ...antenna or by a cable network In order to adjust a terrestrial or cable chan nel TER must be selected as the source Use the Programme keys to mark the menu item Source Use the Volume keys to select TE...

Page 12: ...store in memory WEST Western Europe including Germany EAST Eastern Europe WEST TR Western Europe plus Turkey Use the RADIO TV key to return to the TV picture or press the MENU key to return to the me...

Page 13: ...o set Polarisation H or V then press OK to store in memory Use the Programme keys to mark the menu item Frequency Set the frequency using the Programme keys or the 0 9 keys on the numeric keypad then...

Page 14: ...in memory For free to air channels not encoded Decoder EC1 must be set to OFF When you select the radio mode your TV set is transformed into a high quality radio recei ver for analogue satellite radio...

Page 15: ...keys to select the country then press the OK key to store in memory Use the Programme keys to mark the menu item TTS Start If the TV set is not fitted with a satellite modu le the Volume keys can be...

Page 16: ...ogramme Use the MENU key to display the Main Menu Use the Programme keys to mark the menu item Programmes then press the OK key to select Use the Programme keys to mark Change Order then press the OK...

Page 17: ...to store in memory The video polarity of most satellites is negati ve Use Programme keys to mark the menu item Polarity Use the Volume keys to select Polarity NEGATI VE or POSITIVE then press the OK...

Page 18: ...tem Sat outdoor unit then press the OK key to sel ect Use the Programme keys to mark the menu item LNB Supply Use the Volume keys to set the LNB feed to 13 18V or 14 19V or OFF then press the OK key t...

Page 19: ...to the SCART1 socket of the TV set Recording and playback direct or via the timer of the TV set can be controlled via the TV set The copying is achieved via the two SCART sockets of the TV set Use a...

Page 20: ...the SCART socket of the video recorder with the SCART2 socket of the TV set Use the EXT key to select the AV input EC2 SVHS Start Playback on the video recorder If the video recorder does not have a S...

Page 21: ...ic ture Four timer blocks are available for automatic video recordings in each case the program me slot as well as the date and time for beginning and end of the recording switching TV set on and off...

Page 22: ...e only the volume can be adjusted Volume keys and Mute key The timer parameters entered will be deleted from memory if the TV set is switched off via the Power key recording will be interrupted When a...

Page 23: ...a programme slot in which a TV programme is also stored Use the Volume keys to adjust the volume Use the Sound Mute key to switch the sound off mute If your TV set is fitted with a satellite module y...

Page 24: ...broadcast all over Europe via satellite in first class CD quality The ADR programmes are stored in memory at the factory but you can of course update this list whenever you wish The exact positi on o...

Page 25: ...ro gramme slots provided by the TV set Basically a new ADR programme will be sto red in the same way as a satellite TV pro gramme see page 11 When entering the menu item Audio type one of the types AD...

Page 26: ...programme will be received Modulation at 22 KHz Apart from the 14 28 Volt switching mode this also serves to switch between 2 LNBs In universal LNBs it is used to switch into the High range Multiswitc...

Page 27: ...ime the initial setup described on page 3 is not shown The initial setup is possible only once and may have been dele ted by the retailer You can still set all programmes via the auto matic scan see p...

Page 28: ...e Allocation Tables 1 2 3 4 5 6 7 8 9 10 11 12 13 14 15 16 17 18 19 20 21 22 23 24 25 26 27 28 29 30 31 32 33 34 35 36 37 1 2 3 4 5 6 7 8 9 10 11 12 13 14 15 16 17 18 19 20 21 22 23 24 25 26 27 28 29...

Page 29: ...D menu guide Sleep Programme timer Parental lock Hotel mode Audio Stereo dual channel Power output in W RMS 2 x 12 2 x 12 2 x 12 2 x 8 2 x 12 2 x 8 No of loudspeakers 4 4 2 2 4 2 Adj Headphone amp Rad...

Page 30: ...green key to move one page for ward Press the yellow key to select the tele text group shown in the yellow box at the bottom of the page Press the blue key to select the tele text block shown in the...

Page 31: ...ure height Display hint Freeze frame Display clock time Activate an AV and VGA input Zoom only in 16 9 sets Increase picture width only in 16 9 sets Key functions of the remote control unit Important...

Page 32: ......

Reviews: