


Settings
21
➜
Use the
Programme
keys to mark the menu item
Programm.
➜
Use the
Volume
keys to select the programme in
single steps, then press the
OK
key to store in
memory.
➜
Use the
Programme
keys to mark the menu item
Start Time
, then press the
OK
key to confirm.
The current date and time will be displayed in the
Help-line.
➜
Use the
Programme
keys to select the fields for
entry, then use the
Volume
keys to enter the date
and starting time in single-digit steps, then press
the
OK
key to store in memory.
➜
Use the
Programme
keys to mark the menu item
Stop Time
, then press the
OK
key to confirm.
➜
Use the
Programme
keys to select the fields for
entry, then use the
Volume
keys to enter the date
and end time in single-digit steps, then press the
OK
key to store in memory.
➜
Use the
Standby/on
key to set the TV in standby
mode.
The current timer will set the TV set into "TIMER
ACTIVE" mode for the preselected period.
In order to monitor the video recording being
made, the
Standby/on
key can be used to
switch the TV on or off. In this mode, only the
volume can be adjusted (
Volume
keys and
Mute
key).
The timer parameters entered will be deleted
from memory if the TV set is switched off via
the Power key (recording will be interrupted).
When a sleeptimer has been set, it will switch
the TV set to standby after a preselected
time.
➜
Use the
MENU
key to display the
Main Menu.
➜
Use the
Programme
keys to mark the menu item
Timer
, then press the
OK
key to select.
➜
Use the
Programme
keys to mark the menu item
Sleeptimer.
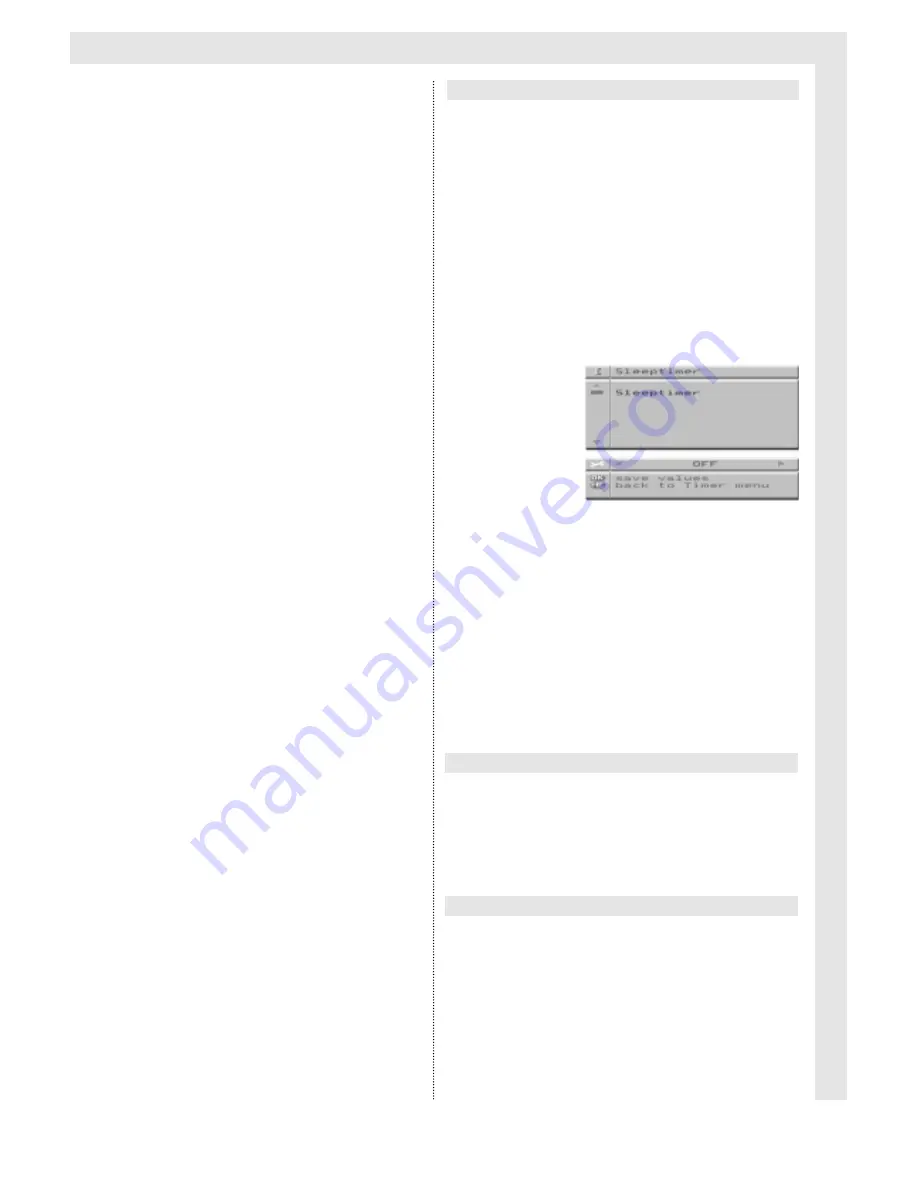
The menu
Sleeptimer
will be displayed.
➜
Use the
Volume
keys to select the desired time
period (1…240 minutes) in steps of one minute at
a time, then press the
OK
key to store in memory.
The Sleep Timer is deactivated in the OFF
position.
➜
Use the
RADIO/TV
key to return to the TV picture,
or press the
MENU
key to display the menu
Timer.
A standard socket for a set of headphones (3.5 mm
cinch plug, approx. 30 Ohm) is located behind the
front panel flap.
Sound quality can possibly be improved by
connecting a high-quality stereo or Dolby sur-
round system.
➜
Cinch sockets (Audio out) at the back of the TV
set are available for connection via a stereo cinch
cable to the "Line In" sockets of a stereo amplifier.
Sleeptimer
Headphone Connection
Connecting a HI-FI system


