RADIO INSTALLATION
(Continued)
4 6
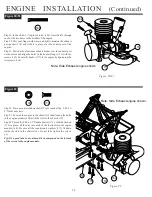
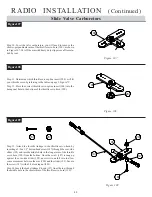
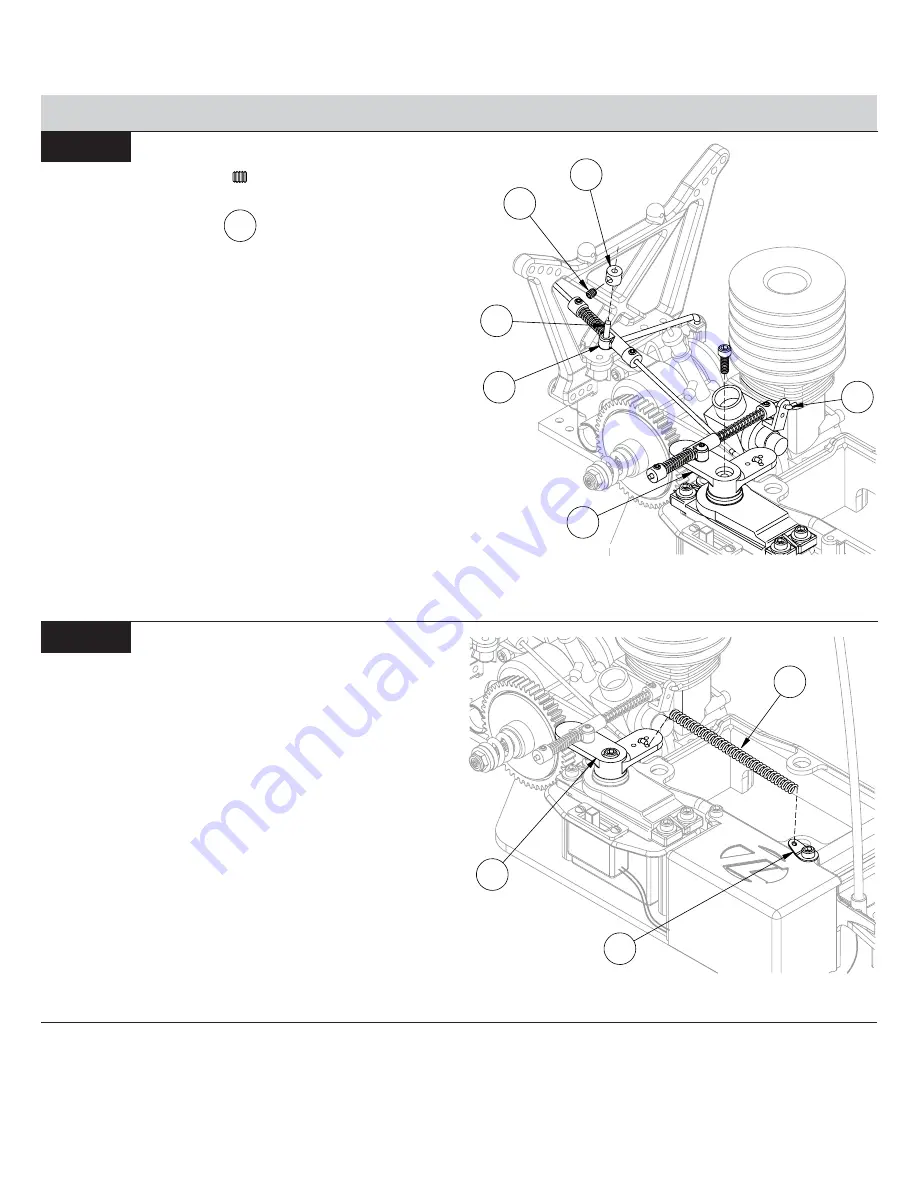
Figure 104
Figure 104
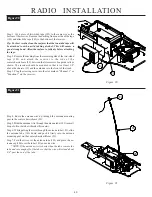
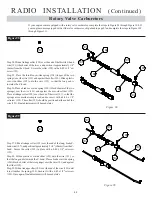
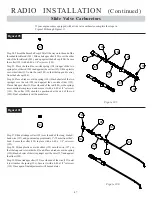
Step 35. Install the throttle linkage Z-bend wire (191) in the top hole of
the throttle arm so that the wire is positioned on the side of the arm
toward the engine.
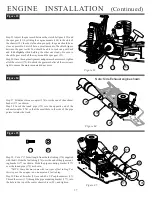
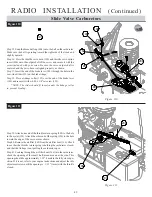
Step 36. Press the throttle servo horn (190) and throttle servo spline
insert (200) onto the output shaft of the servo, and secure it with the
screw included with your servo. Be sure the servo output shaft is
centered and the servo horn is aligned properly, as shown.
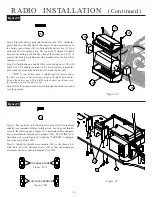
Step 37. Insert the end of the brake lever (102) through the hole in the
over-ride slider (195) on the brake linkage.
Step 38. Place a linkage collar (192) over the end of the brake lever
(102) and secure it with a 4-40 x 1/8" set screw (193).
*NOTE: The slider should fit loosely under the linkage collar
to prevent binding.
Figure 103
Figure 103
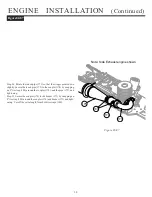
Rotary Valve Carburetors
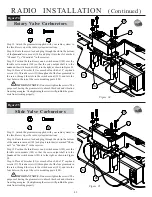
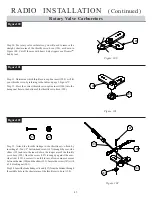
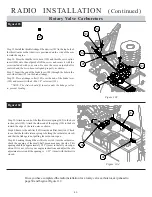
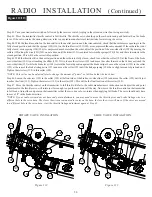
Step 39. Attach one end of the throttle return spring (202) to the hole
in the eyelet (199). Attach the other end of the spring (190) to the hole
toward the edge of the servo arm as shown.
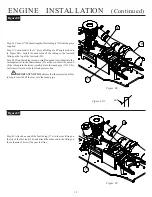
Step 40. Remove the air filter (165) from the air filter boot (166). Check
to see that the throttle return spring is holding the carburetor closed,
and that the linkage is not pulling the carburetor open.
Step 41. Looking through the air filter boot (166) into the carburetor,
check the opening of the small, half-moon area near the side. This
opening should be approximately 1/32" (1mm) in the fully closed po-
sition. If it is not, refer to your engine instructions and adjust the idle
adjustment screw until the opening is 1/32" (1mm) with the throttle
closed.
102
195
192
193
190
191
202
190
199
193
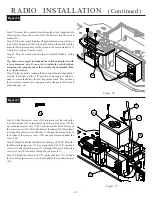
Once you have completed the radio installation for a rotary valve carburetor, skip ahead to
page 50 and begin at Figure 112.

