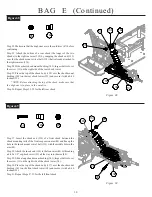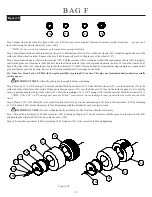
169
170
171
ENGINE INSTALLATION
(Continued)
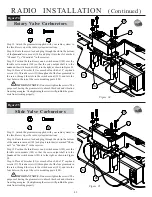
3 6
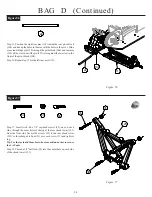
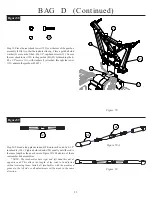
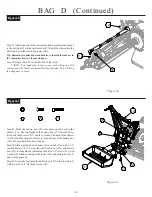
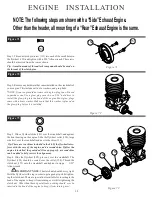
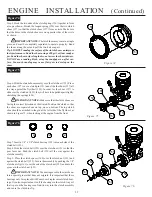
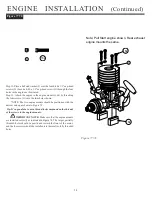
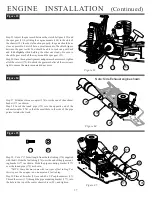
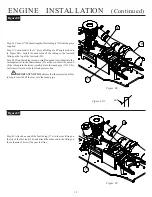
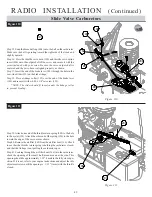
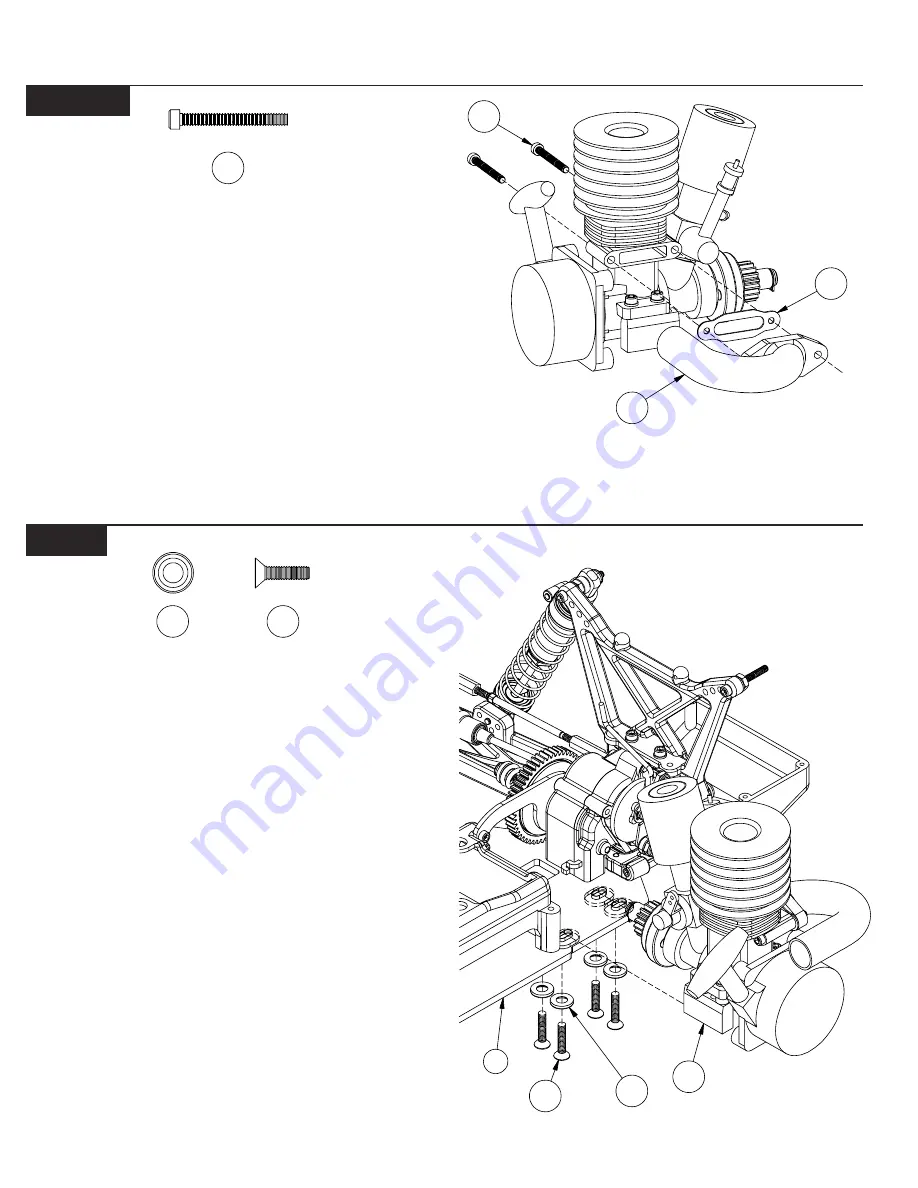
Step 22. Place a countersunk washer (172) over each of the 5-40 x 1/
2" flat-head screws.
Step 23. Position the engine in the chassis (19) and line up the holes
in the engine mounts (164) with the slots in the chassis (19).
Step 24. Thread the 5-40 x 1/2" flat-head screw (173), with the washers
(172) in place, all the way into each of the four holes in the engine
mounts (164). Be sure all the countersunk washers (172) fit down
inside the slots in the chassis (19). Do not fully tighten the screws
yet.
Tip: It's a good idea to use a thread-lock compound on the threads
of the screws in the engine mounts.
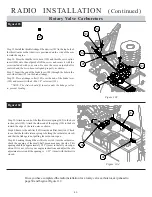
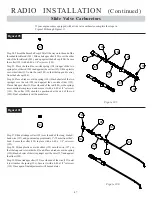
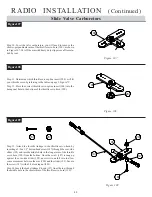
Figure 82
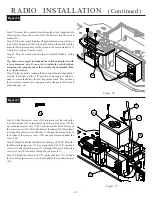
Figure 80/81
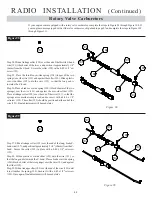
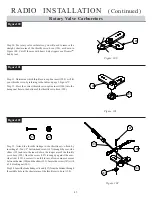
Figure 82
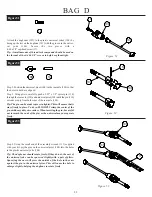
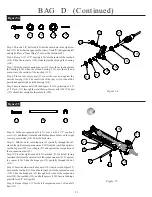
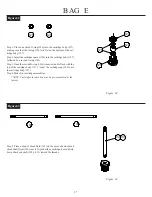
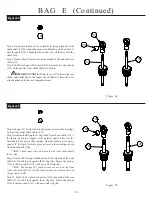
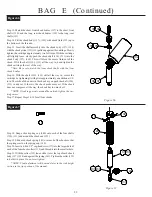
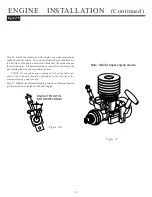
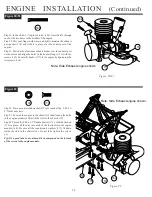
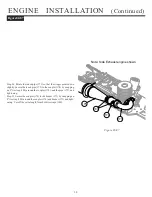
Step 19. Insert a 4-40 x 1" cap-head screw (169), from the left, through
each of the two holes in the middle of the engine.
Step 20. Wet your finger with water and
lightly
moisten the exhaust
port gasket (170) and slide it in place over the exaust port of the
engine.
Step 21. Position the aluminum exhaust header over the exhaust port
on the motor and align the holes in the header flange (171) with the
screws (169). Secure the header (171) to the engine by tightening the
two screws (169).
Figure 80/81
173
172
164
19
169
172
173
Note: Side Exhaust engine shown.
Note: Side Exhaust engine shown.

