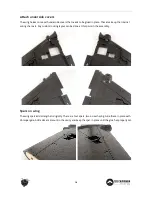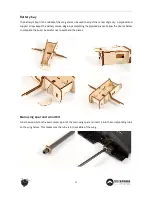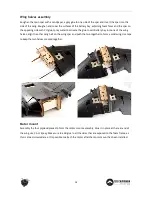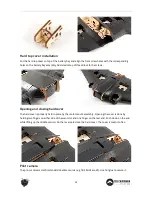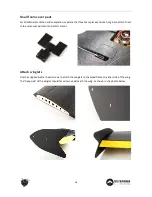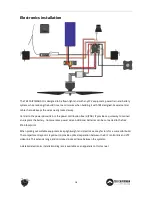
Dry-fit and wiring
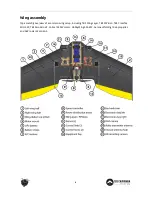
Plan your setup and wiring in advance, draw it out and dry-fit or test everything on a table to make sure
everything checks out.
Longer wires translate to less range on a FPV system, so try to keep them short but do not overdo it! All
cables longer than 10cm should be shielded (e.g. use shielded USB cables for camera and VTx wires) to
guarantee optimal long range performance. Connectors are a very frequent point of failure in many FPV
systems. The wires should not be under tension while installed, leave ~2cm (1 inch) of excess wire just in
case.
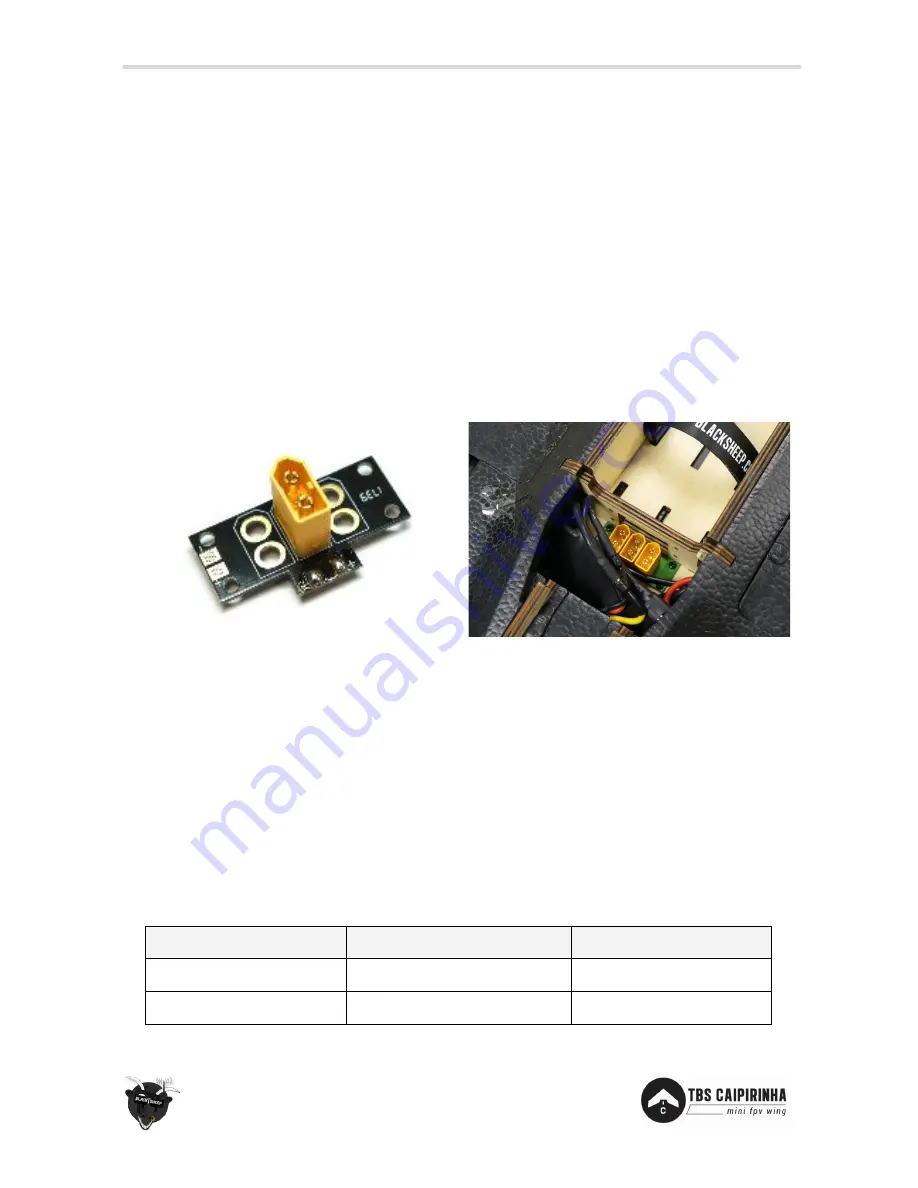
Power distribution board
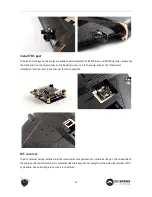
The included PDB makes it very easy to connect and swap out the battery(ies). It includes two additional
footprints to allow for up to three batteries to be connected in parallel.
Servos
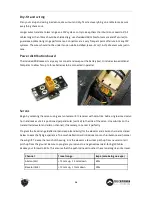
Begin by centering the servos using a servo tester or R/C receiver with zero-trim. Add a single-armed servo
horn and make sure it is positioned perpendicular (vertical) to the side of the servo. Use sub-trim on the
transmitter (elevator and aileron channel), if necessary, to center it perfectly.
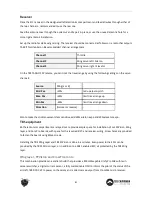
Program the travel range (deflection) and expo (sensitivity) for the elevator and aileron channels as listed
below to ease the flying experience. Too much deflection will introduce too much turbulence and hamper
the wing lift. To ease the launch of the wing, trim the elevator a few clicks pitch up from neutral to let it
pitch up from the ground. Be sure to program your servos to a negative (rearward-facing) 20% bias.
Reduce your throws to 60%. This ensures that the pushrod never touches the servo along its entire travel
Channel
Travel range
Expo (zero being no expo)
Aileron (AIL)
+15 mm up, -13 mm down
60%
Elevator (ELE)
+13 mm up, -11mm down
50%
20

