13.25 Maintenance Schedule
The frequencies shown below are based on typical daily
use for bedding and feeding purposes. Continuous use for
special applications will necessitate more frequent
lubrication.
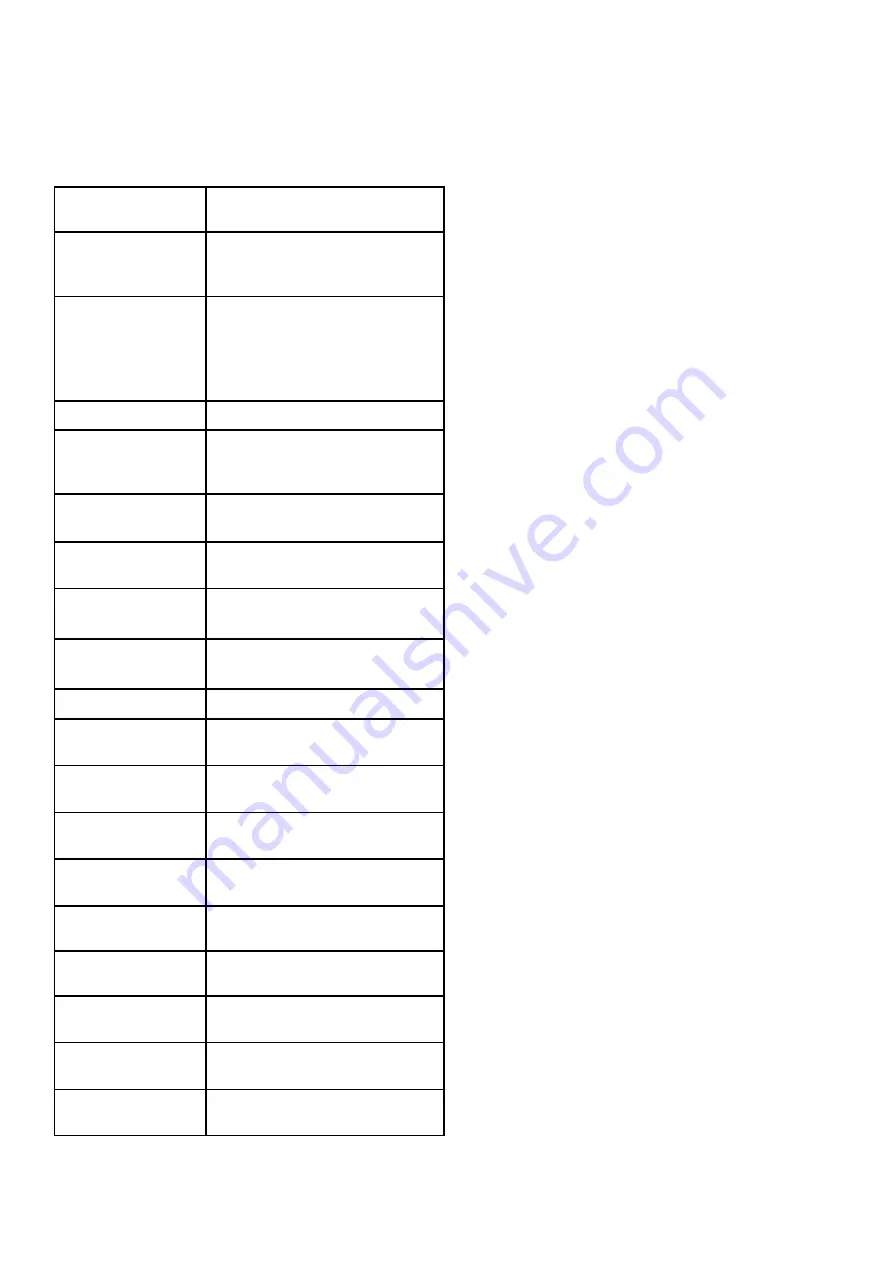
Table 11. Maintenance schedule
14.0 SPECIAL TOOLS FOR REPAIRS
14.1 Removal Of Main Rotor
The rotor can only be released from the tapered main
gearbox shaft with the application of service tool SC3776
available from Teagle Machinery Ltd.
14.2 Junction Box Wires
A lever SC5847 for releasing the wires in the control
system junction box is available from Teagle Machinery
Ltd
14.3 Solenoid Cartridge Removal
An adaptor HYD5336
is available to remove bed
speed solenoid slice using a deep socket
15.0 OPTIONAL EXTRAS
15.1 Drawbar And Axle Kit (7100 / 7150 models)
The drawbar is attached to the front of the machine by 4
bolts, there are 2 positions available allowing the ring hitch
height to be matched to the height of the pick up hitch on
the tractor. Where a clevis hitch is fitted the height of the
clevis can also be adjusted by altering it’s position relative
to the drawbar.
The axle is attached by 4 bolts to the main chassis
members of the body.
When attaching the machine check that the lower links are
at a height such that they do not contact the PTO shaft
when the tractor is turning. If they are not used regularly, it
is recommended that they be removed.
Fit the combined slip and overrun clutch unit end of the
PTO shaft to the machine.
Gradually turn the tractor until maximum turning lock is
achieved, and drive over undulating ground, checking that
the PTO shaft does not come to within 100 mm (4 inches)
of bottoming. If necessary, cut the PTO shaft to the correct
length. With the shaft in its most extended position, there
should not be less than half of the original overlap between
the sliding members.
If the machine is shredding whilst turning on a regular
basis it is recommended that a PTO shaft with a wide
angle, constant velocity joint be fitted.
15.2 Drawbar Jack
Where the machine is fitted with a drawbar jack, adjust the
height of the drawbar to match the height of the hitch point
on the tractor. Reverse the tractor and attach the drawbar.
Lower the machine until the weight is fully transferred to
the tractor. Remove the pin retaining the jack to the
drawbar and transfer it onto the transport position across
the front of the chassis.
15.3 Castor Wheels (7100/7150 models only)
15.3.1 Use Of The Castor Wheels
The castor wheels fitted to the machine are for use in low
speed situations on a hard level ground surface and are
not intended for use as high speed transport wheels over
long distances. Maximum speed allowed on these
wheels is 25 Km/h (16 mph) up to a maximum journey
distance of 2 km (1.25 miles).
Greasing / Oil
See separate chart on pages 2
to 5
PTO and clutch.
Lubricate as chart.
Dismantle clutch at start of
season and monthly during use.
Gearboxes.
Replace main gearbox oil after
first 50 hours then check
monthly. Where fitted, check
bed chain drive gearbox
monthly.
Remove stones.
Each bale or daily,
depending on use and
nature of bales.
Bed chain tension.
After first day then
weekly depending on use.
Crossbeater chain
tension.
Weekly.
Clean above
inspection panel.
Monthly, depending on use.
Tyre pressures.
Monthly
Wheel nuts.
Every 500 hours of use or 6
months.
Option
–
high
pressure oil filter.
Replace annually.
Wheel bearings.
Check every 500 hours of use
or 6 months.
Brake shoe wear.
Check every 1000 hours of use
or 2 months.
Brake actuator
adjustment
Check every 1000 hours of use
or 2 months.
Pnuematic brake
connectors filters
Monthly.
Pnuematic brake
air resevoir
Daily.
Pnuematic brake
control valve
Oil pivots monthly.
Pnuematic brake
air lines
Inspect monthly.
Hydraulic hoses
Inspect every 3 months.
Crossbeater
blades/hooks
Check before use for their
condition and security.
30
Summary of Contents for Tomahawk 7100
Page 1: ...30417 10100 11 19 30970 10345 31725 11338 10056 3694 TMKBXOP1119A...
Page 38: ...NOTES 35...
Page 39: ...36 NOTES...
Page 40: ......


