409-32023
Rev
B
13 of 41
2.
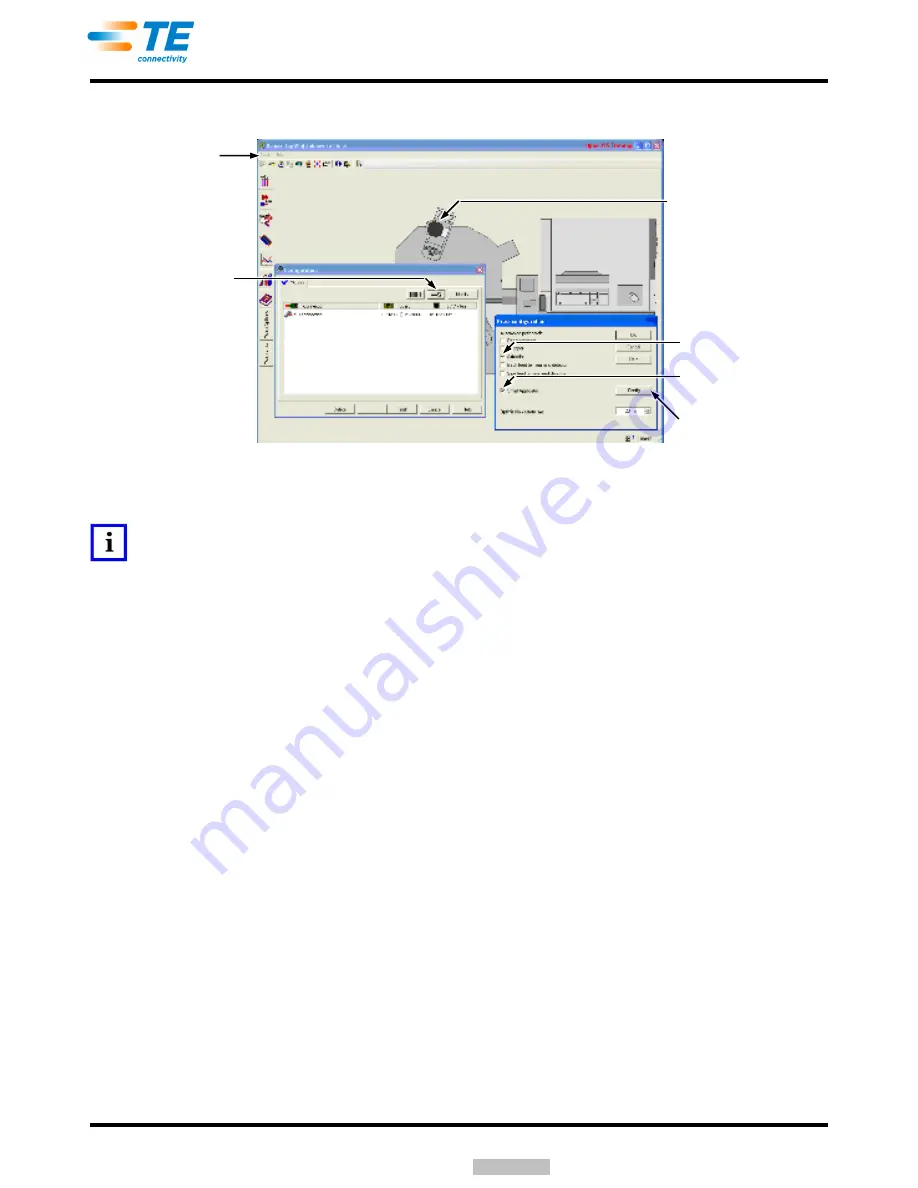
Under “Tools”, click “Option Editor” (it may take time for the “Option Editor” to appear). See Figure 15.
Figure 15
3.
Enable “Smart Applicator” under “Terminal” (this will enable the feature on the machine).
NOTE
The license number is required.
4. Click each terminator that will have a smart applicator to display the Terminator Configuration screen.
See Figure 15.
5. Click the Wrench icon to configure the terminator.
6. Enable the Smart Applicator option and Air Feed option.
7. If the station is using an applicator direct connection, click the Config button to select the USB device
ID. This device ID is printed on a label on the USB to one-wire converter in the connection box.
If there is no USB device ID when the Config button is pressed, then it may be necessary to insert the
USB to one-wire converter first. This may require the software driver to be installed according to
step 1 of Paragraph 2.4, Integration of Hardware and Software.
8. Click OK to save the settings.
9. Repeat steps 4, 5, 6, and 7 for each terminator that will have a smart applicator connection.
10. Accept the configuration.
11. For an applicator direct connection, select the device ID from the list. See Figure 16. The USB to
one-wire adapter must be plugged in and the device drivers installed
before
the list will show the
adapters.
Click Tools
(for Option Editor)
Wrench Icon
Click Each Terminator That
Will Have Smart Applicator
Smart Applicator Option
Checked
Configuration
Air Feed Option Checked
Downloaded From


