39
10.2 START THE SCHEDULE SOFTWARE
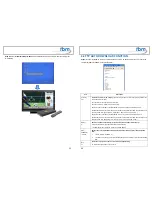
You might double click the “Schedule Maker” icon on your desktop for opening the “Schedule
Generator”. Or you might click on <Start>
→
<Programs>
→
<Schedule Maker 20090217>
→
<
Schedule Maker > for starting the program.
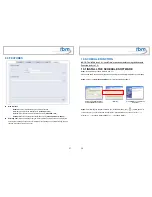
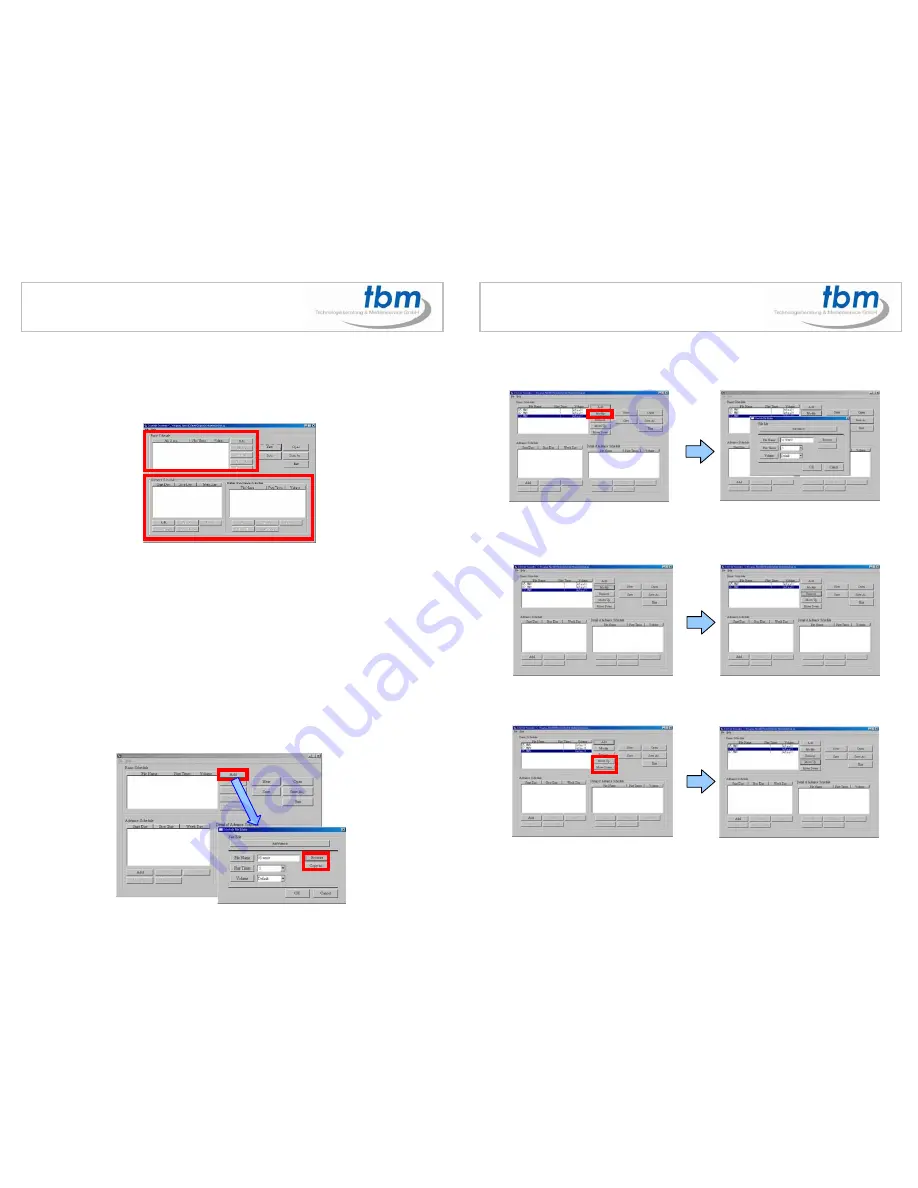
There are two parts of program: “Basic Schedule” and “Advance Schedule” in the window.
10.2.1 Basic Schedule
In the “Basic Schedule” mode, you could arrange a basic schedule that instructs the player to play
specified video files in the ordinary time. You could also set up the play times of each video file on the
schedule.
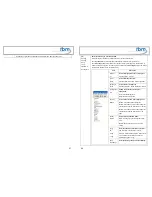
Add:
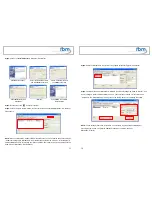
Click this button to chose a video file. The following diagram appears:
z
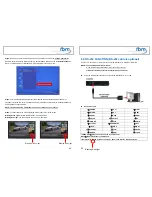
Click on “
Add Video In
” button for instructing the player to play the HDMI input only (only for
MPL027PT-X-4).
z
Click the “
Browser
” button to search for files that you want to add. You can also set up the “Play
Times” and “Volume” of the file in this window. Click the “
OK
” button to complete the setup.
z
Click the “Add” button again to add other file. If you choose “Video In” in the previous step, the
“Add” button will be blank. That means you want the player to play the “Video In” in the ordinary
time. And if you’d like the player switching between the “Video In” and video files in the specific
time, you might combine a Video In Basic Schedule with an Advance Schedule function.
z
COPY Function: Click the “
Copy to…
” button to copy directly the added file to the memory
card.
40
Modify:
Click this button to modify the file in the list.
z
Select the file that you want to modify in the list, and press the “
Modify
” button.
Remove:
Click this button to remove the file from the list.
z
Select the file that you want to remove from the list, and press the “
Remove
” button to delete.
Move Up / Move Down:
Click these buttons to change the order that the files are played.

