
To edit design
118
Chapter 5
PT10
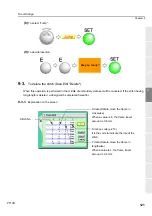
9-2-2.
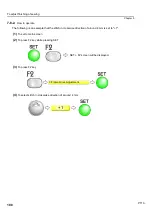
How to operate
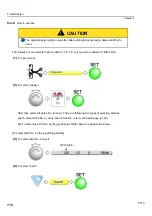
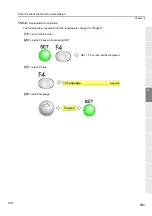
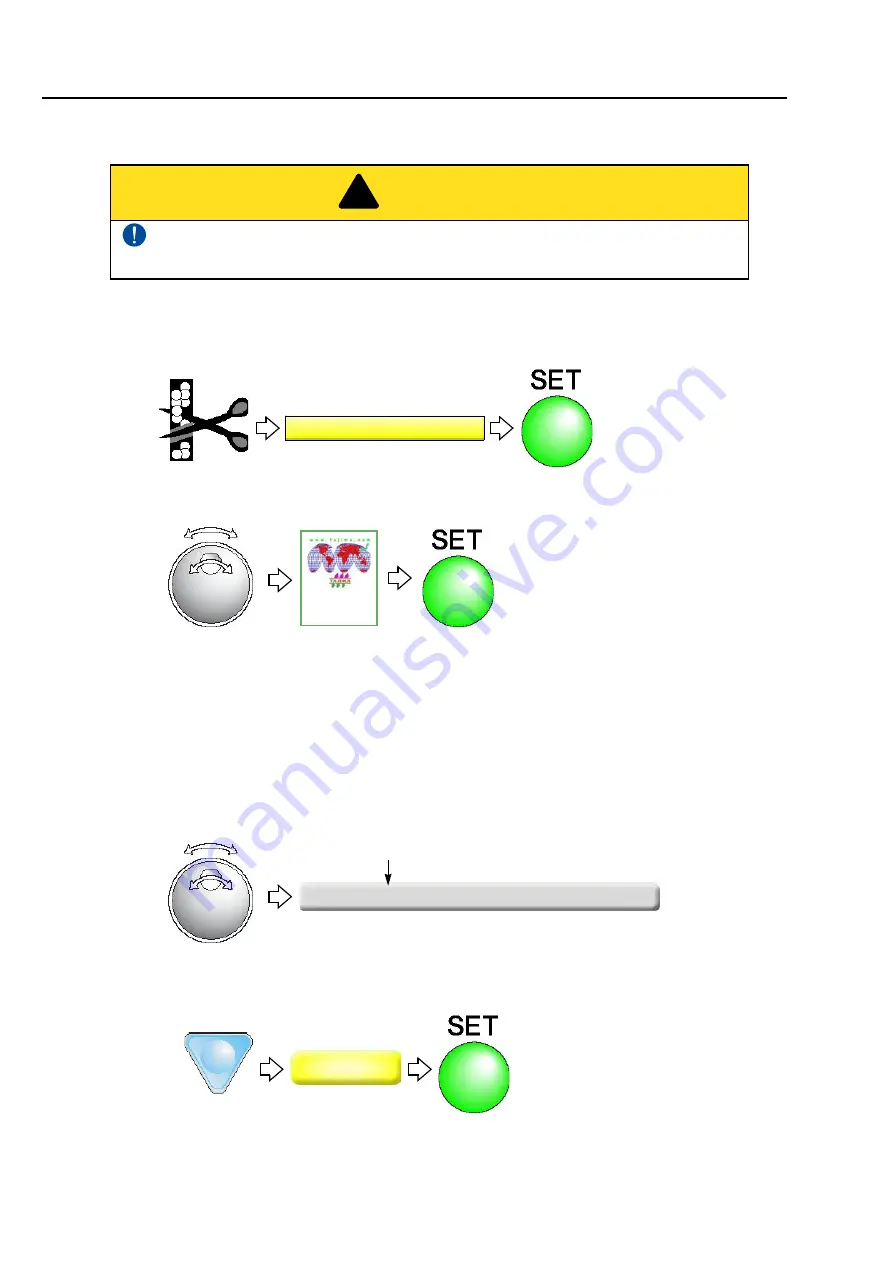
The following is an example that non-data (X: 0.0, Y:0.0) jump code is added to 120th stitch.
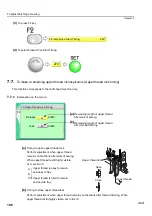
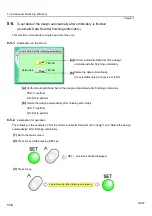
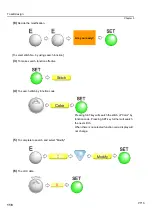
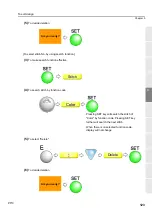
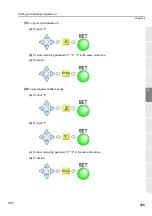
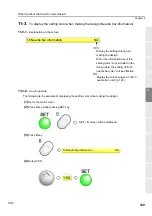
(1)
To open screen
(2)
To select a design
After that, select the stitch No. to insert. There are following two types of selecting patterns.
(a)
To select stitch No. by using search function, refer to the detail page (p.120).
(b)
To select the stitch No. by the jog dial/jog shuttle, follow the explanation below.
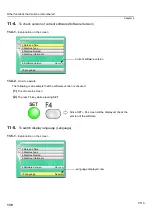
[To select stitch No. by the jog dial/jog shuttle]
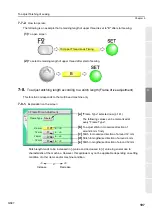
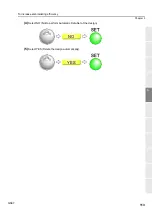
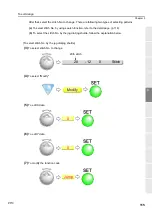
(3)
To select stitch No. to insert
(4)
To select "Insert"
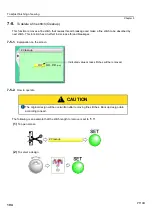
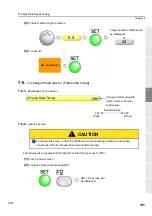
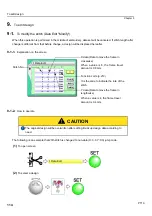
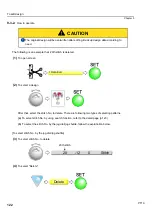
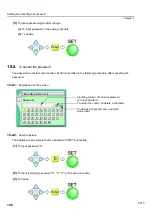
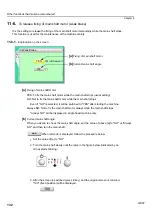
The original design will be overwritten after editing. Back up design data according to
need.
!
CAUTION
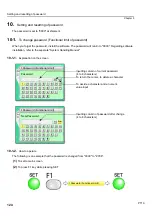
1 Data Edit
3
******
****
***
120
-12
0
Stitch
120th stitch
Insert
Summary of Contents for TEMX-C Series
Page 13: ...To search from the menu key ...
Page 25: ...Inspection before starting work 12 Chapter 1 ...
Page 39: ...How to use each part 26 Chapter 2 ...
Page 40: ... E 1 2 3 4 5 6 7 8 9 10 11 27 PT10 Chapter 3 Screen 1 Screen display 28 2 Message display 31 ...
Page 147: ...Other functions that must be remembered 134 Chapter 5 ...
Page 171: ...To move the frame to the position registered 158 Chapter 6 ...


