12
Chapter 2:
Recorder Control
Connect monitor to the output interface of recorder
(supports HDMI and VGA), and connect mouse to the
USB interface on the front panel, then you can
view/setup/manage recorder information and
preview/record/monitor recording files. After devices
are connected, the video monitor windows were
displayed automactically. Double click to display the
appointed video on full screen or return to monitor
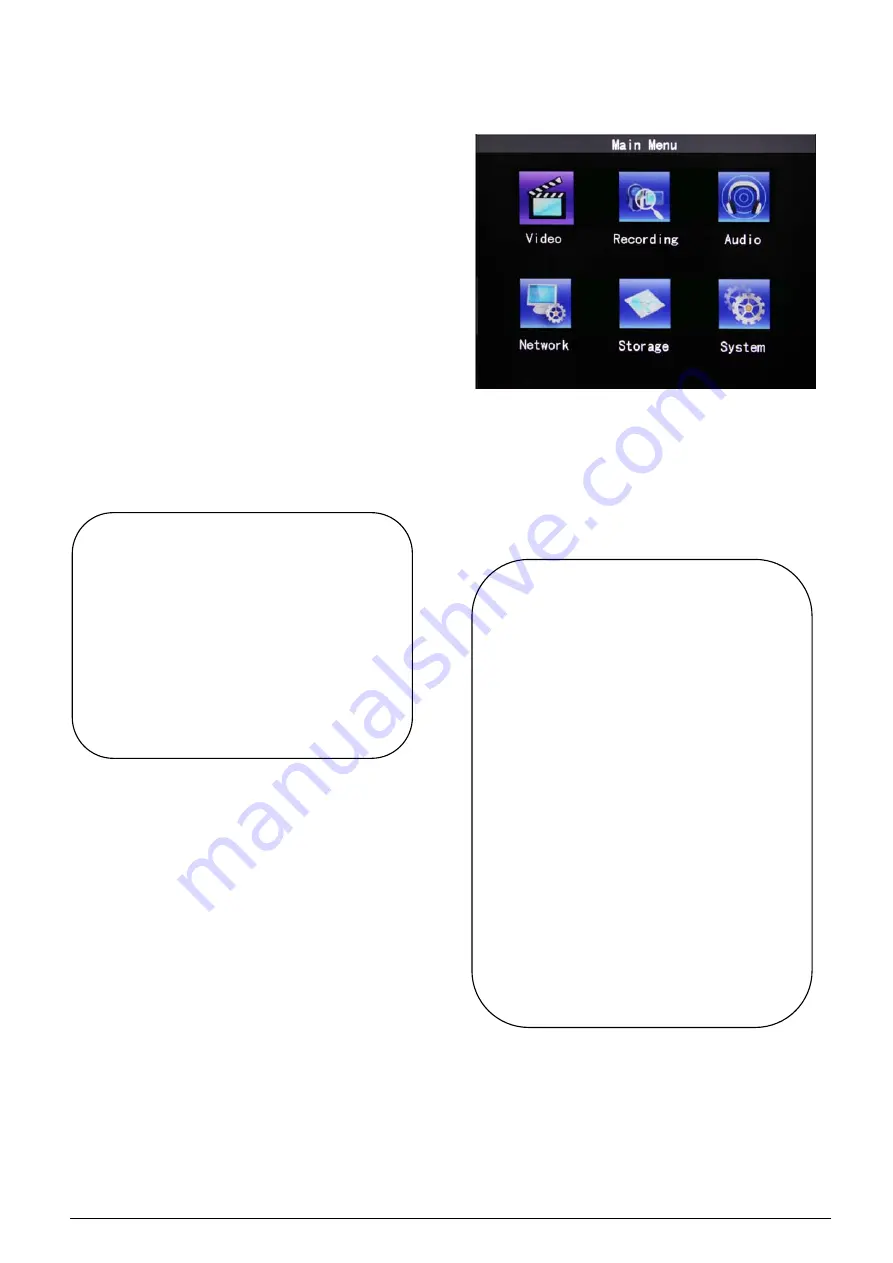
windows. Right click to enter main menu or return to
monitor windows.
The main menu includes Video, Recoring, Audio,
Network, Storage and System. We take HCS-8132M
and HCS-8134M as example to explain the operation
of the recorder. The operation of HCS-8131M and
HCS-8133M is comparable, just the input channel is
fewer.
■
In the main menu, left click the menu item to go to
corresponding submenu, and right click to exit the
current menu;
■
In submenu interface, the corresponding
prompting information (the word in yellow) will be
displayed on the lower of the interface when put
the mouse pointer on the operation.
Note:
)
“R” on the lower-left of the window when
recording;
)
“H” on the lower-left of the window when
disk lost or full of use;
)
“W” on the lower-left of the window when
disk error.
)
DVR can record video data not more
than 12 months, after recording 10
months, a note will pop up when next
record, for example, when the eleventh
month recording in 2014-7, a note
“Because of file system limitation, please
backup videos of 2013-6 after this
recording to avoid the videos be
overwritten!!!” will be displayed and the
indicator light F1 in the main unit will be
turn on.
Note:
)
The menu will be locked when TAIDEN
Digital Audio & Video Recording System
connected to the device.
)
When power on a DVR for the first time, or
power on after upgrading a DVR or
formatting the HD, video files will be
scaned and “Scanning video files, please
wait…” will be displayed.


